A Detailed Guide on How to Safely and Effectively Jump Start a Car

Verified

Added on  2023/06/11

|13
|715
|67
Practical Assignment
AI Summary
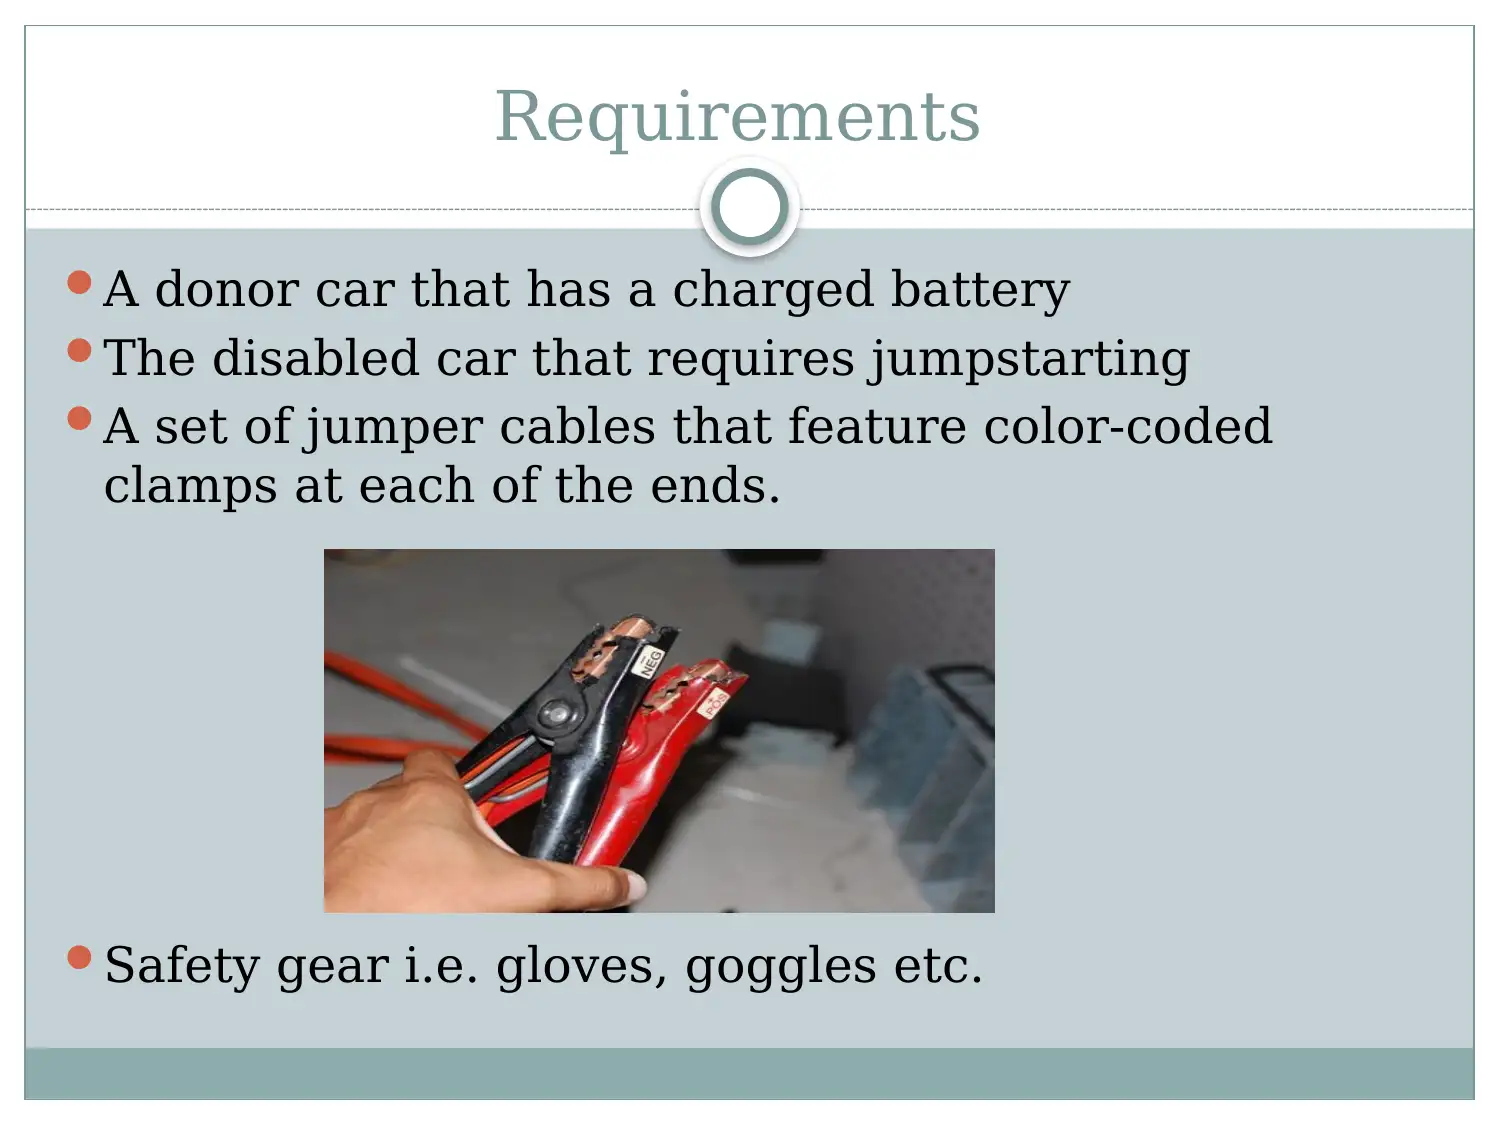
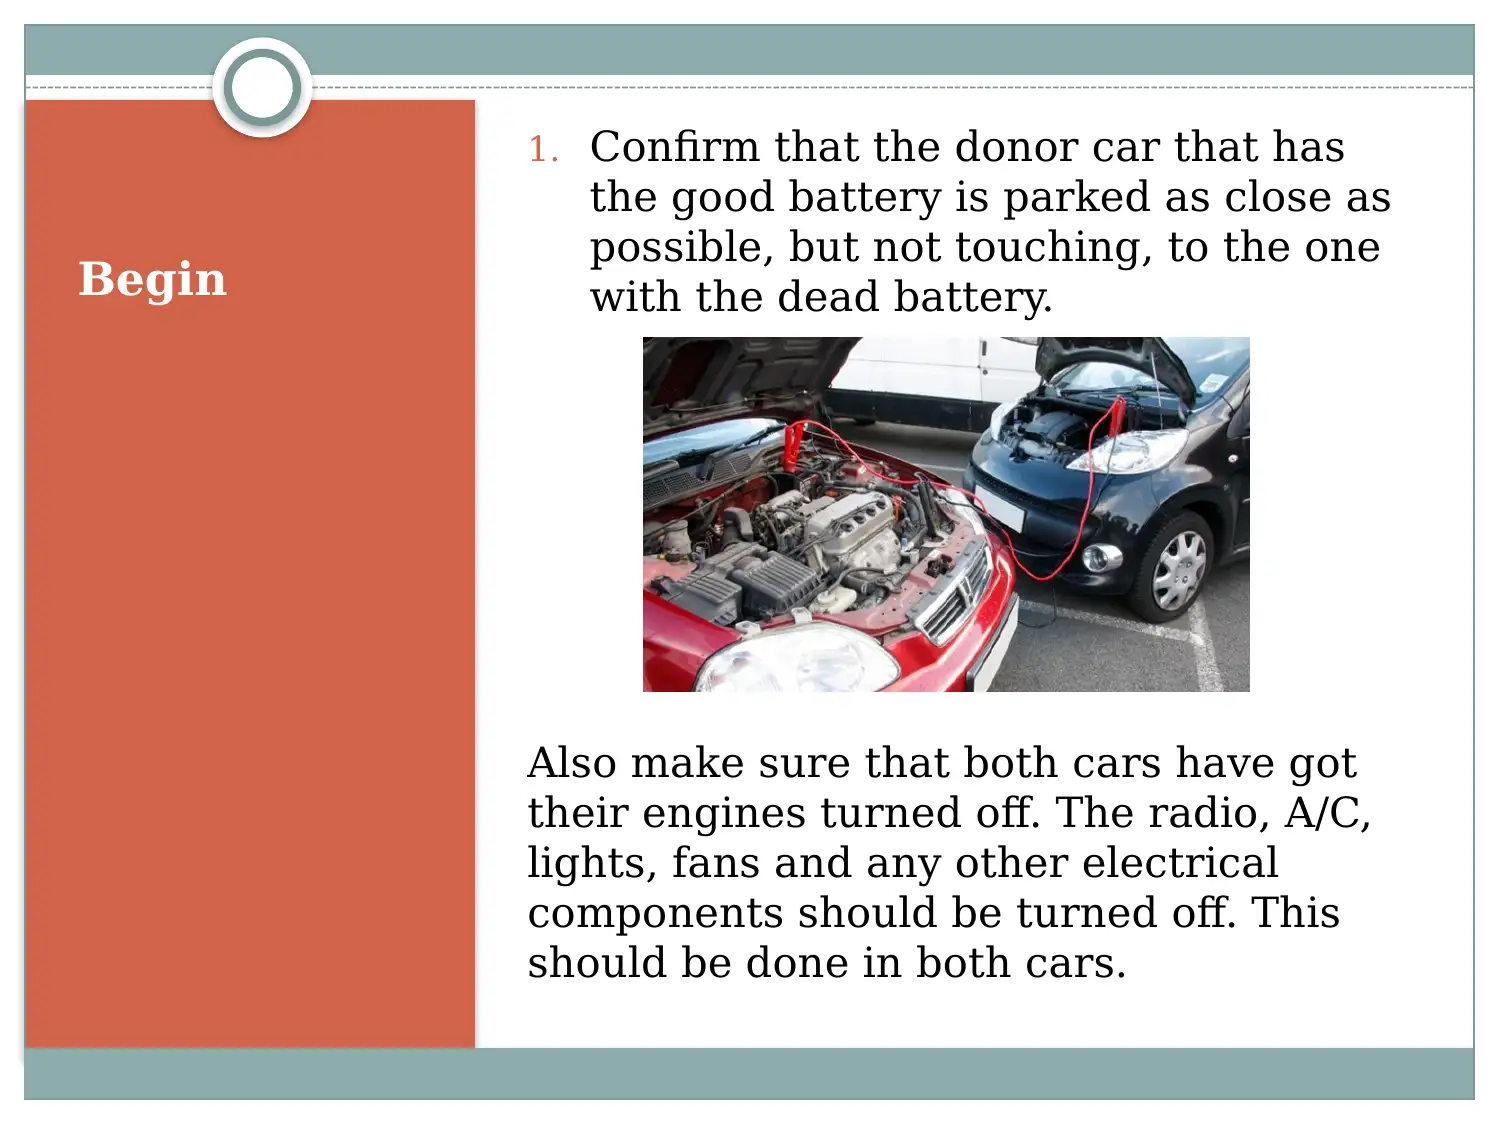
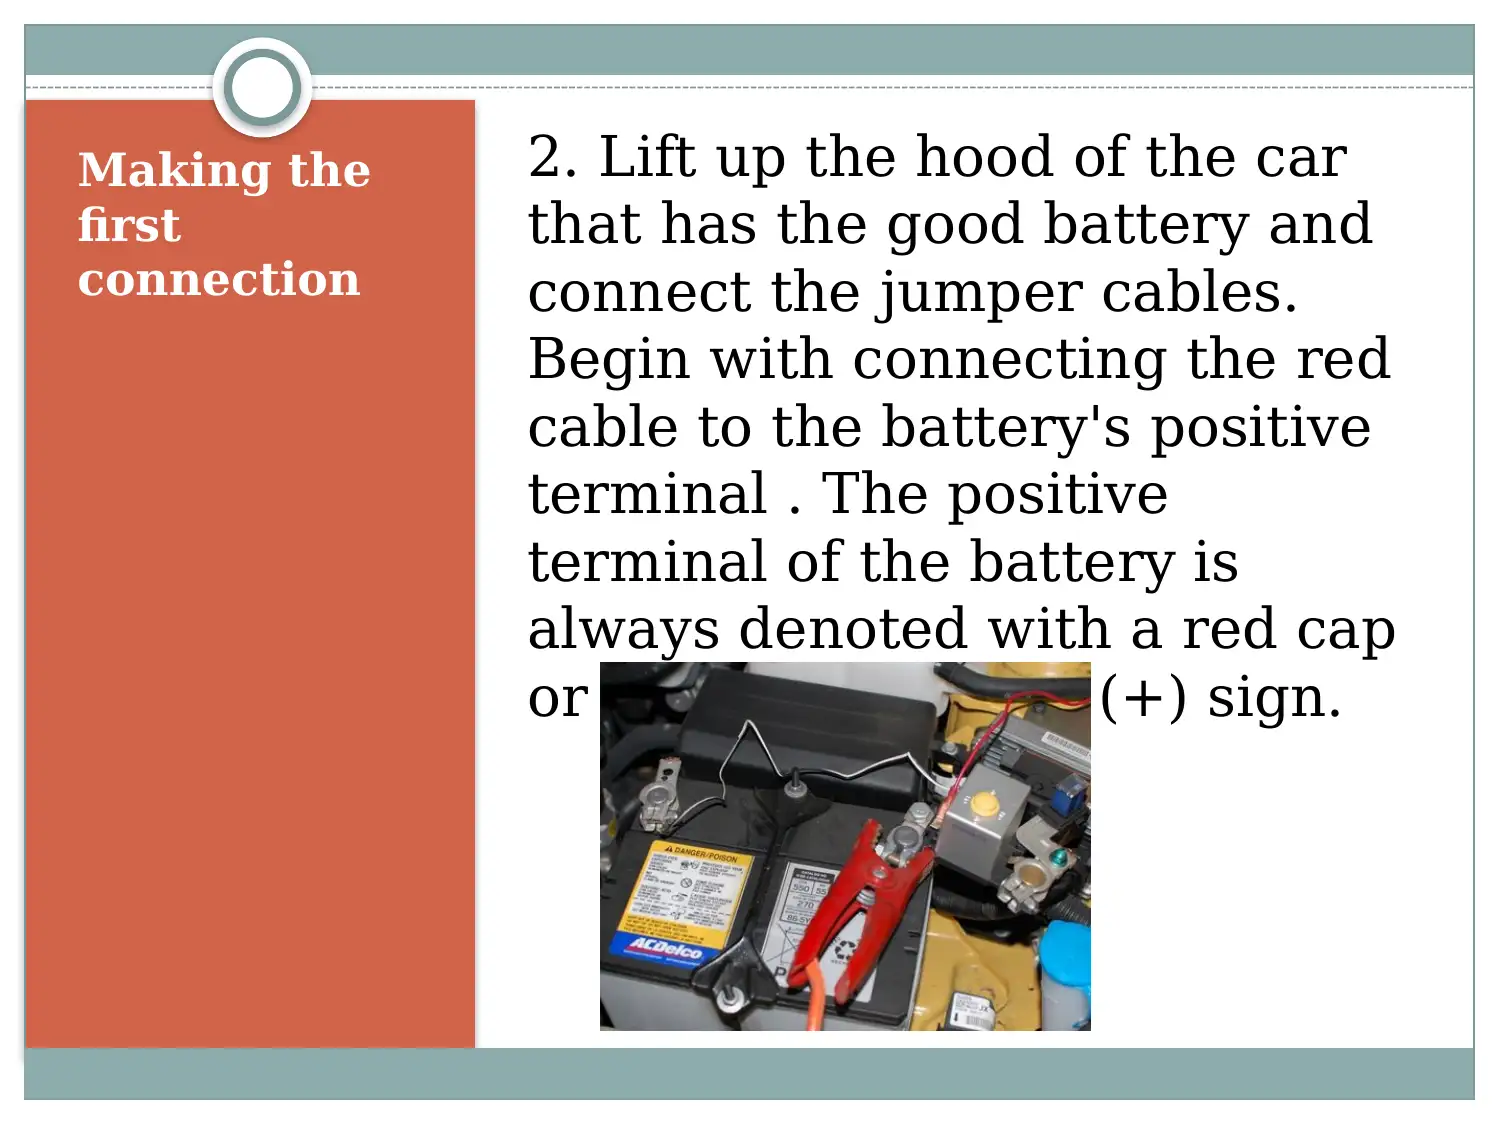
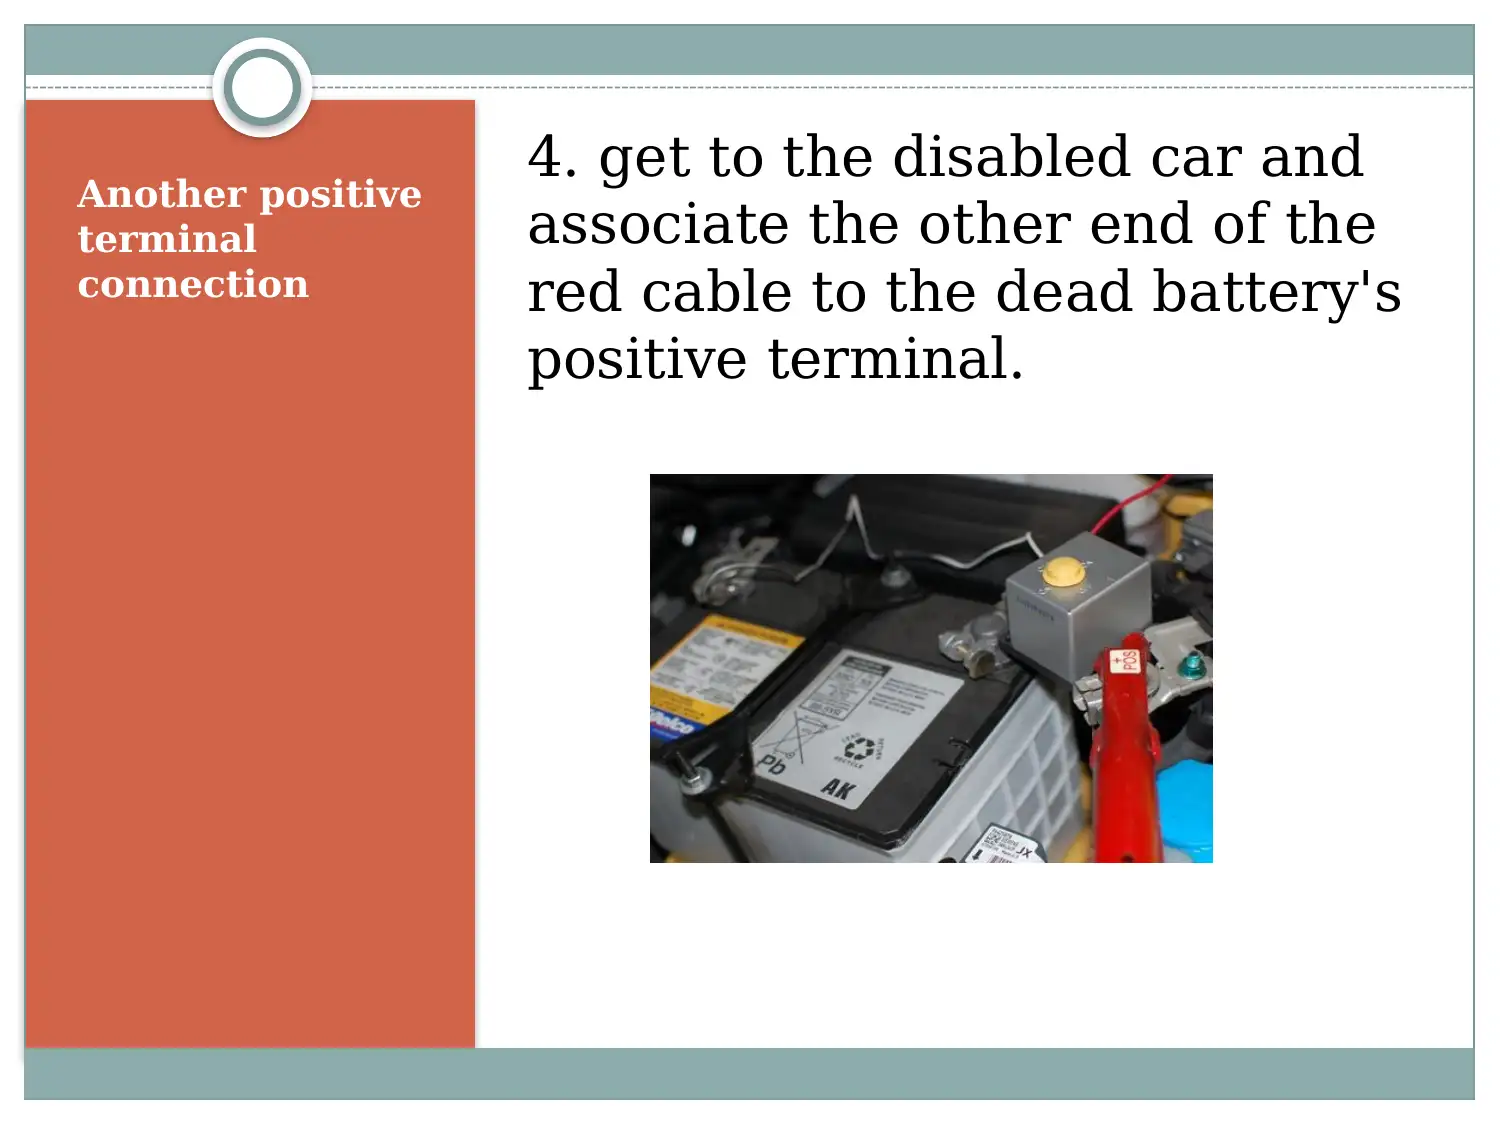
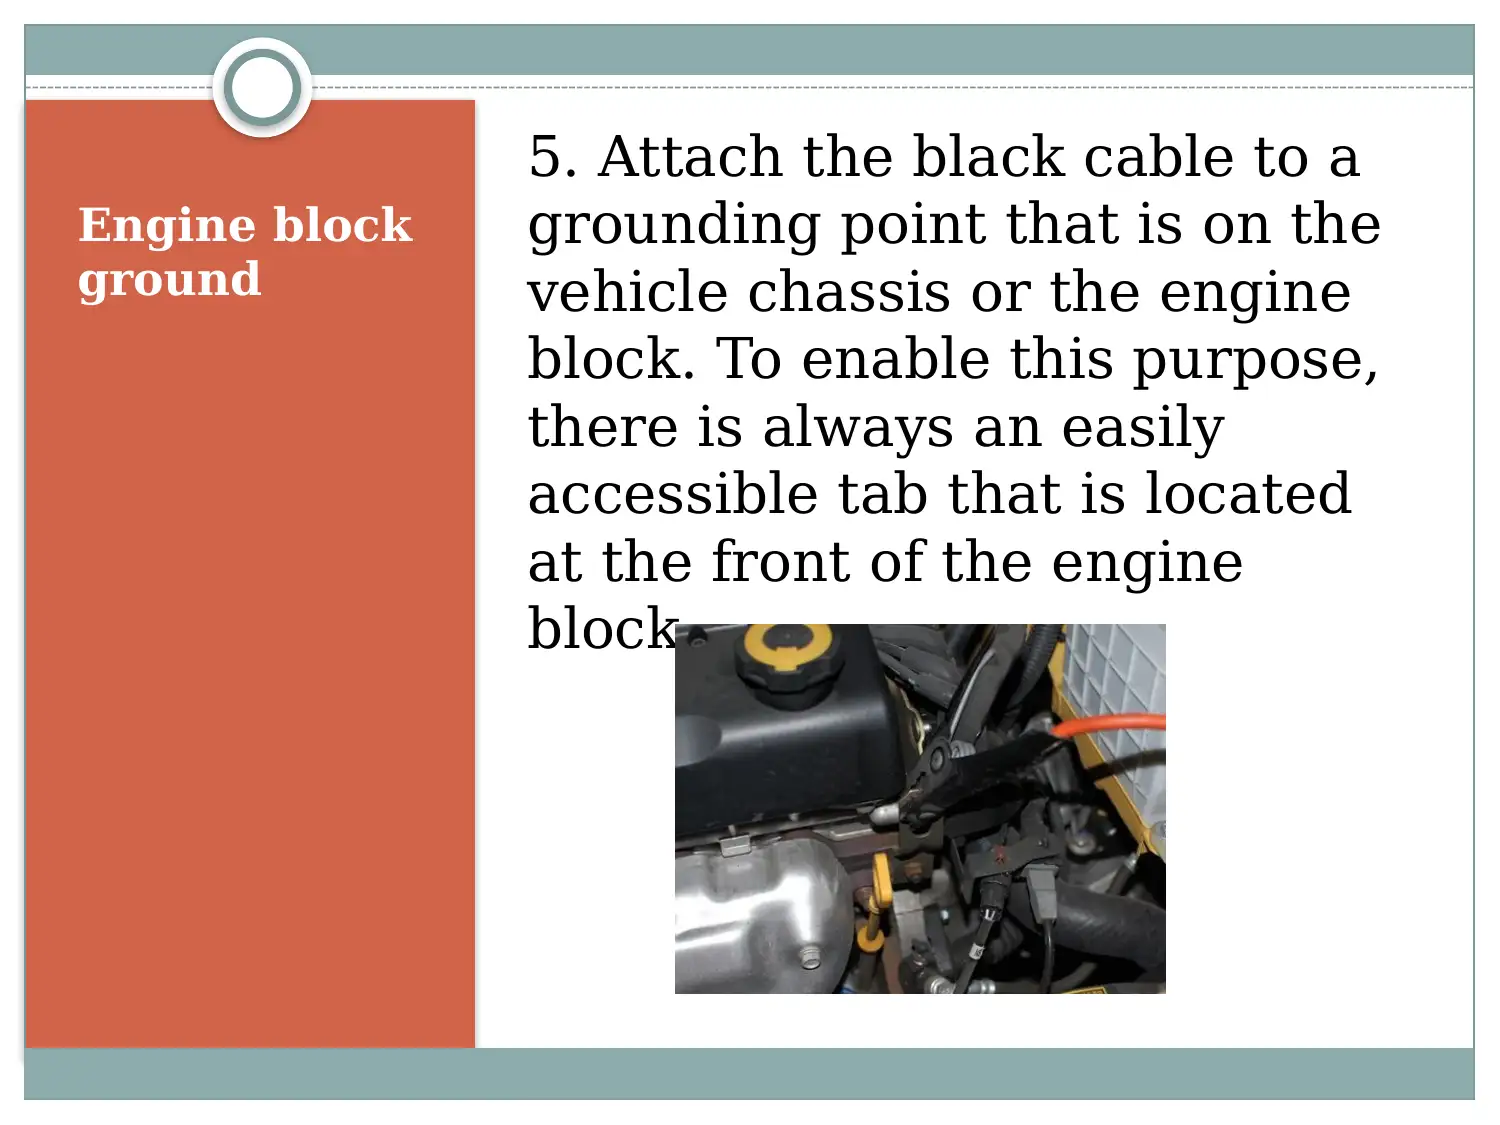
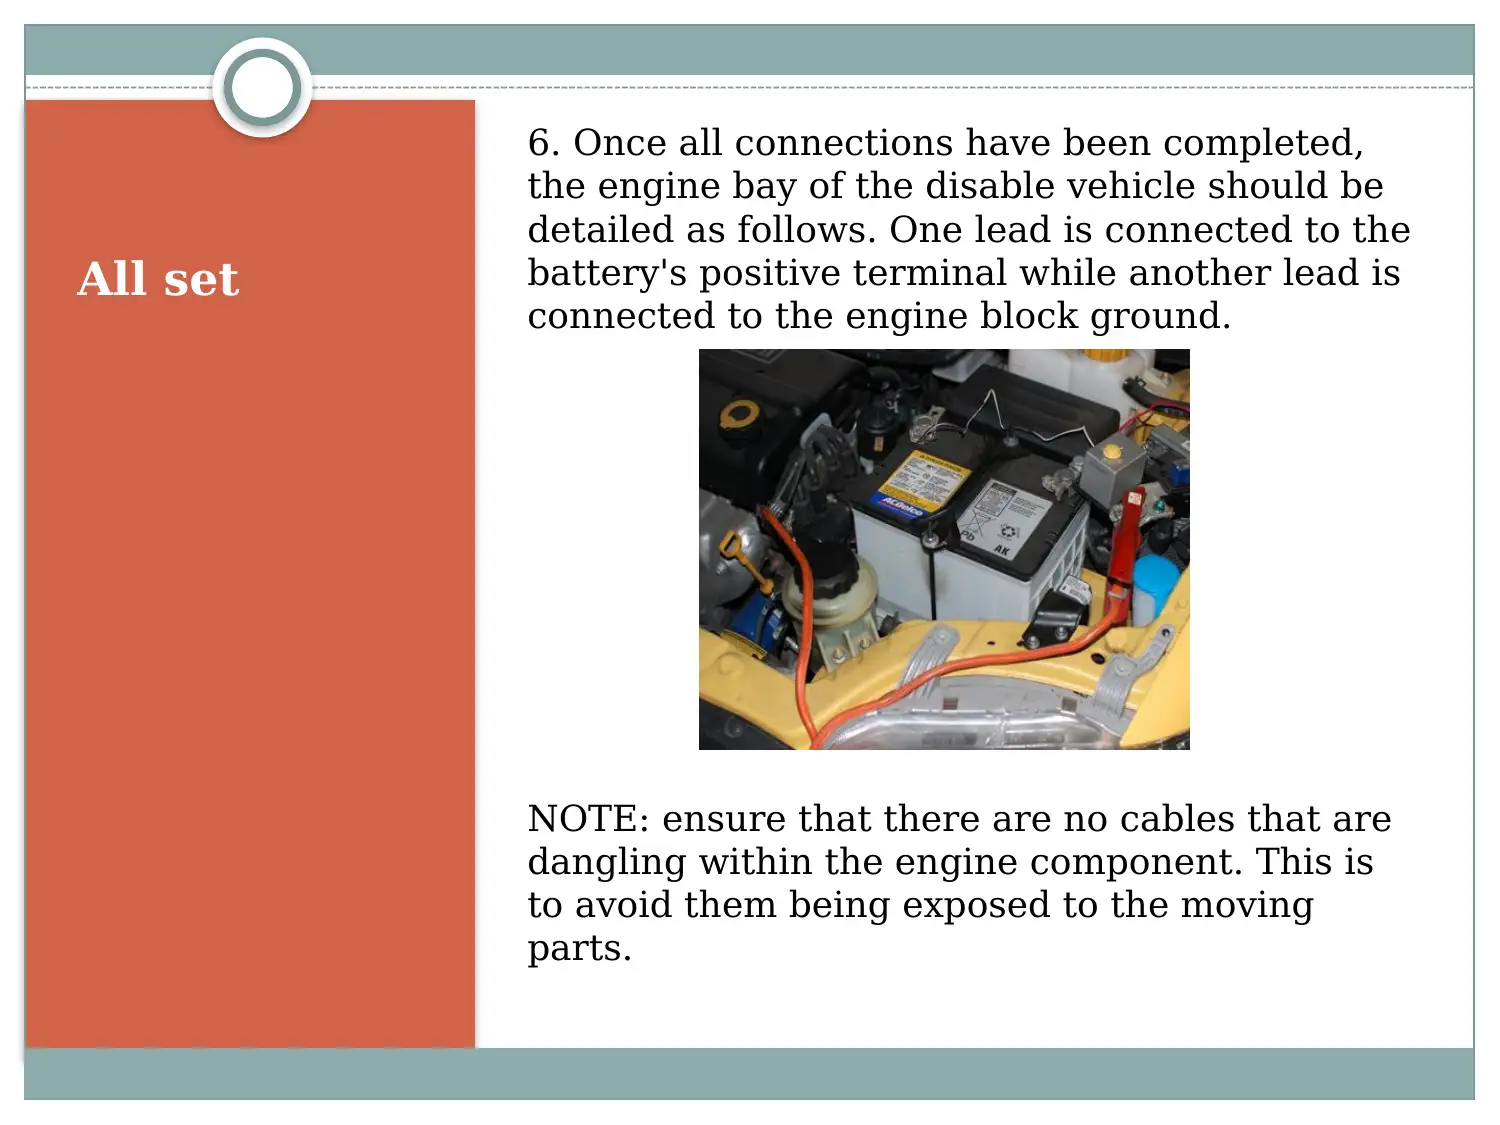
This assignment provides a detailed, step-by-step guide on how to safely jump start a car. It begins by listing the necessary requirements, including a donor car with a charged battery, jumper cables, and safety gear. The guide then outlines the process, starting with positioning the cars and ensuring all electrical components are off. It explains how to properly connect the jumper cables to both batteries, emphasizing the correct order and polarity. The instructions cover starting the donor car, attempting to start the disabled car, and safely removing the cables once the engine is running. The guide also includes important safety precautions, such as avoiding dangling cables and ensuring a clean connection between the terminals and cables. Finally, it advises keeping the car engine running for a period of time to recharge the battery. Desklib is a platform where you can find more solved assignments and study resources.
Document Page
How to jumpstart a car
tabler-icon-diamond-filled.svg

Paraphrase This Document

Need a fresh take? Get an instant paraphrase of this document with our AI Paraphraser
Document Page
Requirements
A donor car that has a charged battery
The disabled car that requires jumpstarting
A set of jumper cables that feature color-coded
clamps at each of the ends.
Safety gear i.e. gloves, goggles etc.
Document Page
Begin
1. Confirm that the donor car that has
the good battery is parked as close as
possible, but not touching, to the one
with the dead battery.
Also make sure that both cars have got
their engines turned off. The radio, A/C,
lights, fans and any other electrical
components should be turned off. This
should be done in both cars.
Document Page
Making the
first
connection
2. Lift up the hood of the car
that has the good battery and
connect the jumper cables.
Begin with connecting the red
cable to the battery's positive
terminal . The positive
terminal of the battery is
always denoted with a red cap
or mostly marked a (+) sign.
tabler-icon-diamond-filled.svg

Paraphrase This Document

Need a fresh take? Get an instant paraphrase of this document with our AI Paraphraser
Document Page
Negative
terminal
connection
3. attach the black cable to the
negative terminal of the live
battery. The negative terminal
of a battery is usually denoted
with a black cap or is always
marked with a (-) sign.
Document Page
Another positive
terminal
connection
4. get to the disabled car and
associate the other end of the
red cable to the dead battery's
positive terminal.
Document Page
Engine block
ground
5. Attach the black cable to a
grounding point that is on the
vehicle chassis or the engine
block. To enable this purpose,
there is always an easily
accessible tab that is located
at the front of the engine
block.
tabler-icon-diamond-filled.svg

Paraphrase This Document

Need a fresh take? Get an instant paraphrase of this document with our AI Paraphraser
Document Page
All set
6. Once all connections have been completed,
the engine bay of the disable vehicle should be
detailed as follows. One lead is connected to the
battery's positive terminal while another lead is
connected to the engine block ground.
NOTE: ensure that there are no cables that are
dangling within the engine component. This is
to avoid them being exposed to the moving
parts.
Document Page
Fire up
7. Start up the engine of the
donor car and allow it to run
idle for some minutes. It is
important not to race the
engine, instead you can rev the
engine slightly beyond idle for
between thirty to sixty seconds.
The practice is done in order to
charge the dead battery in the
disabled car. To facilitate this, it
is necessary to have a good and
clean assembly amidst the
battery terminal and the cables.
Document Page
Try to start
the disabled
car
8. Attempt starting the engine
of the disabled car. In any case
it does not start, then put off
the engine and temporarily
disable the last connection as
you slightly wiggle the clamps
to enable a better electrical
connection. Restart the donor
car and allow a few minutes to
charge the battery. The dead
vehicle should be able to start.
tabler-icon-diamond-filled.svg

Paraphrase This Document

Need a fresh take? Get an instant paraphrase of this document with our AI Paraphraser
Document Page
Remove the
jumper
cables
9. Remove the jumper cables
in the reverse order that they
were placed once the engine
starts.
NOTE: do not let any of the
four cables touch each other.
Document Page
Keep the car
engine
running
10. Keep the car engine
running for 5 to 20 minutes
above idle before turning it off.
This to provide enough charge
that is able to start the car
again.
chevron_up_icon
1 out of 13
circle_padding
hide_on_mobile
zoom_out_icon
[object Object]