Business Administration: Assessment 2 & 3 Report Analysis

Verified

Added on  2020/05/16

|30
|2668
|189
Report
AI Summary
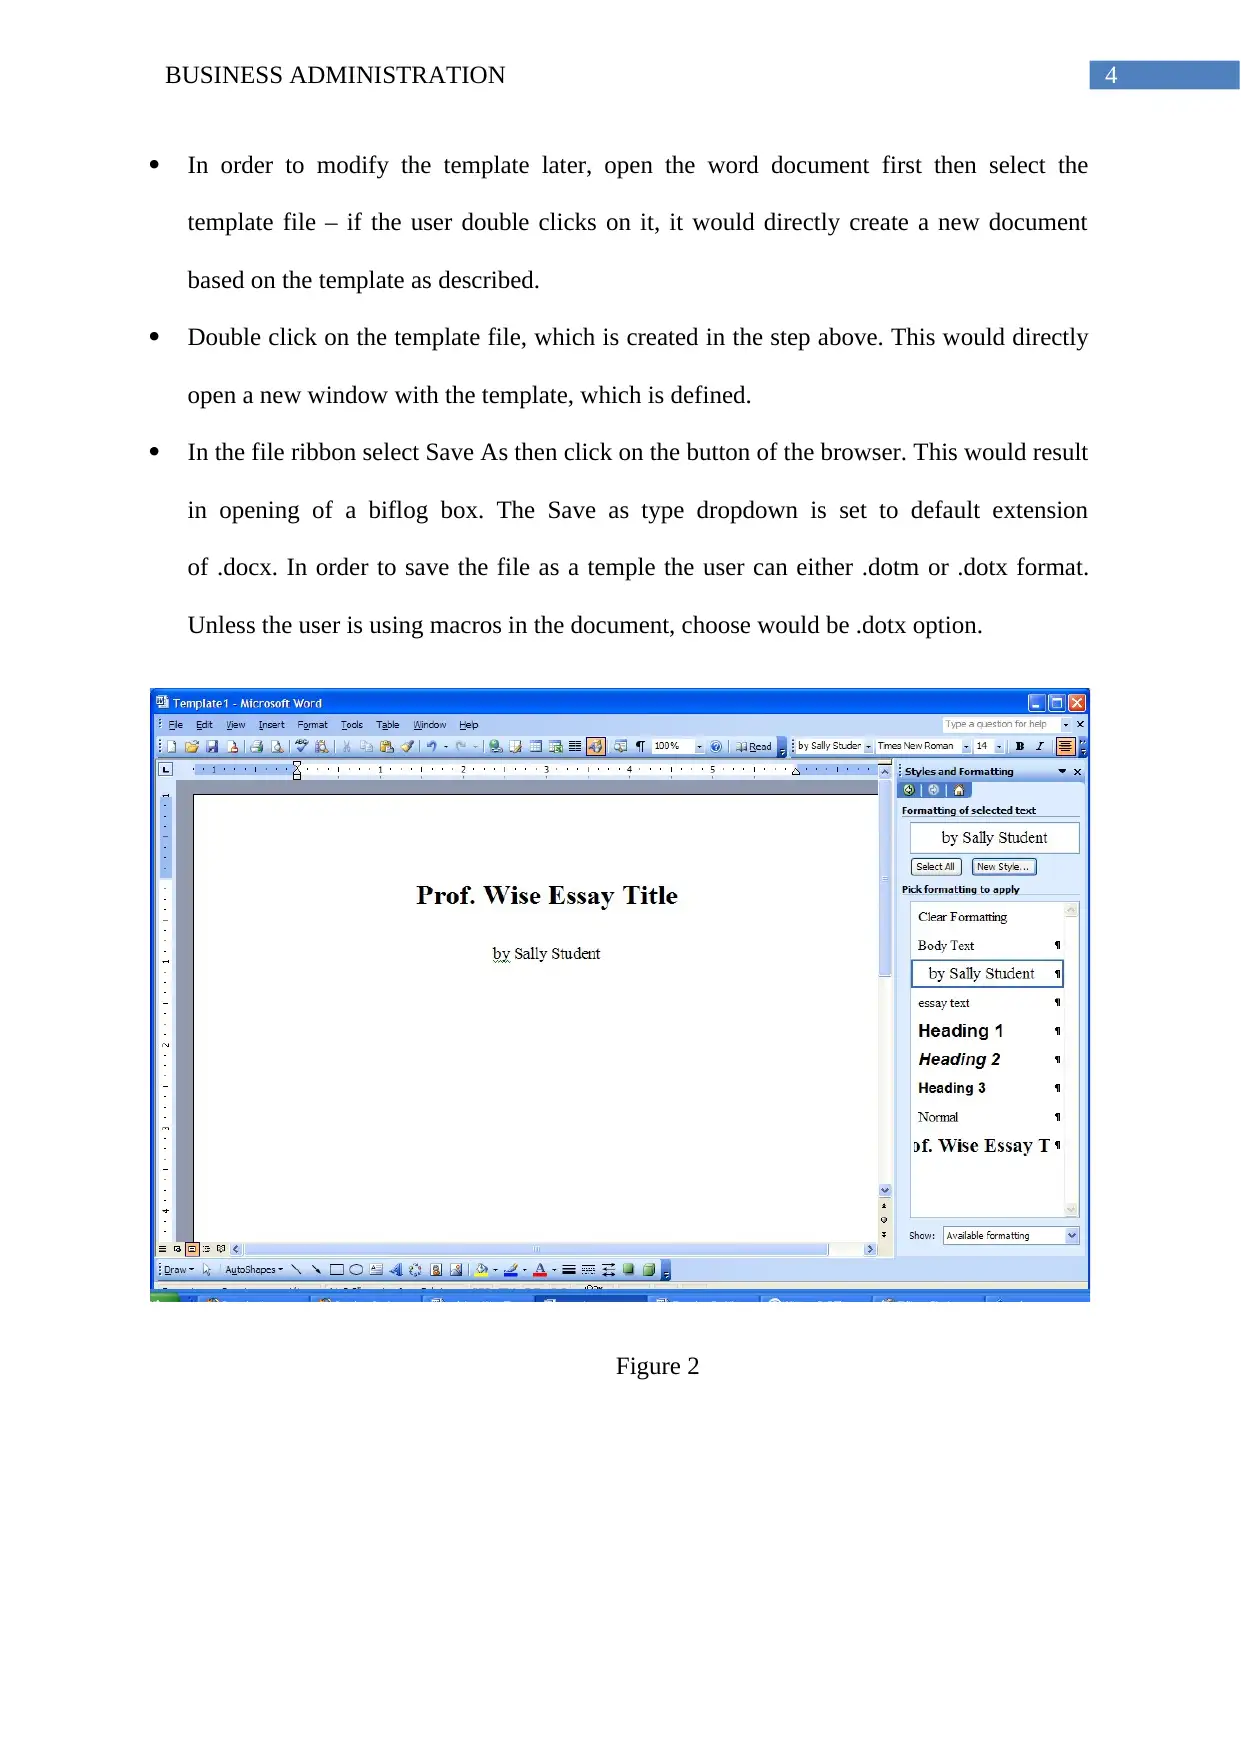
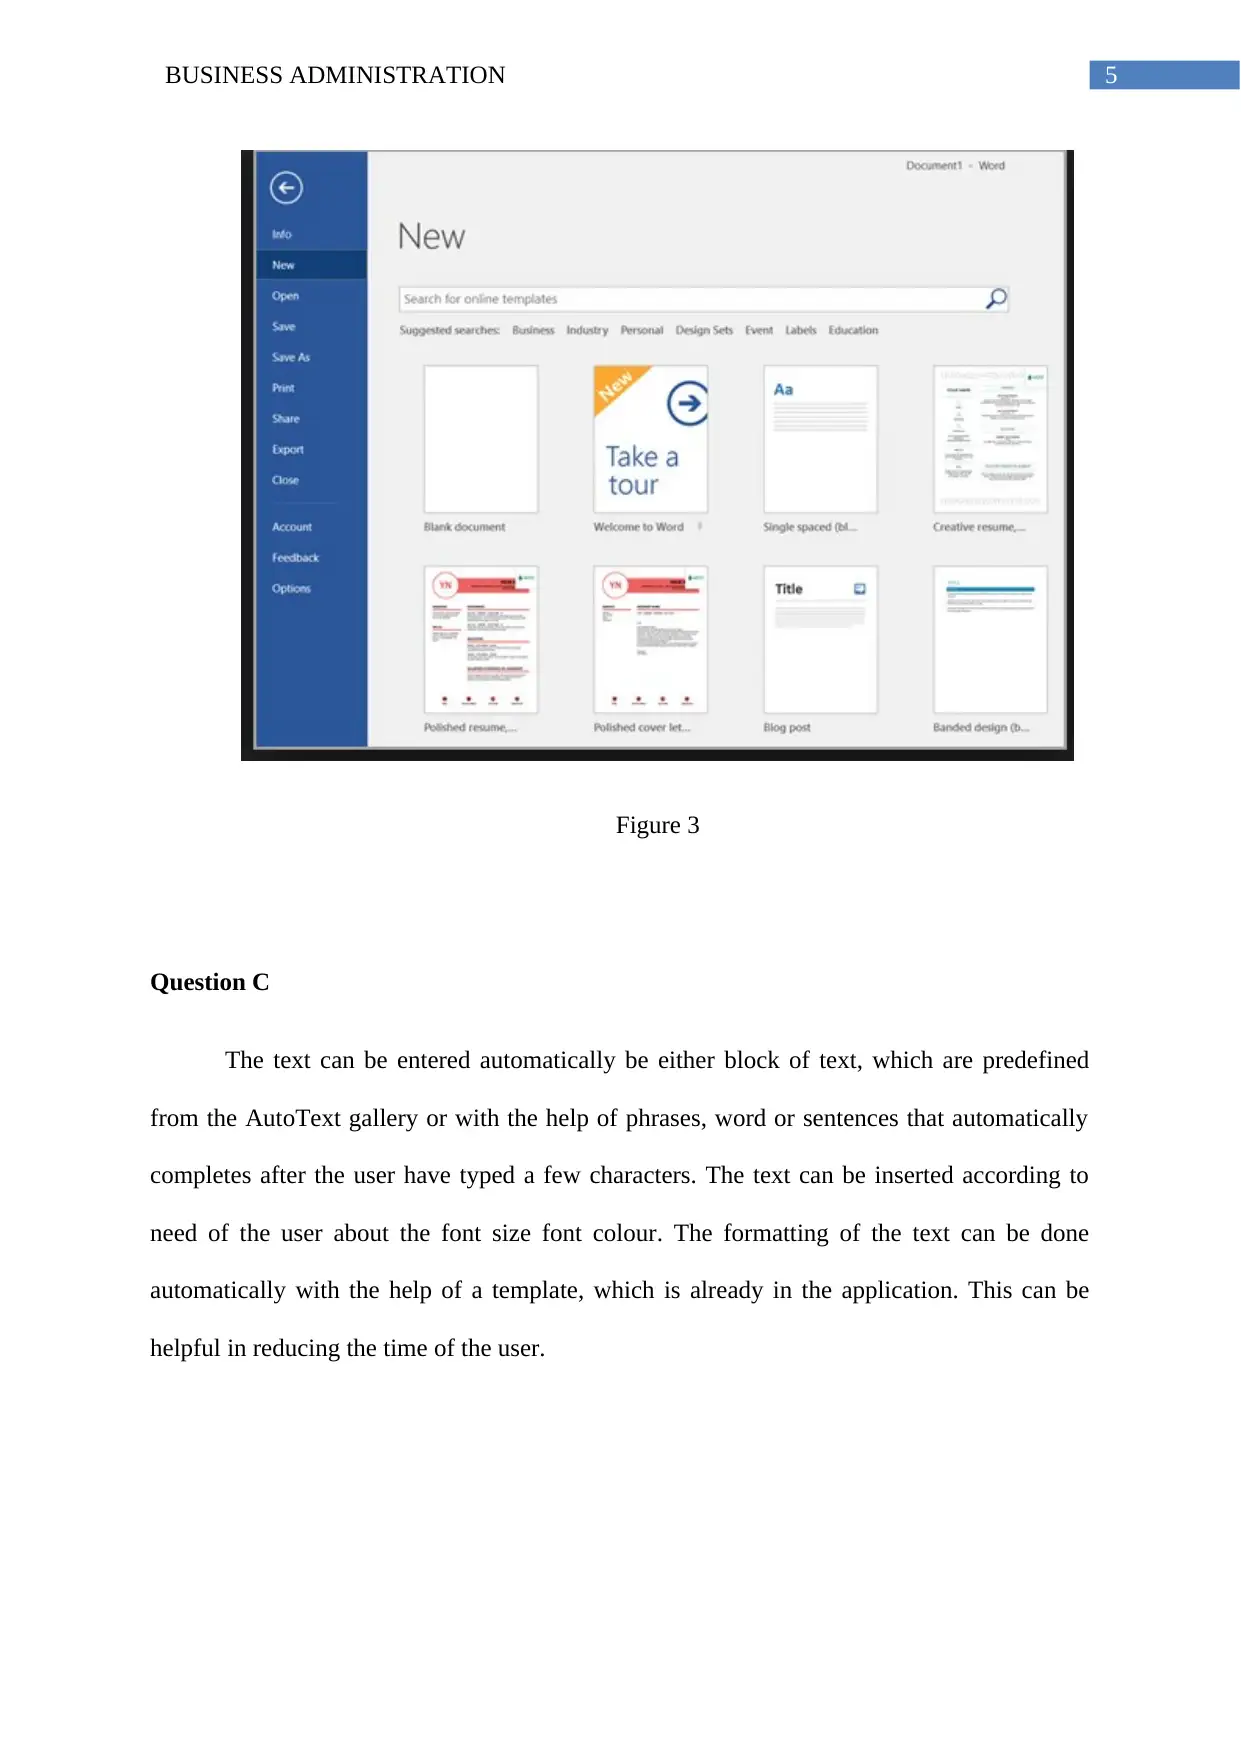
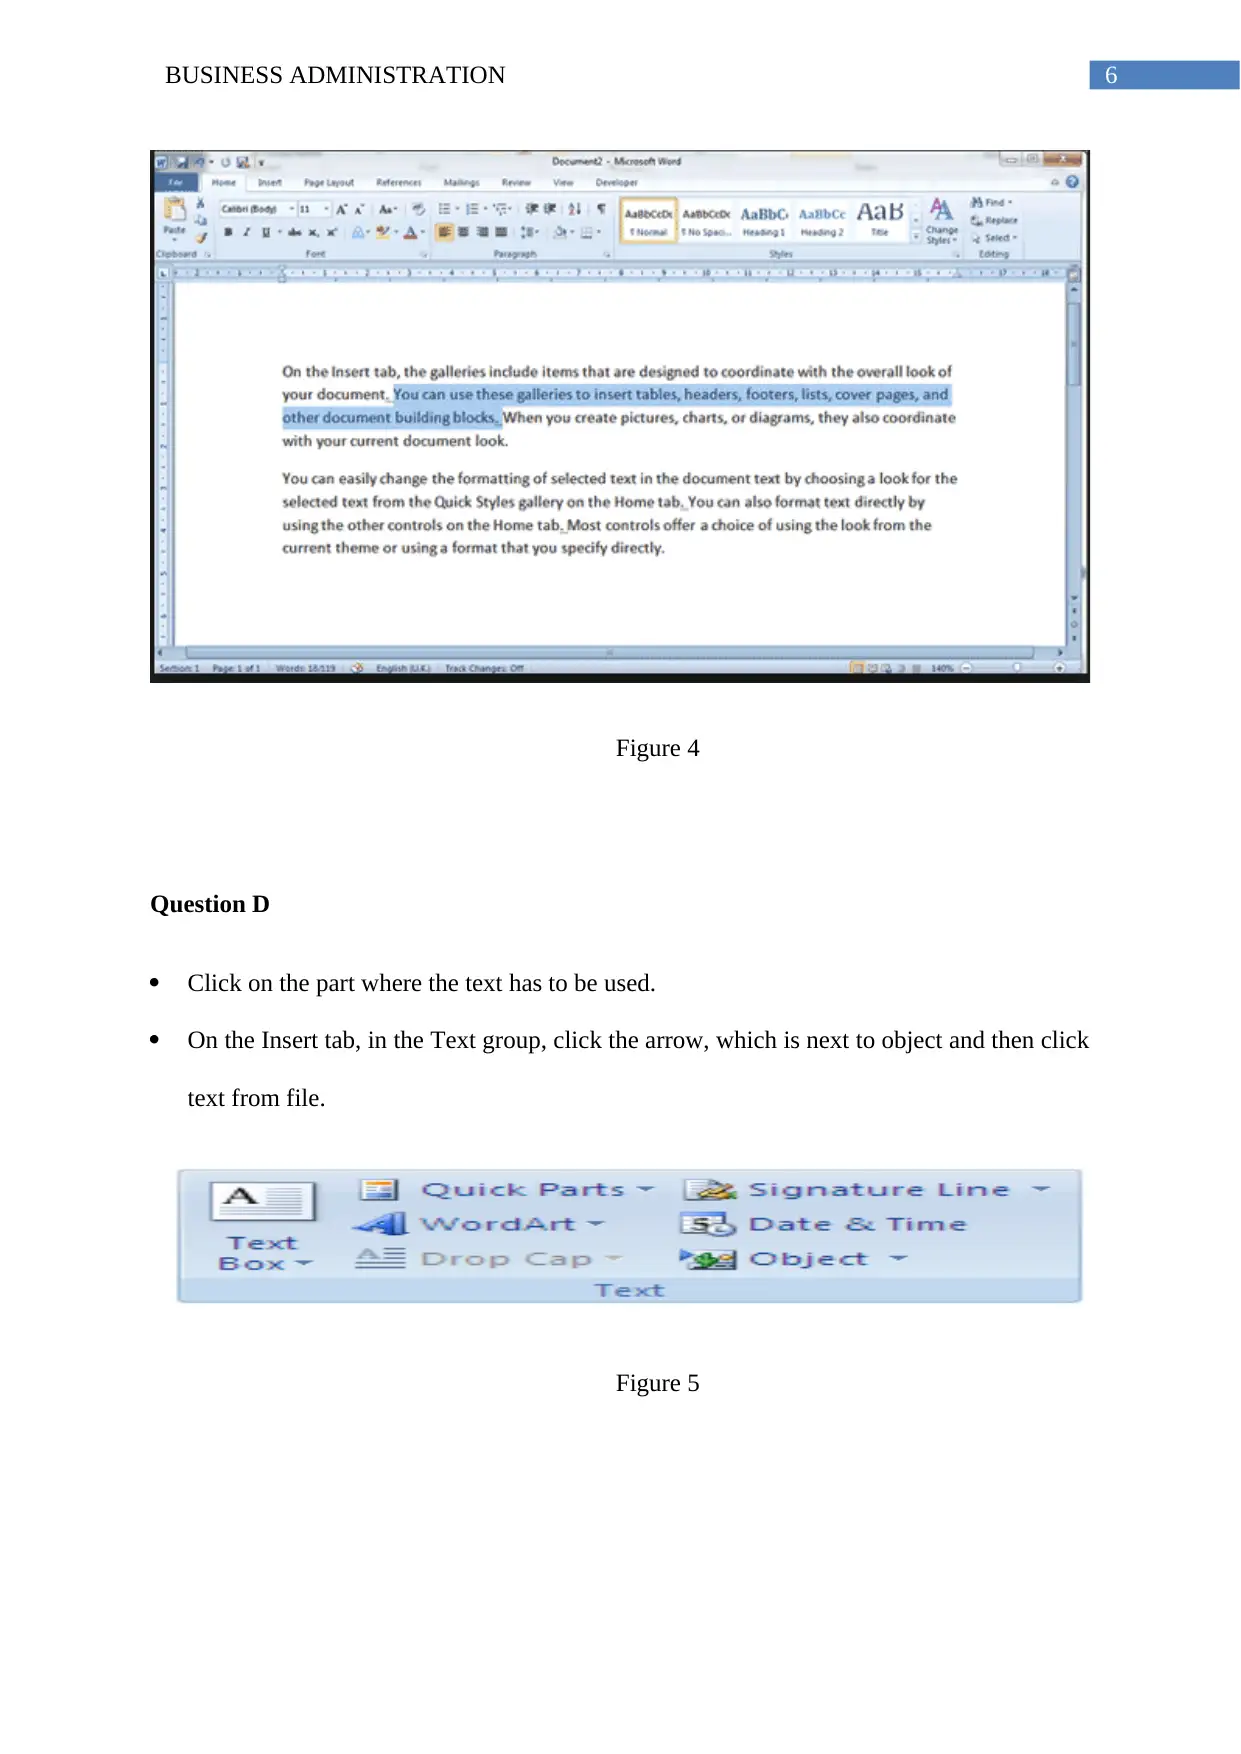
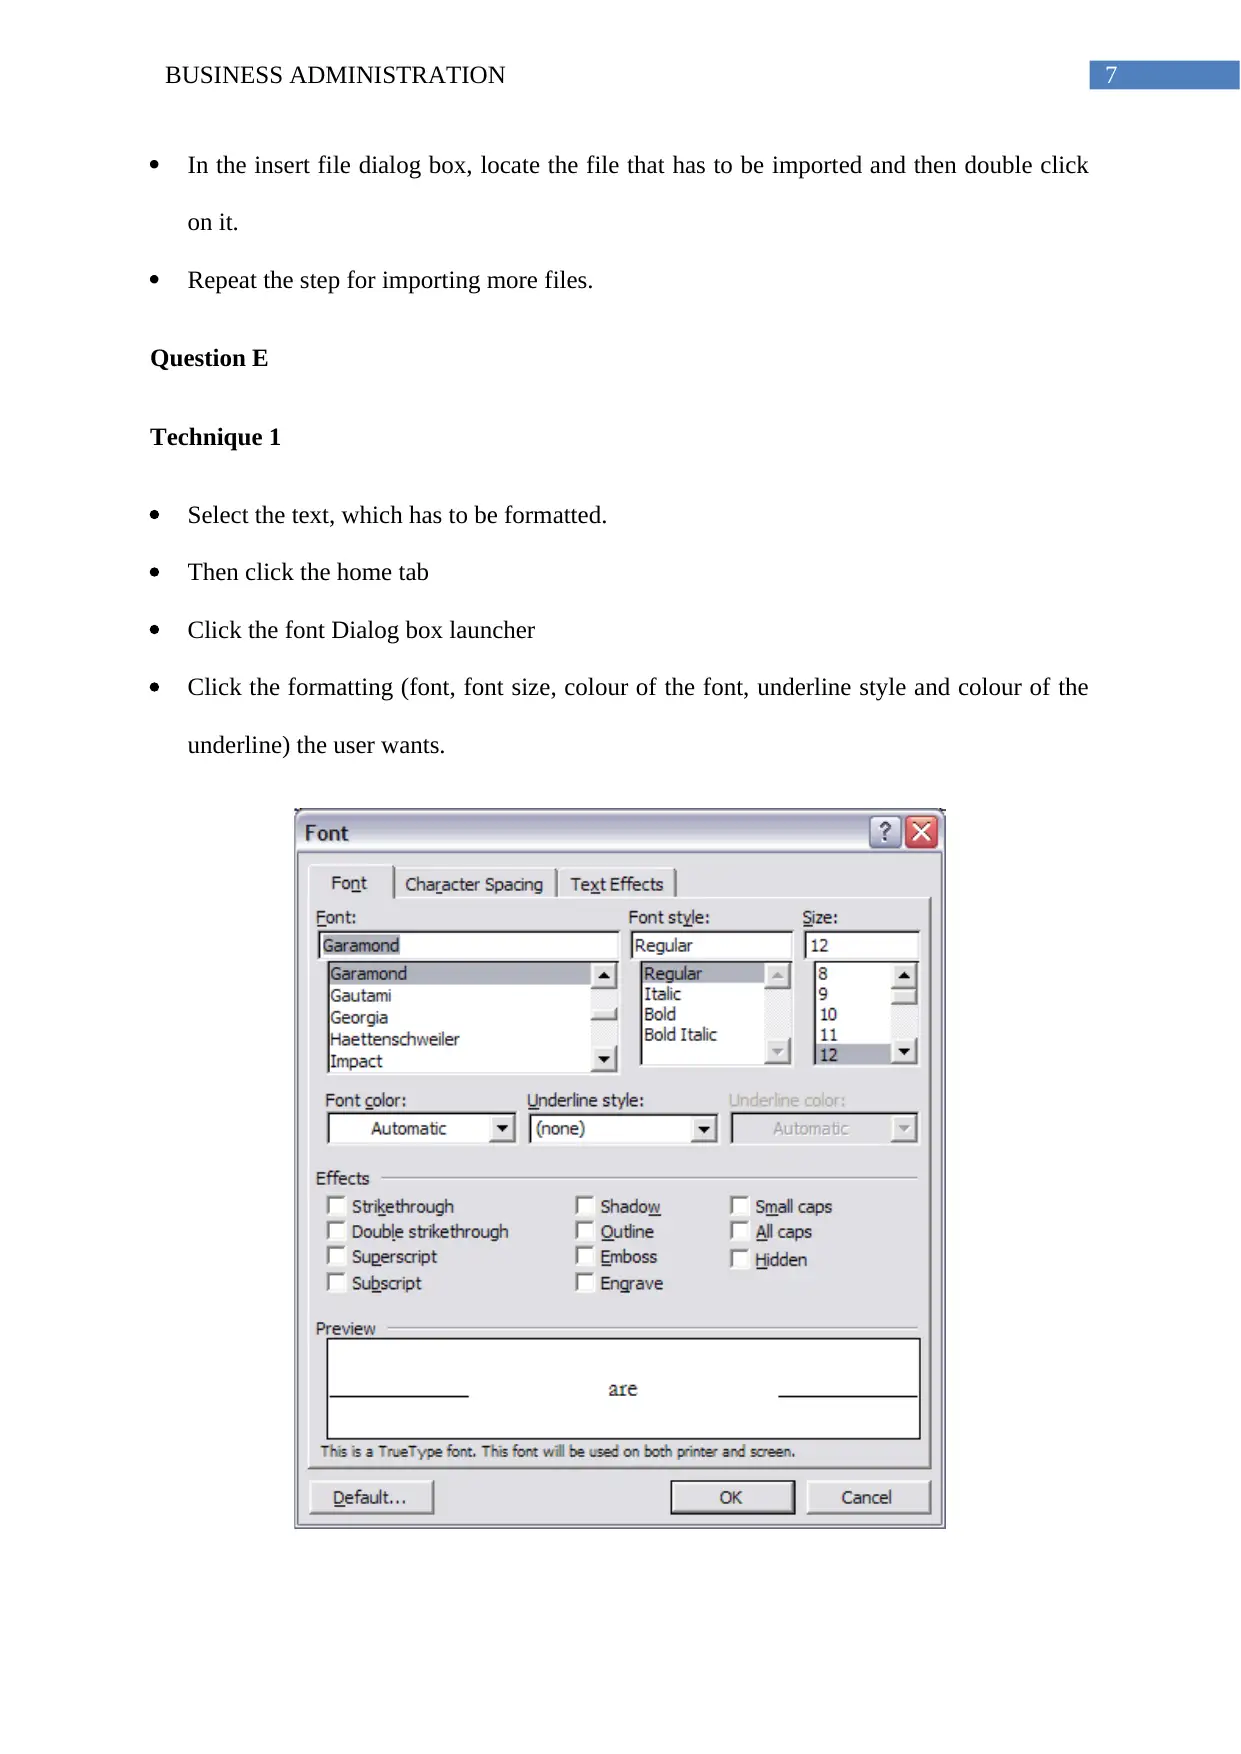
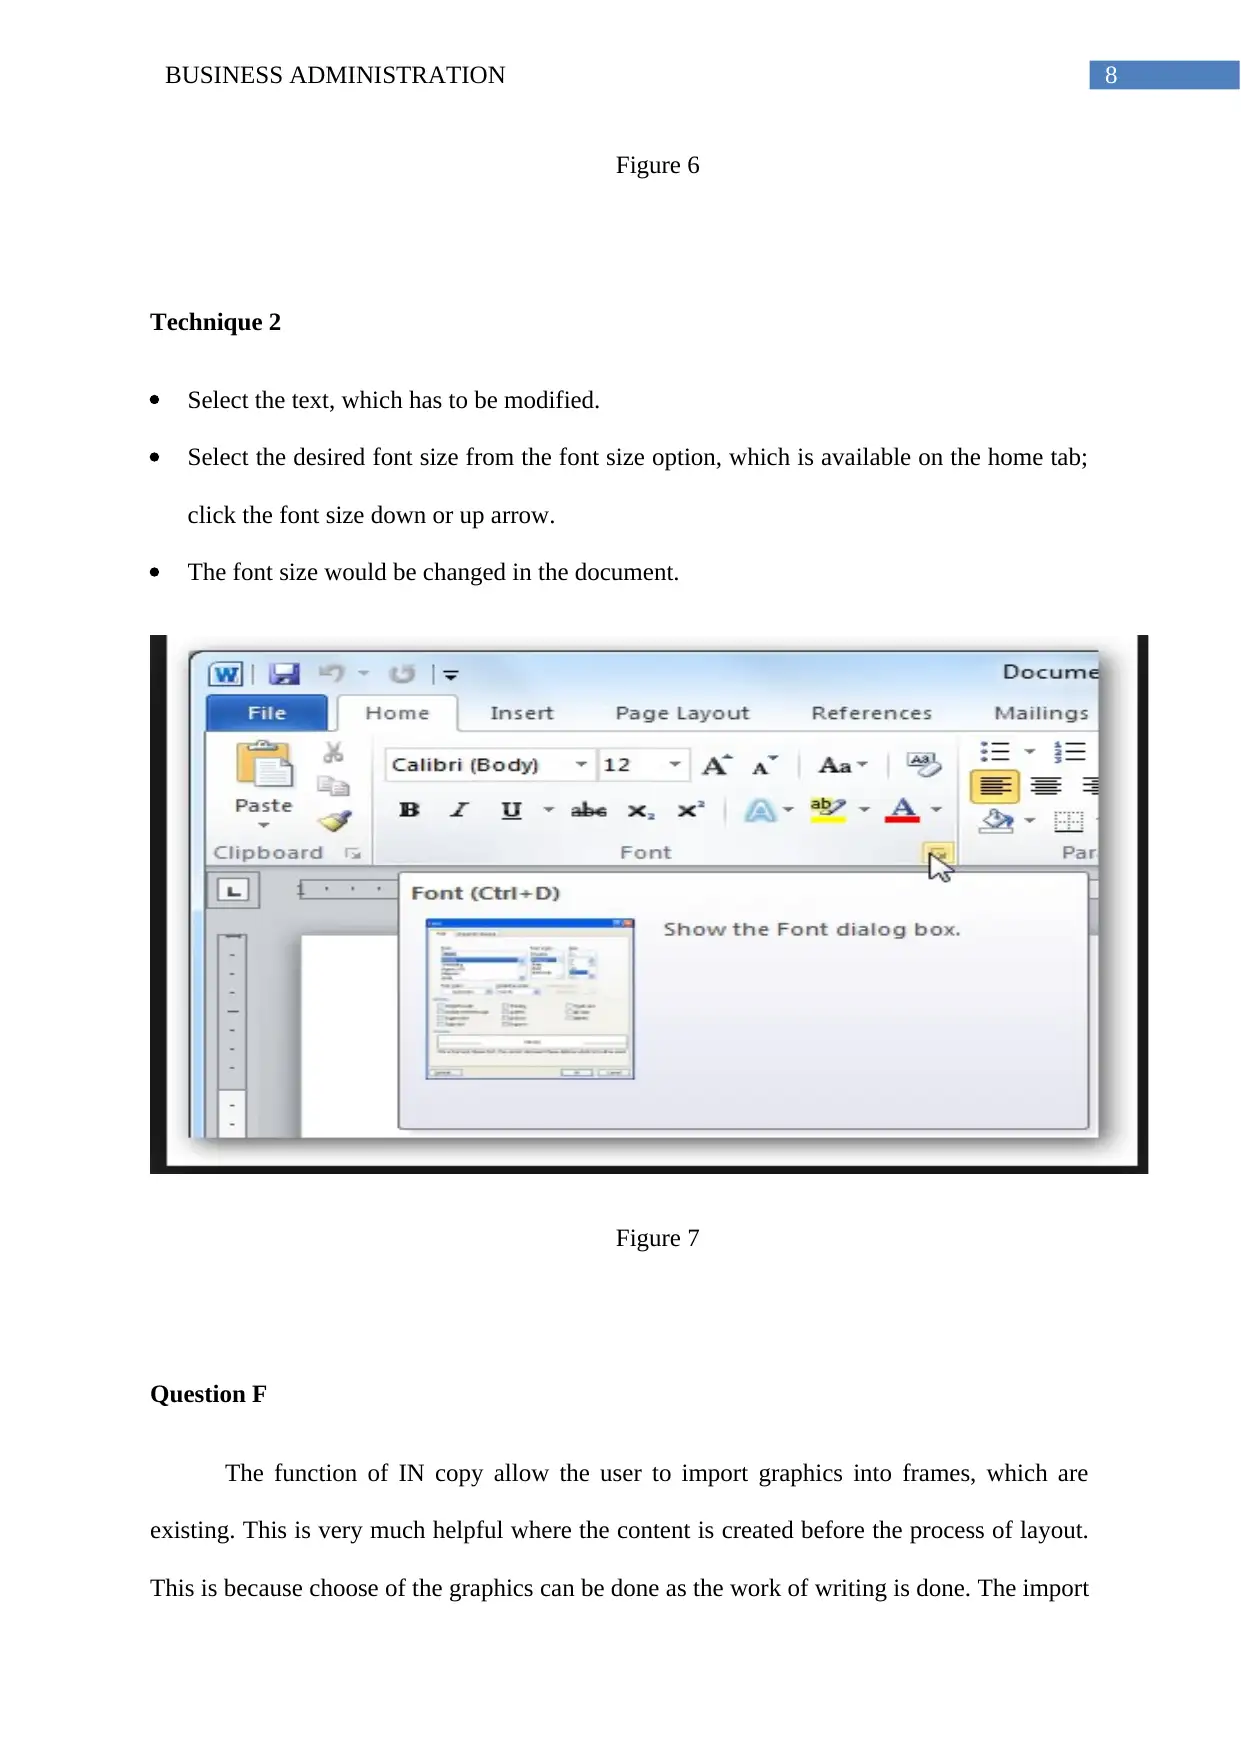
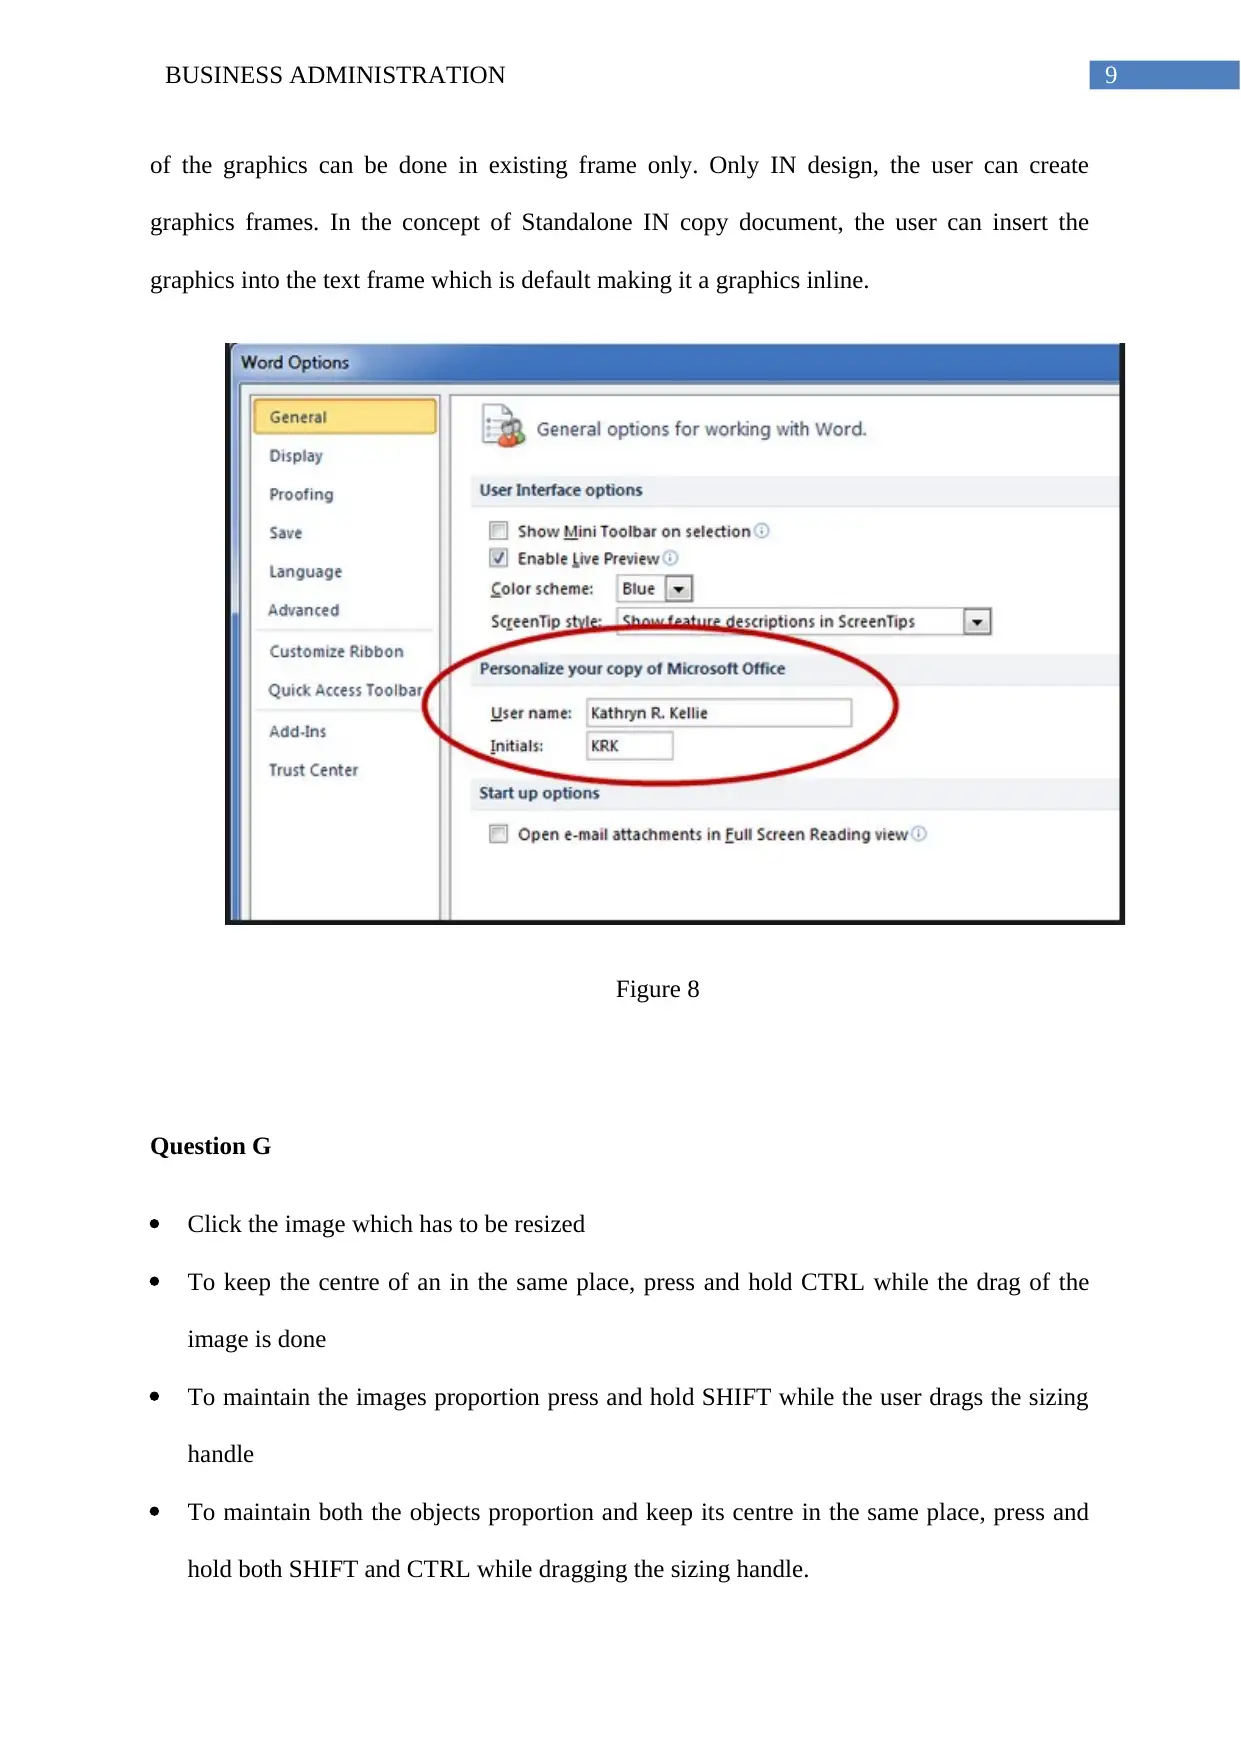
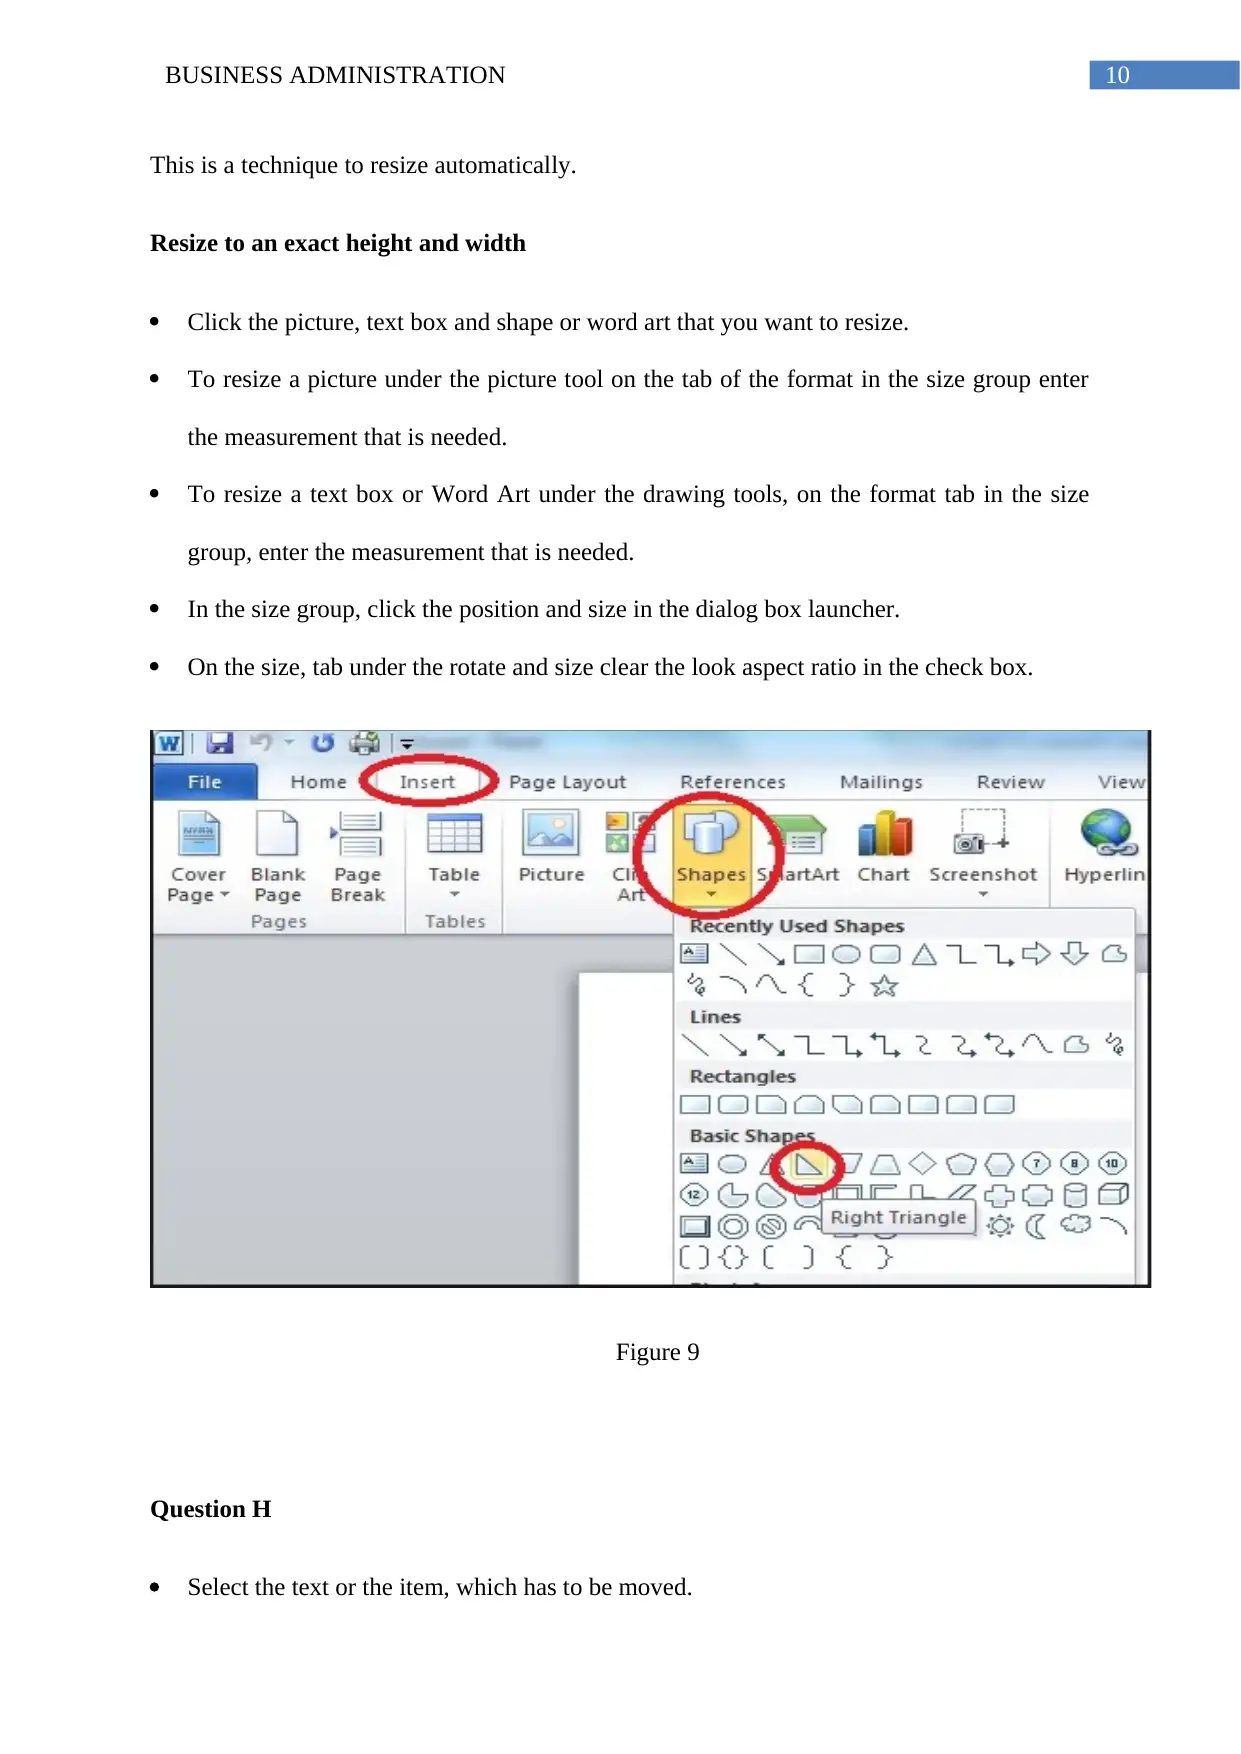
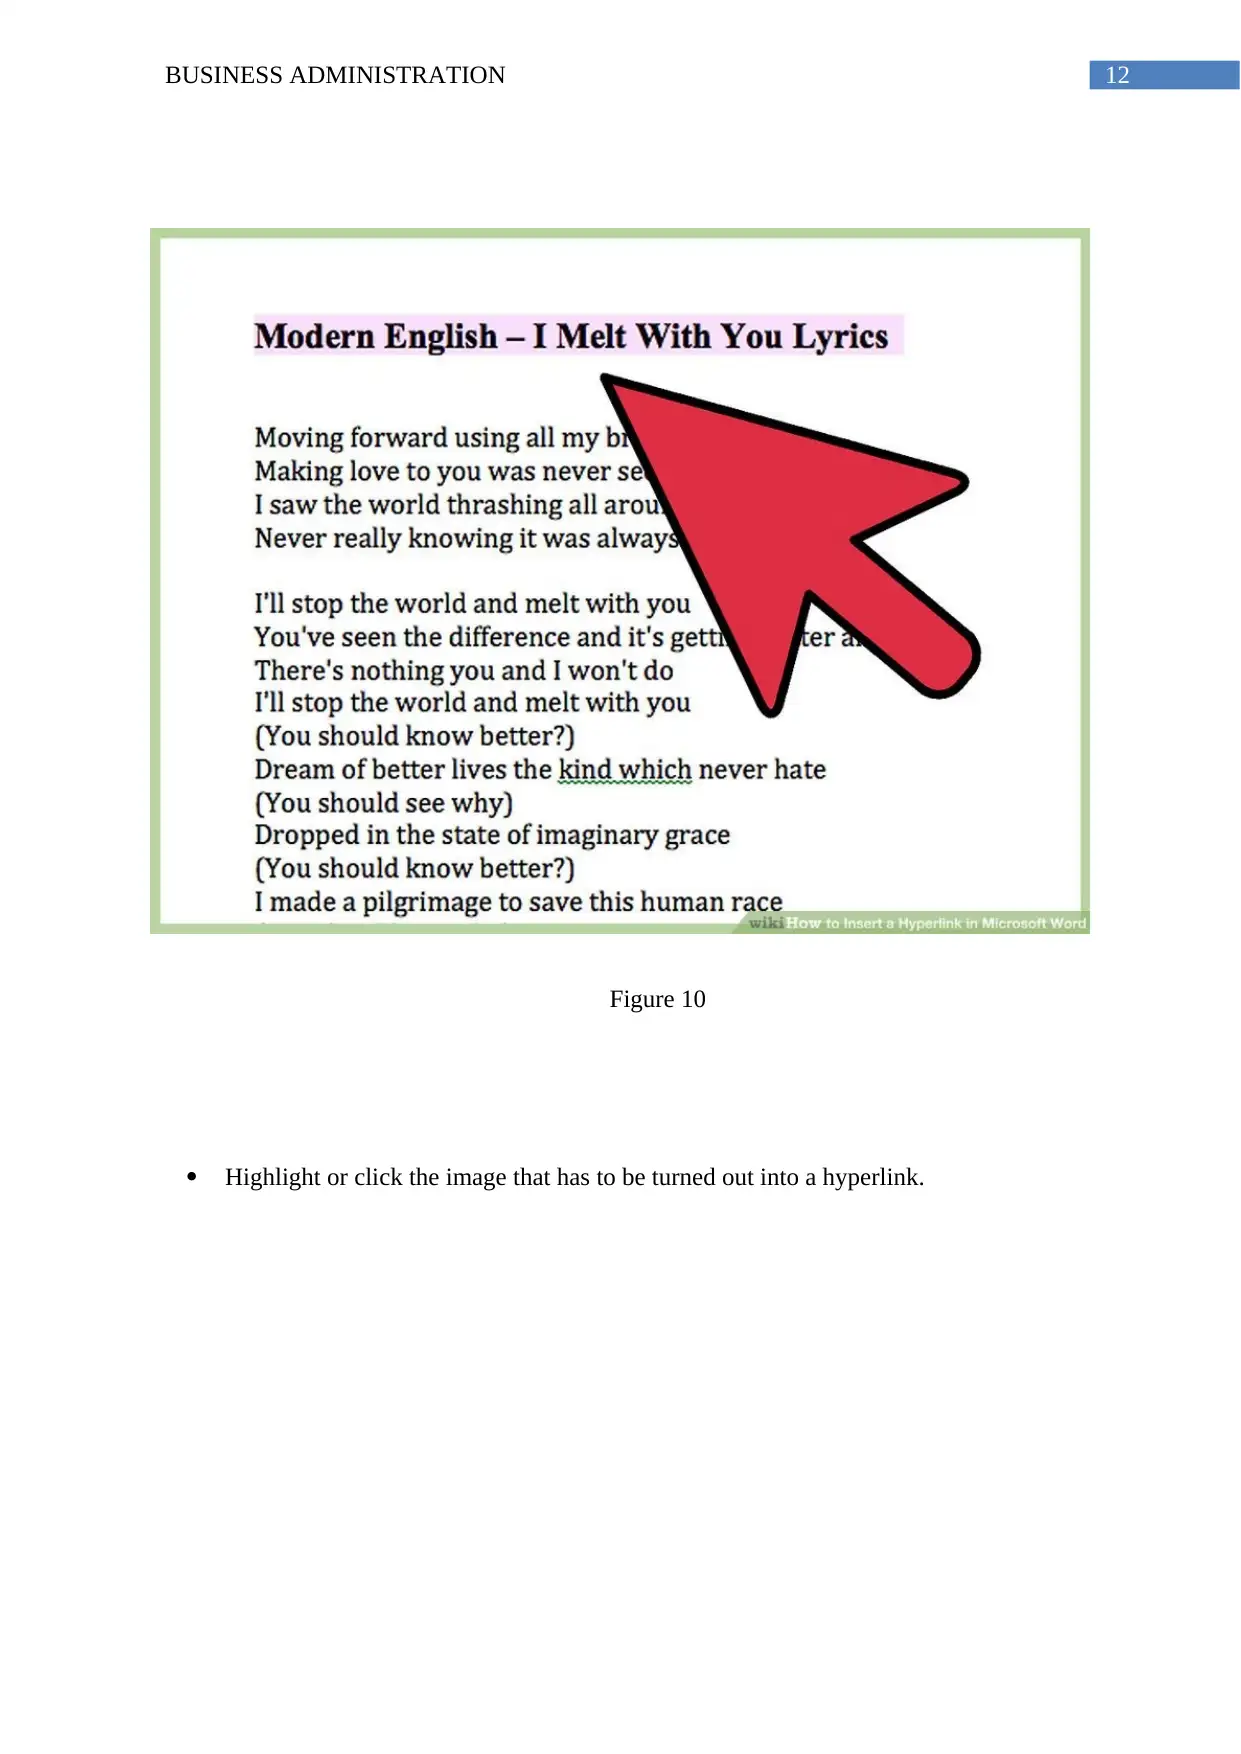
This report is a comprehensive Business Administration assessment, covering two main sections. Assessment 2 focuses on Microsoft Office Professional 2010, exploring its desktop publishing capabilities. It details the creation of templates, automatic text entry, inserting files and graphics, text formatting, resizing images, creating hyperlinks, and saving documents. Assessment 3 presents a scenario-based analysis of Global Star Enterprises, evaluating product advantages and disadvantages for luxury doors, windows, and shower screens. The report includes features, advantages and disadvantages of each product to help in marketing and business development.
Document Page
Running head: BUSINESS ADMINISTRATION
BUSINESS ADMINISTRATION
Name of the Student
Name of the University
Author Note
tabler-icon-diamond-filled.svg

Paraphrase This Document

Need a fresh take? Get an instant paraphrase of this document with our AI Paraphraser
Document Page
2BUSINESS ADMINISTRATION
Table of Contents
Assessment 2..............................................................................................................................3
Assessment 3 – Scenario..........................................................................................................14
Part 1........................................................................................................................................14
Product 1: Luxury door........................................................................................................14
Product 2: Windows.............................................................................................................15
Product 3: Shower screen.....................................................................................................16
Part 2 : Birthday Card..............................................................................................................18
References................................................................................................................................20
Document Page
3BUSINESS ADMINISTRATION
Assessment 2
Question A
The desktop publishing software, which is taken into consideration, is the Microsoft
office professional 2010. This is taken into consideration due to the factor that user by using
this can make a variety of tasks which can be helpful in many situations.
Figure 1
Question B
To create a template in Microsoft office professional 2010 the following steps should
be followed:
Open a blank word document and adjust the margin, the style, and any automatic feature
of numbering the user wants in the document.
In the file section, select the open Save as…, and then select the word template. The file
should be saved at a place which can be easily be accessed.
Document Page
4BUSINESS ADMINISTRATION
In order to modify the template later, open the word document first then select the
template file – if the user double clicks on it, it would directly create a new document
based on the template as described.
Double click on the template file, which is created in the step above. This would directly
open a new window with the template, which is defined.
In the file ribbon select Save As then click on the button of the browser. This would result
in opening of a biflog box. The Save as type dropdown is set to default extension
of .docx. In order to save the file as a temple the user can either .dotm or .dotx format.
Unless the user is using macros in the document, choose would be .dotx option.
Figure 2
tabler-icon-diamond-filled.svg

Paraphrase This Document

Need a fresh take? Get an instant paraphrase of this document with our AI Paraphraser
Document Page
5BUSINESS ADMINISTRATION
Figure 3
Question C
The text can be entered automatically be either block of text, which are predefined
from the AutoText gallery or with the help of phrases, word or sentences that automatically
completes after the user have typed a few characters. The text can be inserted according to
need of the user about the font size font colour. The formatting of the text can be done
automatically with the help of a template, which is already in the application. This can be
helpful in reducing the time of the user.
Document Page
6BUSINESS ADMINISTRATION
Figure 4
Question D
Click on the part where the text has to be used.
On the Insert tab, in the Text group, click the arrow, which is next to object and then click
text from file.
Figure 5
Document Page
7BUSINESS ADMINISTRATION
In the insert file dialog box, locate the file that has to be imported and then double click
on it.
Repeat the step for importing more files.
Question E
Technique 1
Select the text, which has to be formatted.
Then click the home tab
Click the font Dialog box launcher
Click the formatting (font, font size, colour of the font, underline style and colour of the
underline) the user wants.
tabler-icon-diamond-filled.svg

Paraphrase This Document

Need a fresh take? Get an instant paraphrase of this document with our AI Paraphraser
Document Page
8BUSINESS ADMINISTRATION
Figure 6
Technique 2
Select the text, which has to be modified.
Select the desired font size from the font size option, which is available on the home tab;
click the font size down or up arrow.
The font size would be changed in the document.
Figure 7
Question F
The function of IN copy allow the user to import graphics into frames, which are
existing. This is very much helpful where the content is created before the process of layout.
This is because choose of the graphics can be done as the work of writing is done. The import
Document Page
9BUSINESS ADMINISTRATION
of the graphics can be done in existing frame only. Only IN design, the user can create
graphics frames. In the concept of Standalone IN copy document, the user can insert the
graphics into the text frame which is default making it a graphics inline.
Figure 8
Question G
Click the image which has to be resized
To keep the centre of an in the same place, press and hold CTRL while the drag of the
image is done
To maintain the images proportion press and hold SHIFT while the user drags the sizing
handle
To maintain both the objects proportion and keep its centre in the same place, press and
hold both SHIFT and CTRL while dragging the sizing handle.
Document Page
10BUSINESS ADMINISTRATION
This is a technique to resize automatically.
Resize to an exact height and width
Click the picture, text box and shape or word art that you want to resize.
To resize a picture under the picture tool on the tab of the format in the size group enter
the measurement that is needed.
To resize a text box or Word Art under the drawing tools, on the format tab in the size
group, enter the measurement that is needed.
In the size group, click the position and size in the dialog box launcher.
On the size, tab under the rotate and size clear the look aspect ratio in the check box.
Figure 9
Question H
Select the text or the item, which has to be moved.
tabler-icon-diamond-filled.svg

Paraphrase This Document

Need a fresh take? Get an instant paraphrase of this document with our AI Paraphraser
Document Page
11BUSINESS ADMINISTRATION
Drag the selected text and drop it where should be attached.
To move the section copy the part, press, and hold the CTRL key while dragging.
To move the selected part use the cut command on the home tab of the Ribbon
To paste it in desired location click on the paste option available in the home tab
(Papazoglou et al. 2015).
Question I
Select the image or the text whose link has to be created.
Right click the selected image or text, and then click on the option hyperlink. The user
can also click on the blank area of the file and click on the hyperlink option.
Then the hyperlink dialog box would open. The other way of opening this dialog box is
from the insert tab by means of clicking hypertext.
If a text were created, the word would appear in the option text to display field, which is
at the top. The user can also change this if needed
Type the address which has to be redirected to
Then click on the option OK. This would create a hyperlink of the image or text.
Or
Document Page
12BUSINESS ADMINISTRATION
Figure 10
Highlight or click the image that has to be turned out into a hyperlink.
chevron_up_icon
1 out of 30
circle_padding
hide_on_mobile
zoom_out_icon
[object Object]