Kingston University CI6240 Internet Security: Practical Assignment

Verified

Added on  2023/06/09

|54
|2990
|401
Practical Assignment
AI Summary
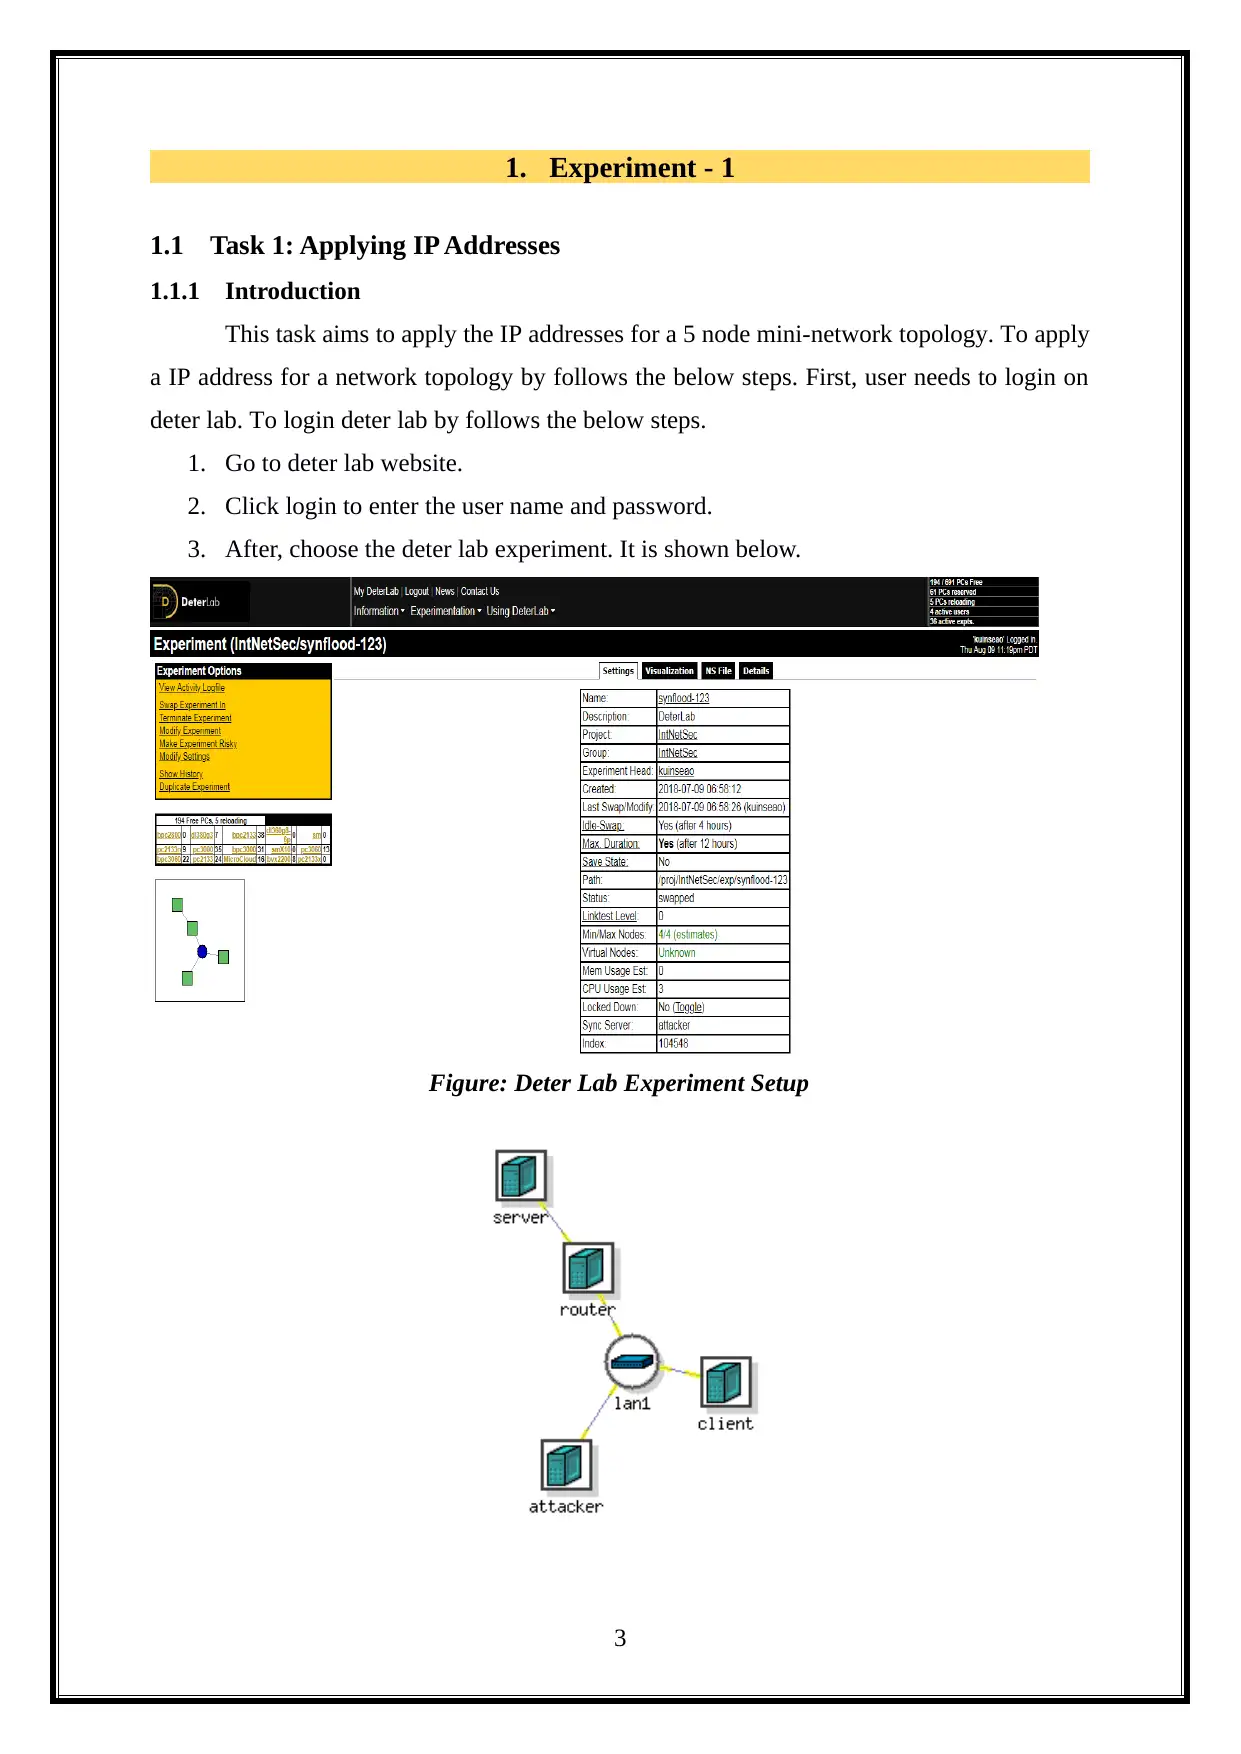
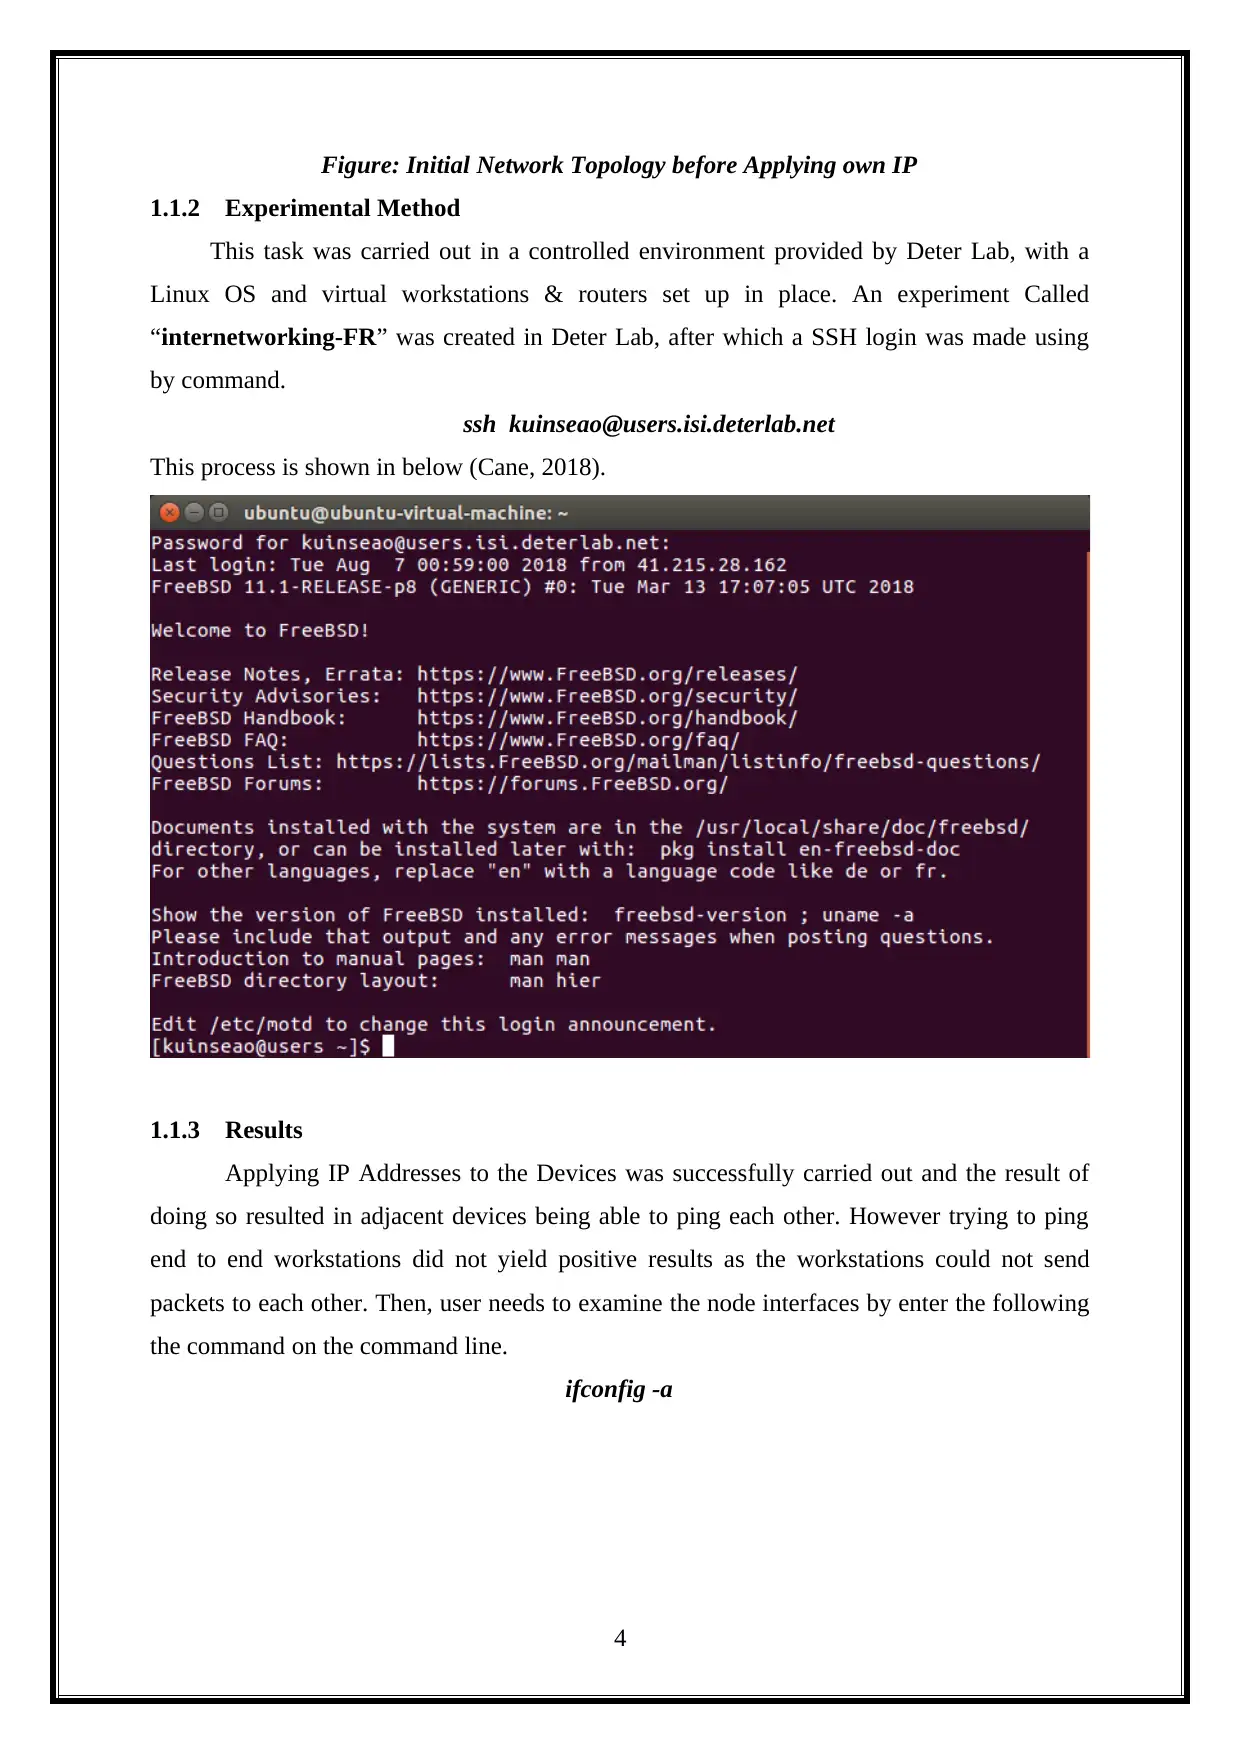
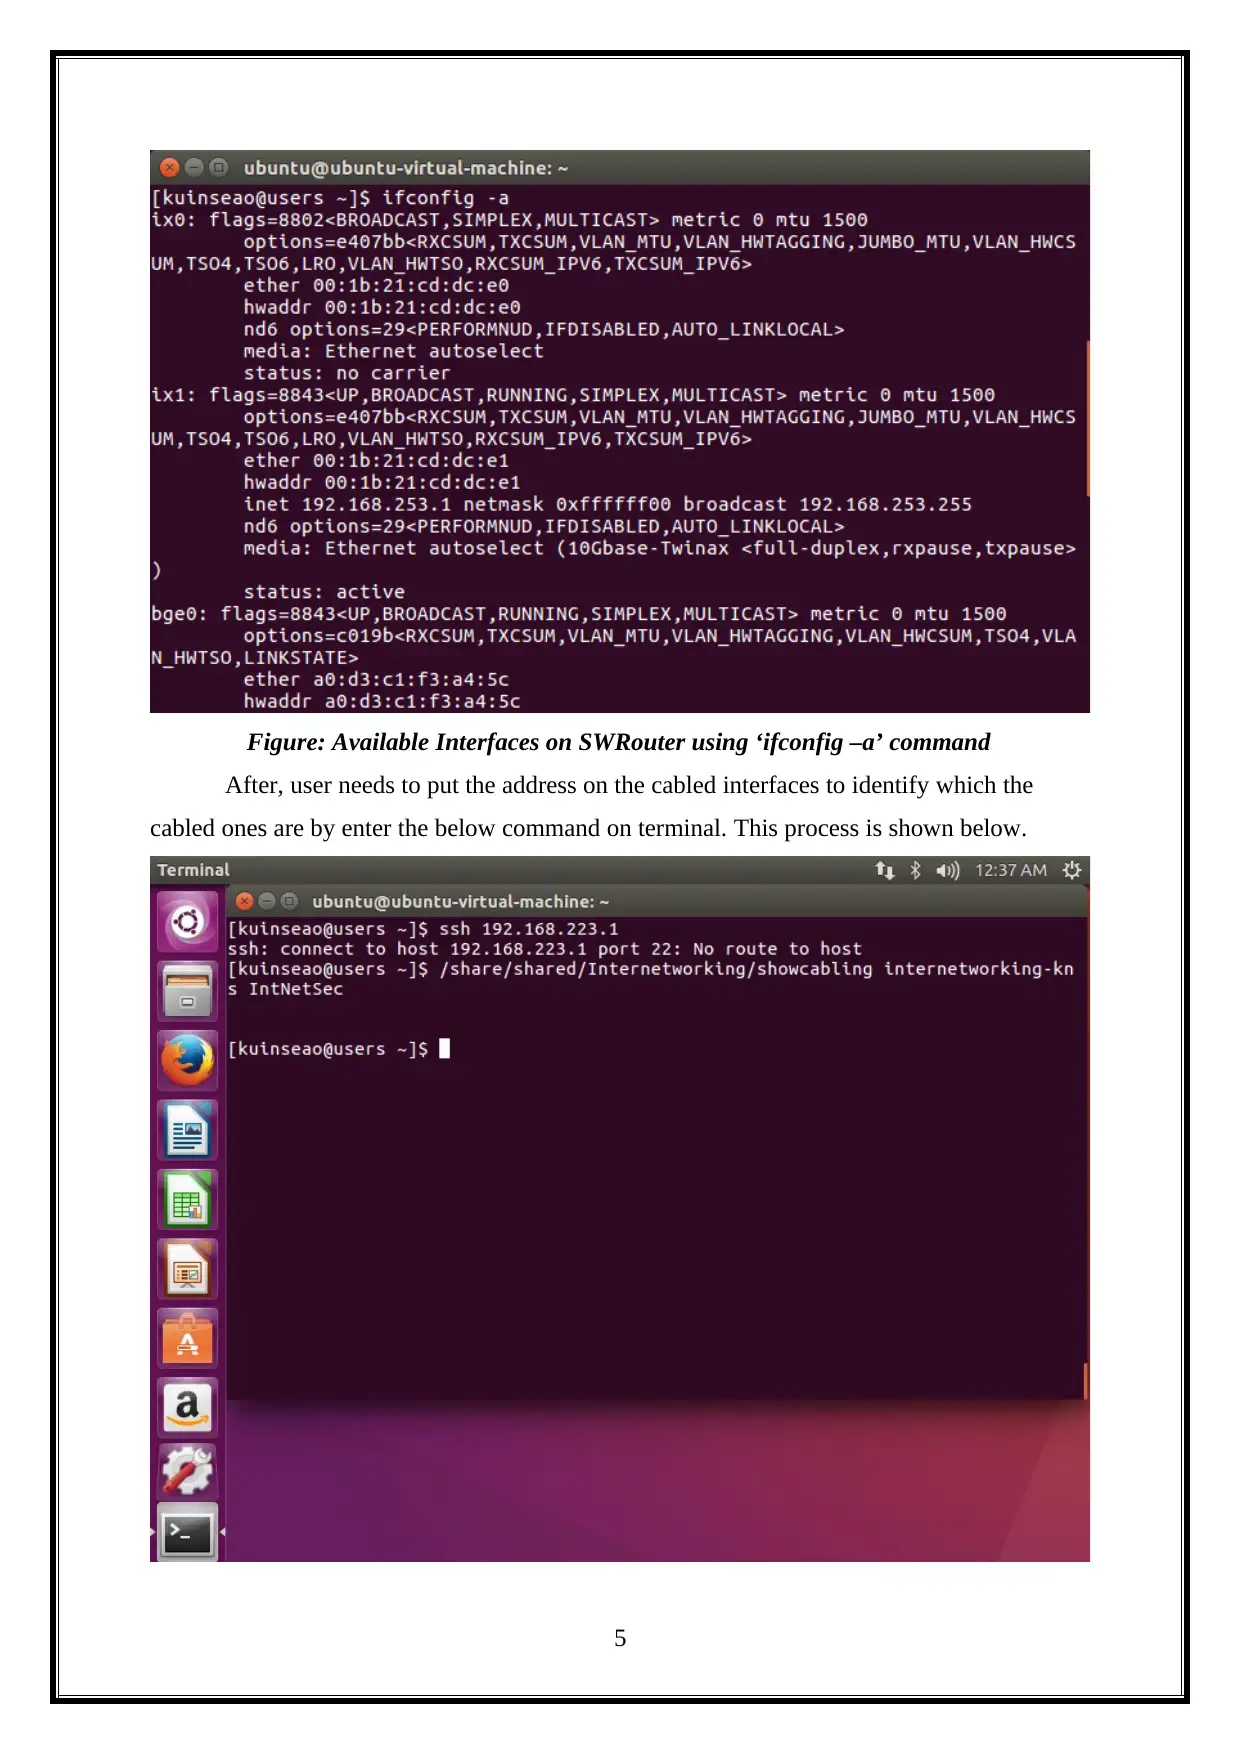
This assignment details a practical exploration of Internet security concepts within the DeterLab environment. The assignment begins with configuring IP addresses for a mini-network topology, establishing routing tables, and addressing the issue of end-to-end communication. It then moves on to prohibiting private addresses using IP tables, configuring Network Address Translation (NAT), and setting up port forwarding to resolve the end-to-end communication problem. The assignment culminates in setting up an SSL certificate on Apache, demonstrating Cross-Site Scripting (XSS) vulnerability exploitation. The student successfully demonstrates the practical application of security principles and network configuration techniques, including the use of commands like ifconfig, iptables, tcpdump, and lynx to analyze network behavior and implement security measures. The report includes detailed experimental methods, results, discussions, and answers to critical questions. The overall assignment is a comprehensive overview of practical network security configurations.
Document Page
Hemasa-1
INTERNET SECURITY
tabler-icon-diamond-filled.svg

Paraphrase This Document

Need a fresh take? Get an instant paraphrase of this document with our AI Paraphraser
Document Page
TABLE OF CONTENTS
1. Experiment - 1..................................................................................................................3
1.1 Task 1: Applying IP Addresses.................................................................................3
1.1.1 Introduction........................................................................................................3
1.1.2 Experimental Method........................................................................................4
1.1.3 Results.................................................................................................................4
1.1.4 Discussion............................................................................................................7
1.1.5 Questions.............................................................................................................8
1.1.6 Conclusion...........................................................................................................8
1.2 Task 2: Establishing Routing Tables........................................................................9
1.2.1 Introduction........................................................................................................9
1.2.2 Experiment Method...........................................................................................9
1.2.3 Results...............................................................................................................10
1.2.4 Question............................................................................................................12
1.3 Task 3: Prohibiting Private Addresses...................................................................12
1.3.1 Introduction......................................................................................................12
1.3.2 Experiment Method.........................................................................................12
1.3.3 Results...............................................................................................................14
1.3.4 Discussion..........................................................................................................15
1.3.5 Questions...........................................................................................................15
1.3.6 Challenges.........................................................................................................15
1.3.7 Conclusion.........................................................................................................16
1.4 Task 4: Configuring NAT........................................................................................16
1.4.1 Introduction......................................................................................................16
1.4.2 Experimental Setup..........................................................................................16
1.4.3 Results and Discussion.....................................................................................16
1.4.4 Question............................................................................................................18
1.5 Task 5: Configuring Port Forwarding...................................................................18
1.5.1 Introduction......................................................................................................18
1.5.2 Experimental Setup..........................................................................................19
1.5.3 Results and Discussion.....................................................................................19
1.5.4 Questions...........................................................................................................22
2. Experiment – 3................................................................................................................23
1
Document Page
2.1 Introduction.............................................................................................................23
2.2 Experimental Setup.................................................................................................23
2.3 Results and Discussion............................................................................................25
2.3.1 Installing Apache..............................................................................................25
2.3.2 Creating a Self-Signed SSL Certificate on Apache.......................................33
2.3.3 Cross-Site Scripting (XSS) Vulnerability Exploitation.................................46
2.4 Conclusion................................................................................................................51
3. References.......................................................................................................................52
2
Document Page
1. Experiment - 1
1.1 Task 1: Applying IP Addresses
1.1.1 Introduction
This task aims to apply the IP addresses for a 5 node mini-network topology. To apply
a IP address for a network topology by follows the below steps. First, user needs to login on
deter lab. To login deter lab by follows the below steps.
1. Go to deter lab website.
2. Click login to enter the user name and password.
3. After, choose the deter lab experiment. It is shown below.
Figure: Deter Lab Experiment Setup
3
tabler-icon-diamond-filled.svg

Paraphrase This Document

Need a fresh take? Get an instant paraphrase of this document with our AI Paraphraser
Document Page
Figure: Initial Network Topology before Applying own IP
1.1.2 Experimental Method
This task was carried out in a controlled environment provided by Deter Lab, with a
Linux OS and virtual workstations & routers set up in place. An experiment Called
internetworking-FR” was created in Deter Lab, after which a SSH login was made using
by command.
ssh kuinseao@users.isi.deterlab.net
This process is shown in below (Cane, 2018).
1.1.3 Results
Applying IP Addresses to the Devices was successfully carried out and the result of
doing so resulted in adjacent devices being able to ping each other. However trying to ping
end to end workstations did not yield positive results as the workstations could not send
packets to each other. Then, user needs to examine the node interfaces by enter the following
the command on the command line.
ifconfig -a
4
Document Page
Figure: Available Interfaces on SWRouter using ‘ifconfig –a’ command
After, user needs to put the address on the cabled interfaces to identify which the
cabled ones are by enter the below command on terminal. This process is shown below.
5
Document Page
Then, check the connectivity by pining the addresses between the adjacent nodes. This
process is shown below.
Figure: Successful Ping to ISrouter by SWrouter.
Also, allocate the IP address to a workstations and ping to the adjacent devices. This process
is shown below.
Figure 1.4: Allocation of IP address to a Workstation and Ping to adjacent device
6
tabler-icon-diamond-filled.svg

Paraphrase This Document

Need a fresh take? Get an instant paraphrase of this document with our AI Paraphraser
Document Page
Figure: Visualization of Network Topology after Successful IP Allocation
1.1.4 Discussion
This task is effective as it depicts a real time situation on how to configure the IP
address for a network topology that is network devices like workstations and routers so as for
them to communicate with each other. Here, we will apply the IP address and enabled the
adjacent devices to communicate with each other network devices. Through, this is not
sufficient in a real time network as a client on one network segment may needs to
communicate with another clients on a various network segment (Netbsd.org, 2018). Here,
we will demonstrate the sample allocations of IP address is shown below.
7
Document Page
Figure: Sample of IP Allocation using ifconfig
1.1.5 Questions
What is “special” about the network and host addresses used at the two “ends” of the
network, and why are they different from the ones in the middle?
The first number is called as Network address so, 192.168.253.1/24 is the number that
is utilized and it is refer to subnet number or network address. Obviously, the last address is
the broadcast address where communicates are sent to and later pushed down to all customers
on that subnet. In IP networking, you generally remove 2 from the broadcast address to locate
the aggregate sum of addressable IP addresses. 192.168.0.0/24 has a broadcast of
192.168.0.255 and in this way 253 addressable locations. 192.168.0.0/26 has a broadcast of
192.168.0.64 and in this manner 62 addressable locations.
1.1.6 Conclusion
This task is used to provide the understanding of how to setup and configure IP addresses
for devices in a network. Applying IP Addresses to the Devices was successfully carried out
and the result of doing so resulted in adjacent devices being able to ping each other.
8
Document Page
1.2 Task 2: Establishing Routing Tables
1.2.1 Introduction
In Experiment 1, IP Addresses were allocated to devices on the network. The result
was the devices where able to ping adjacent devices but not those beyond the gateway/router.
Here, the problem is solved so that end-to-end ping of workstations is made possible by
adding routes to the IP Table of those devices. Also, establishing the routing tables for a
router.
1.2.2 Experiment Method
Commands used:
9
tabler-icon-diamond-filled.svg

Paraphrase This Document

Need a fresh take? Get an instant paraphrase of this document with our AI Paraphraser
Document Page
Figure: IP Tables Before & After Adding Routes
1.2.3 Results
Upon adding routes to the devices, the devices were able to ping other devices which
are not adjucent. In other words, End-to-end Communication of workstations was made
posible.
10
Document Page
Figure: End-to-end Ping of Workstations before Configuring the IP Tables
After install the lynx-cur. It is shown below.
11
chevron_up_icon
1 out of 54
circle_padding
hide_on_mobile
zoom_out_icon
[object Object]