NIT3122 - Active Directory Design and Implementation on Windows Server
VerifiedAdded on 2023/04/21
|18
|821
|341
Practical Assignment
AI Summary
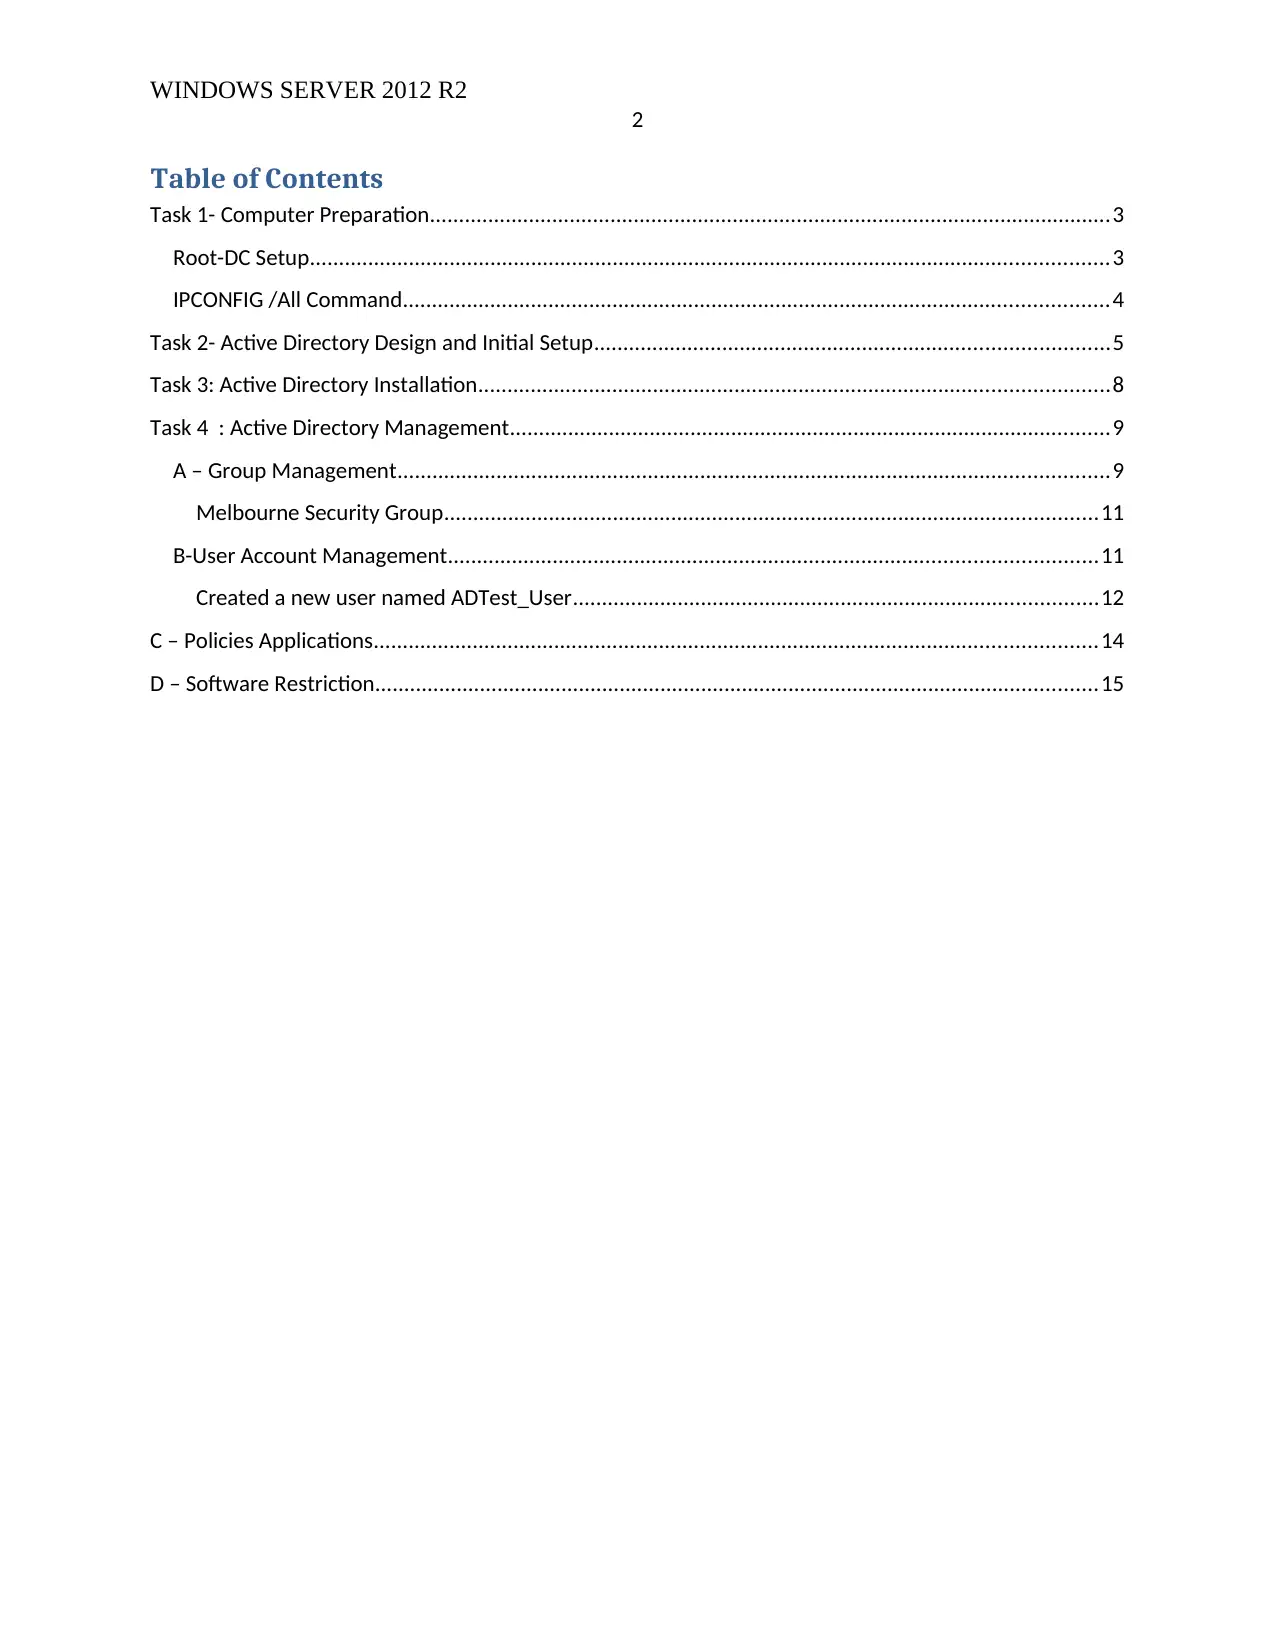
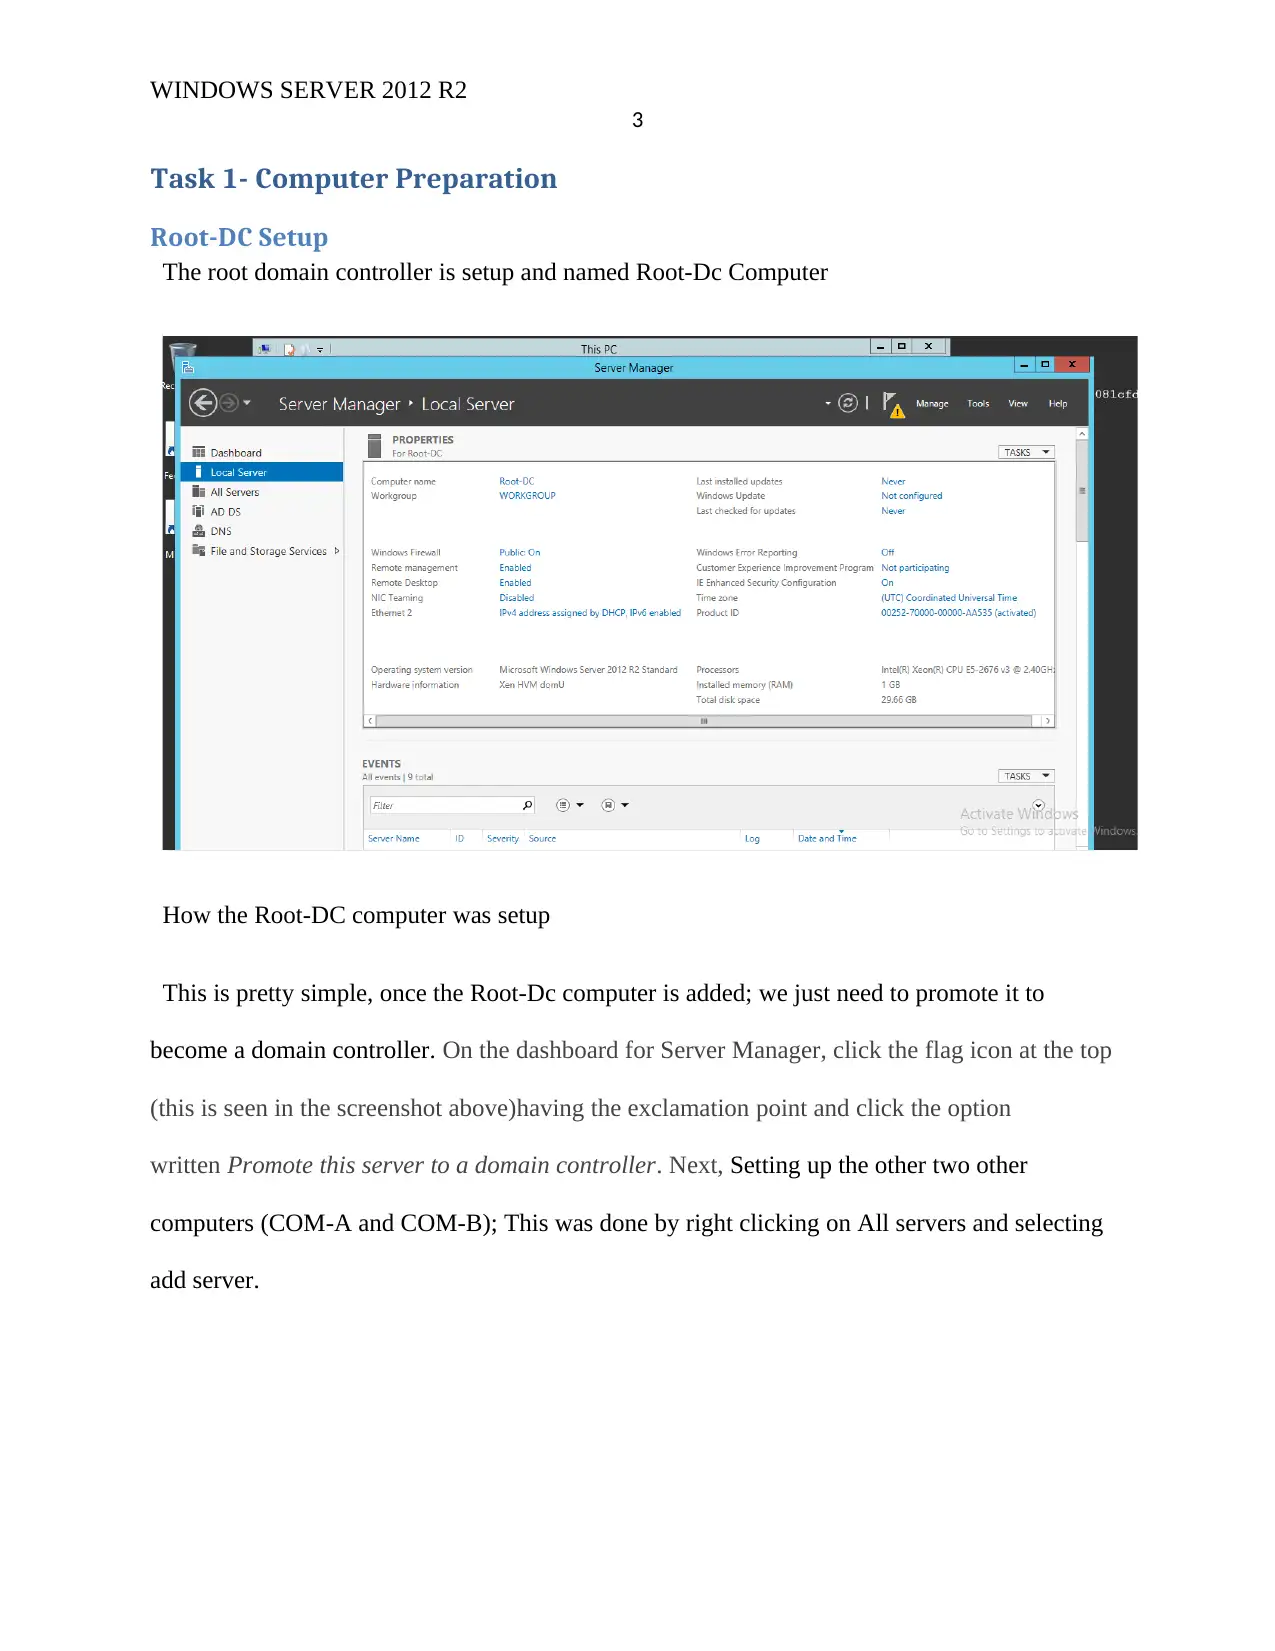
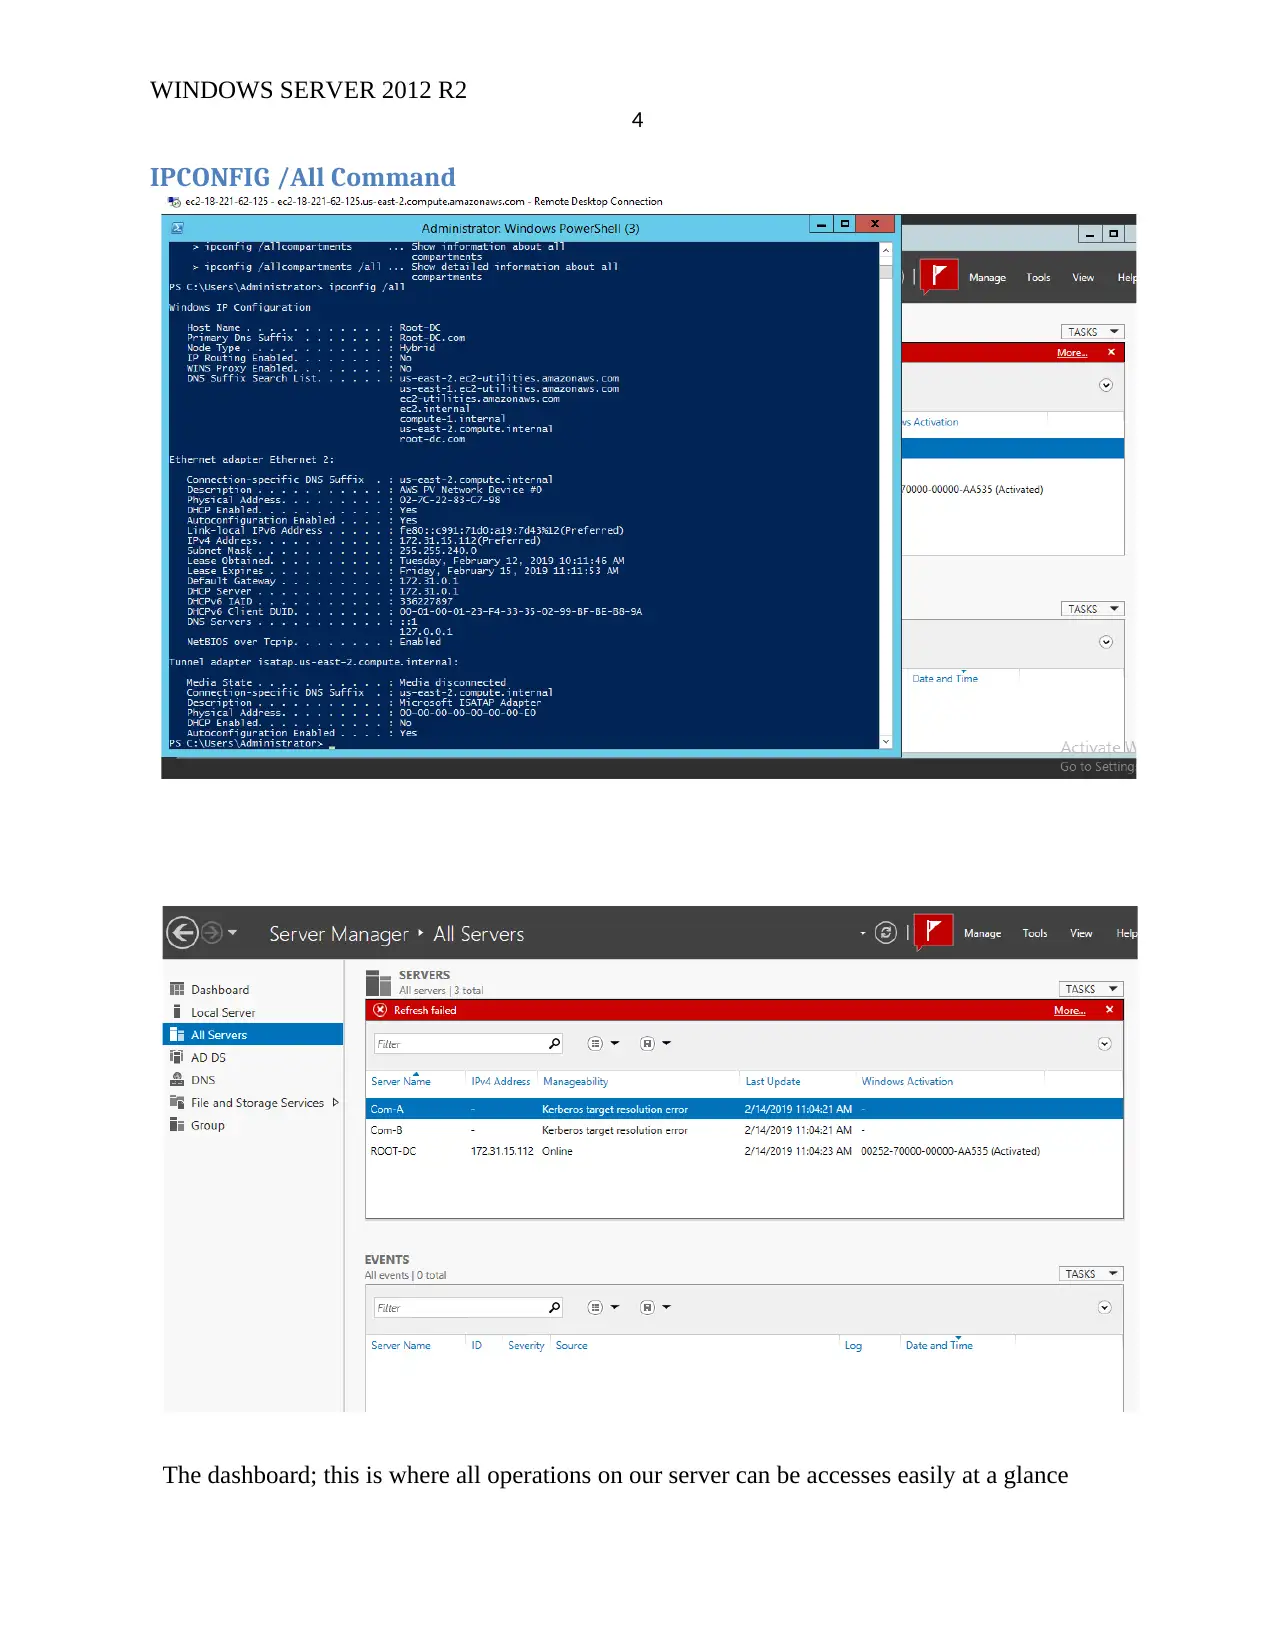
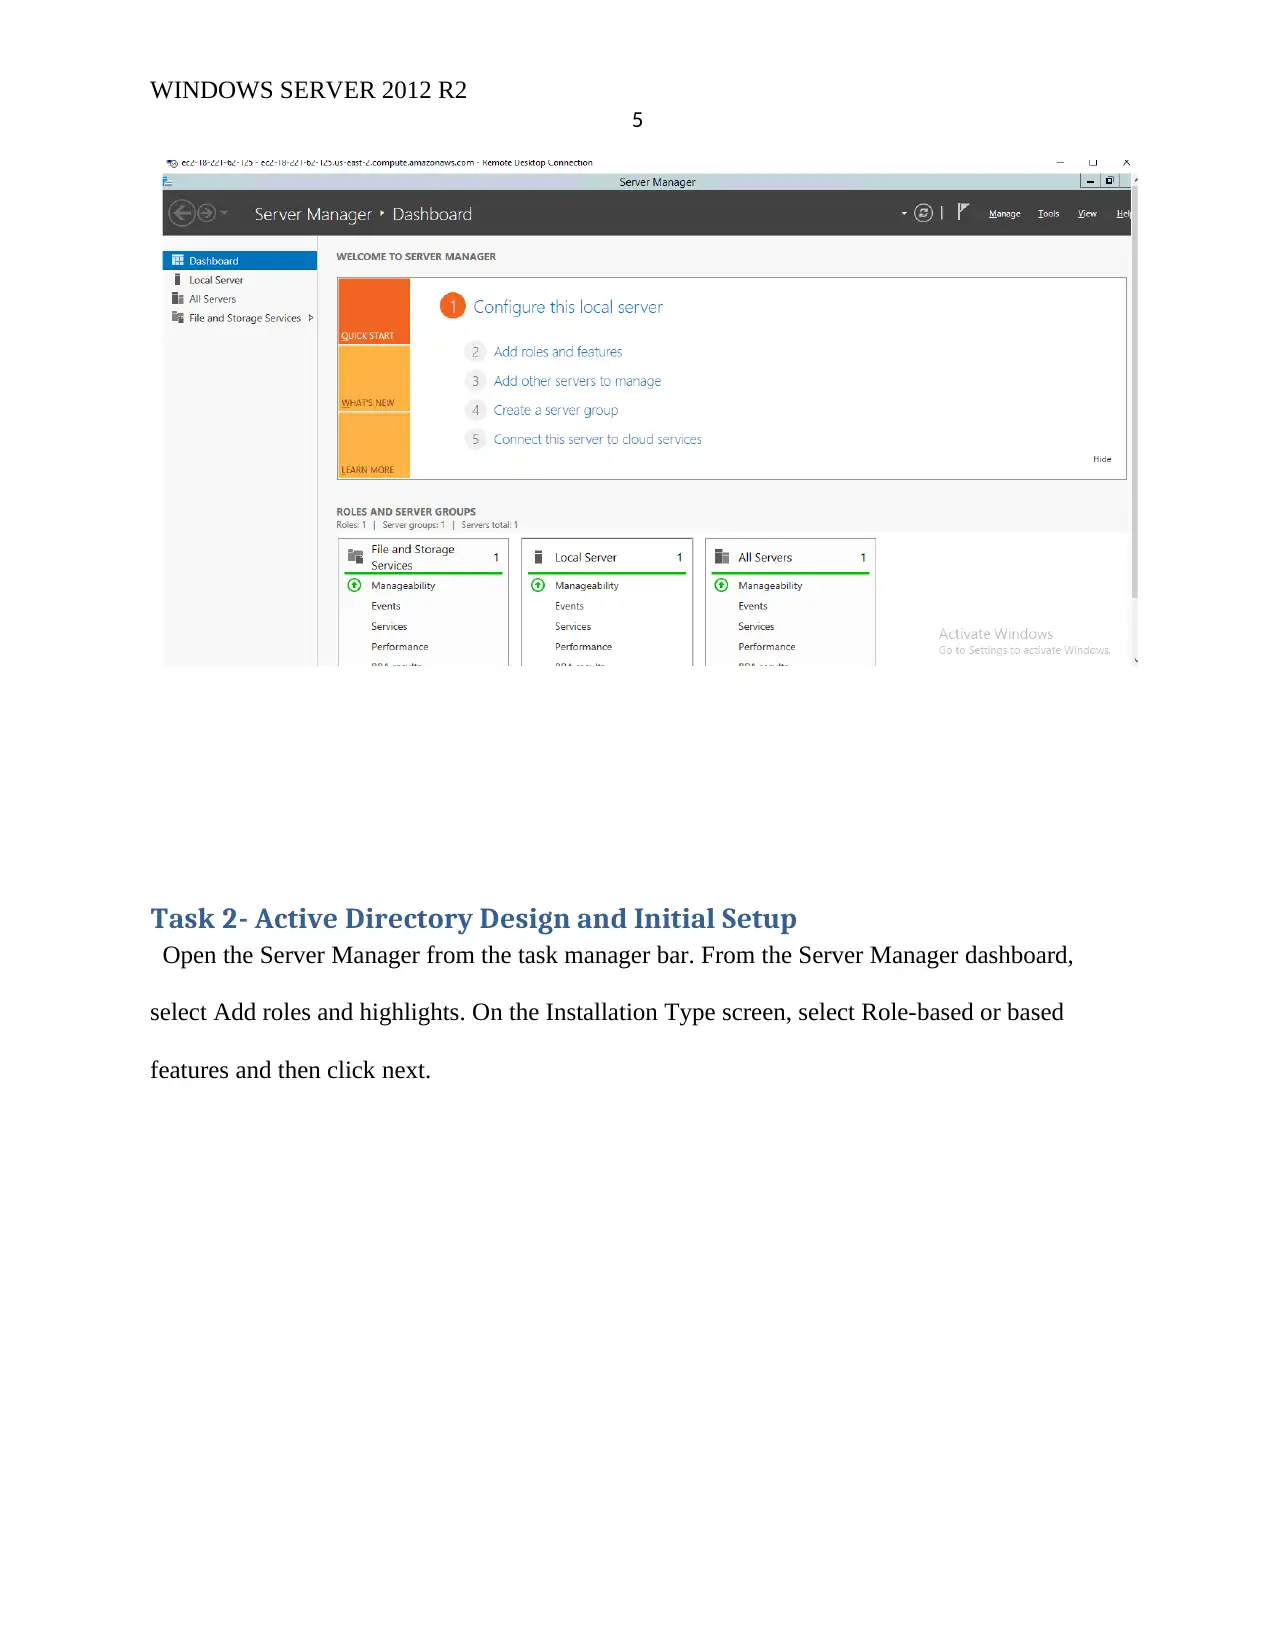
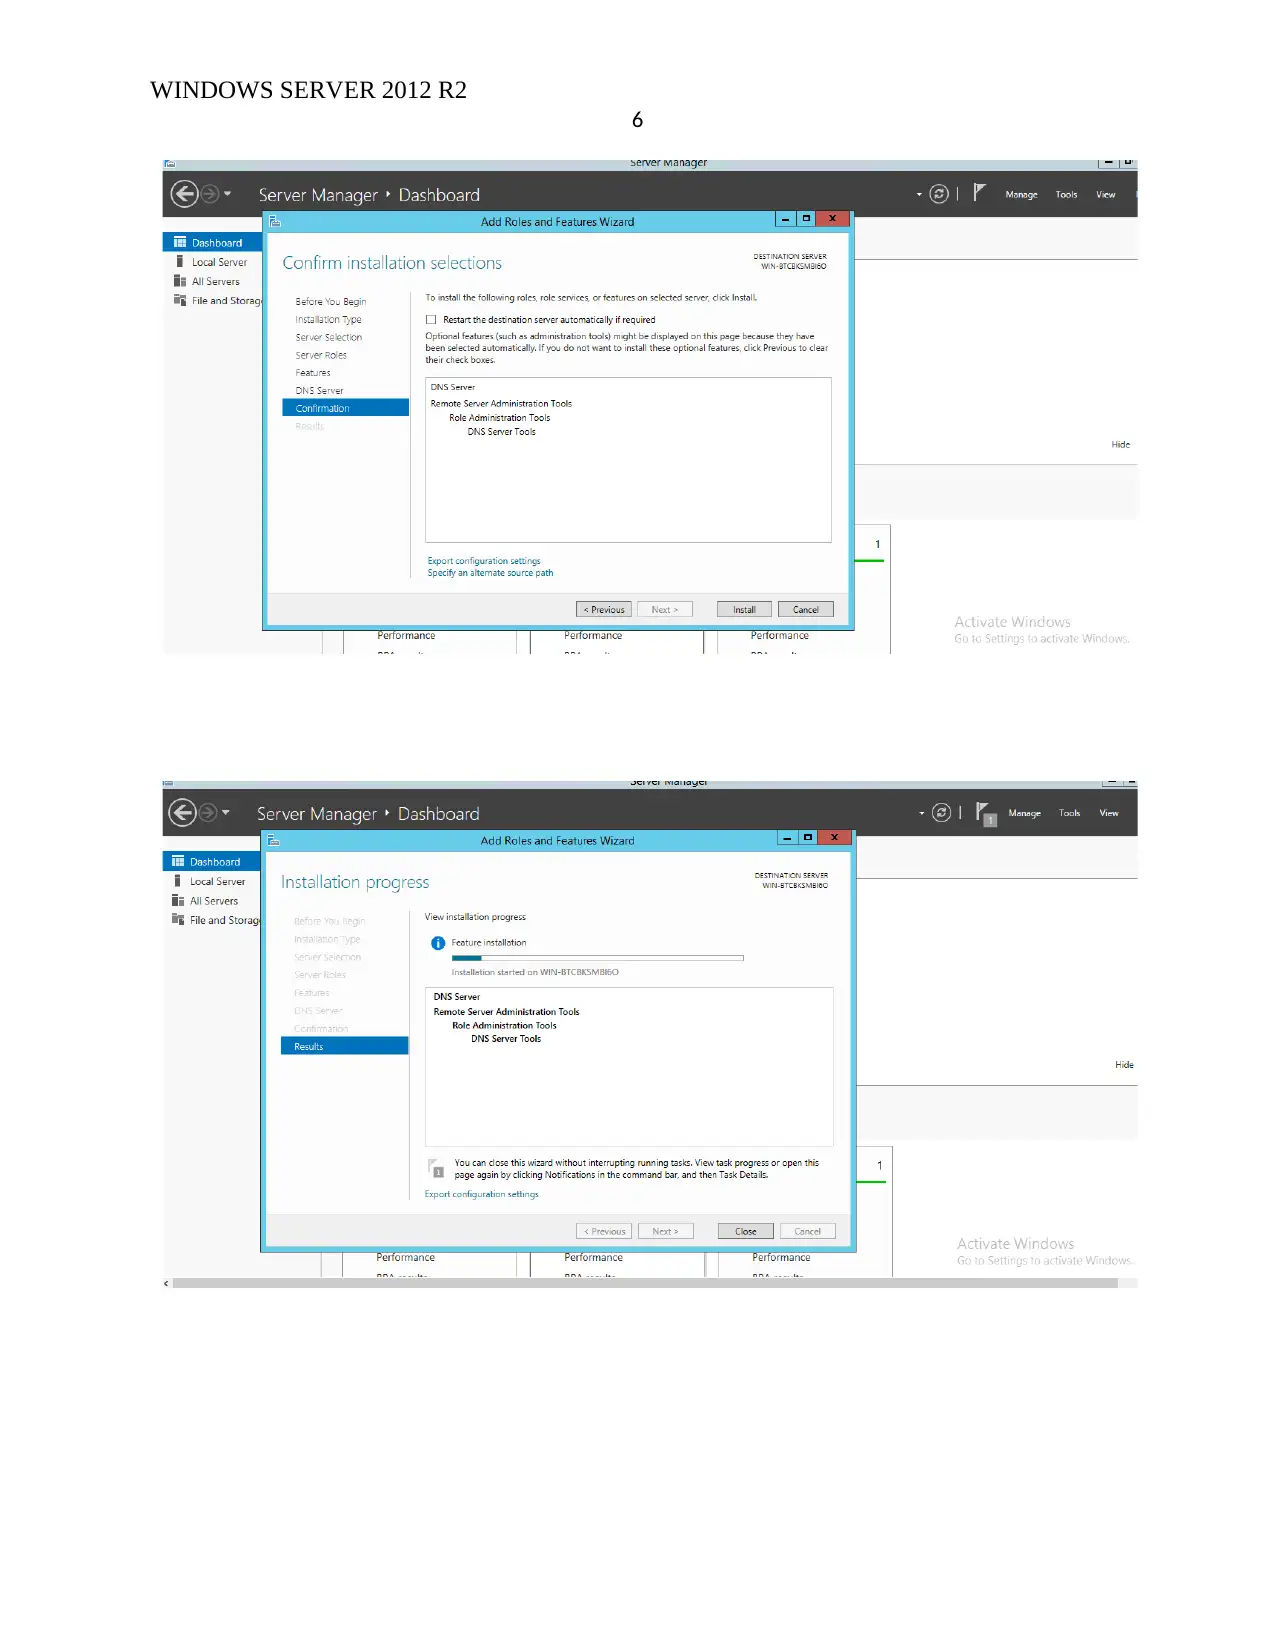
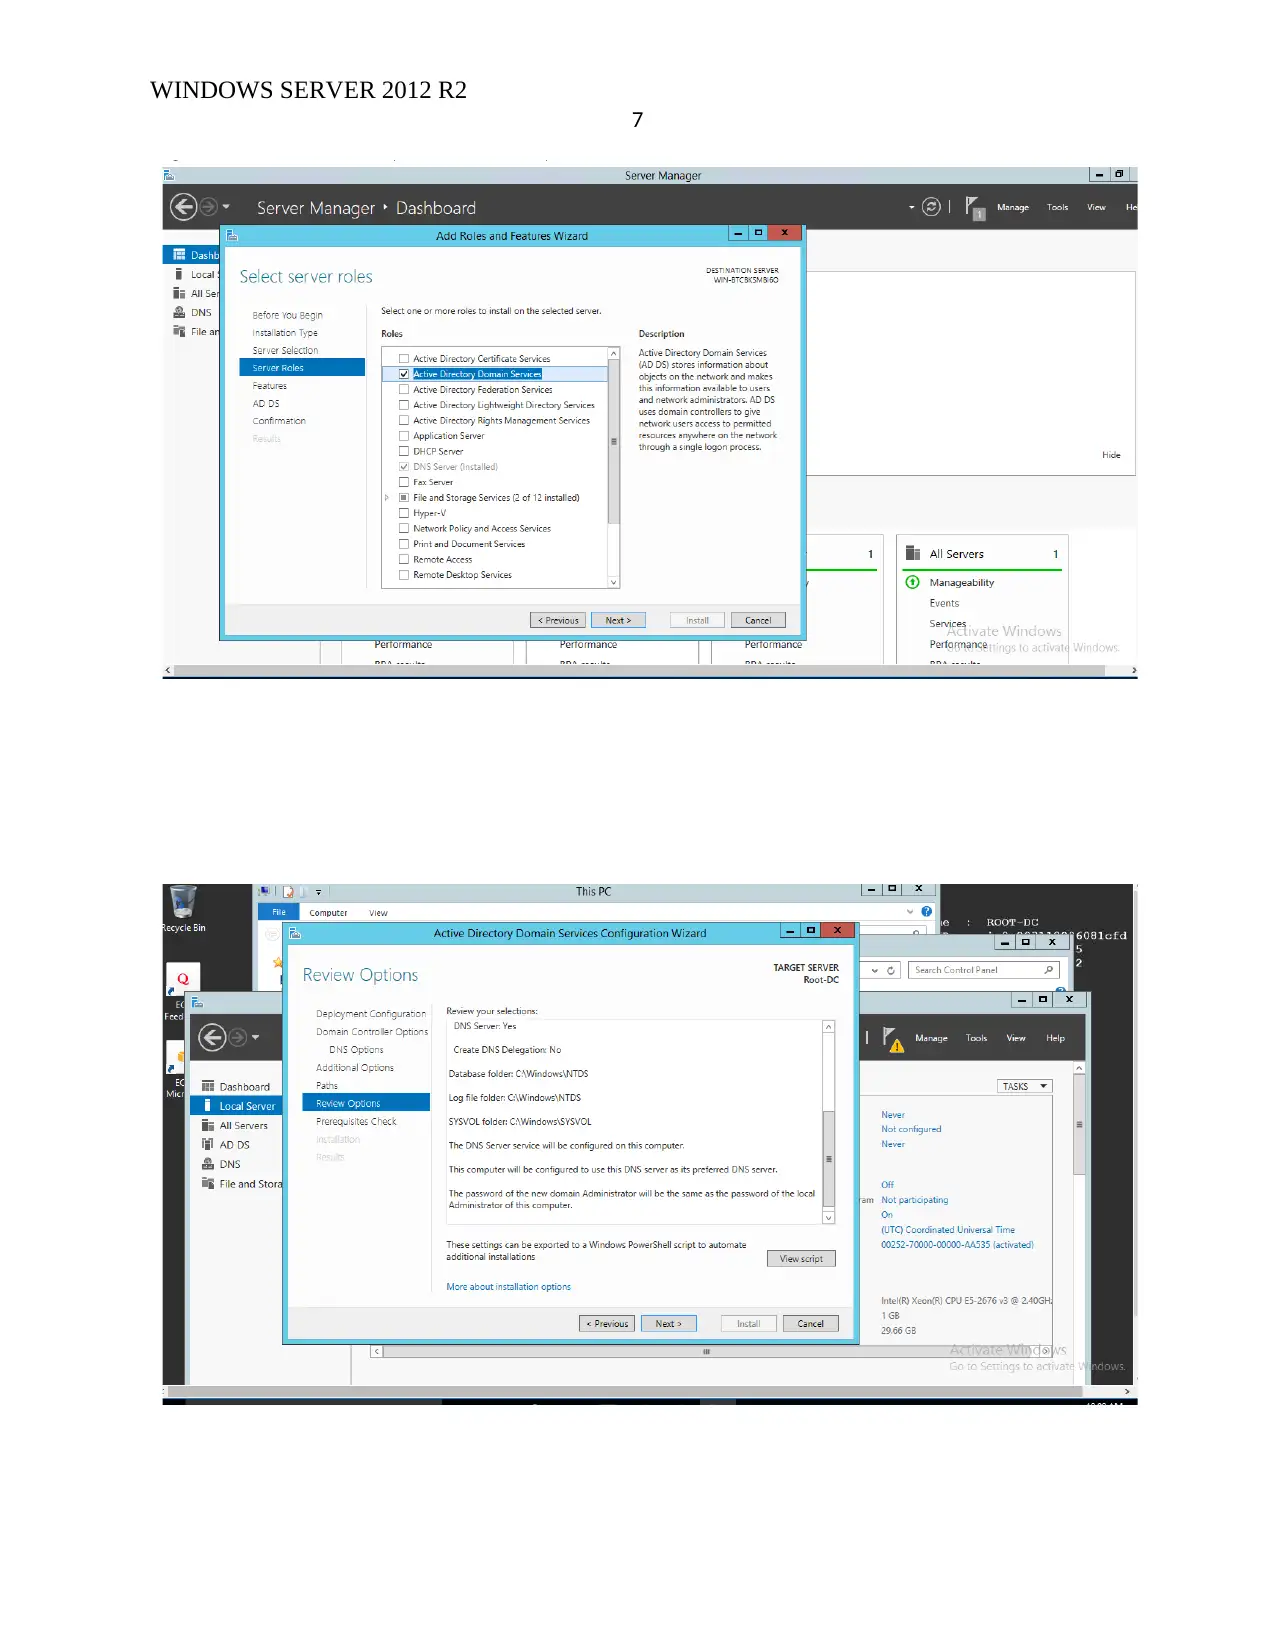
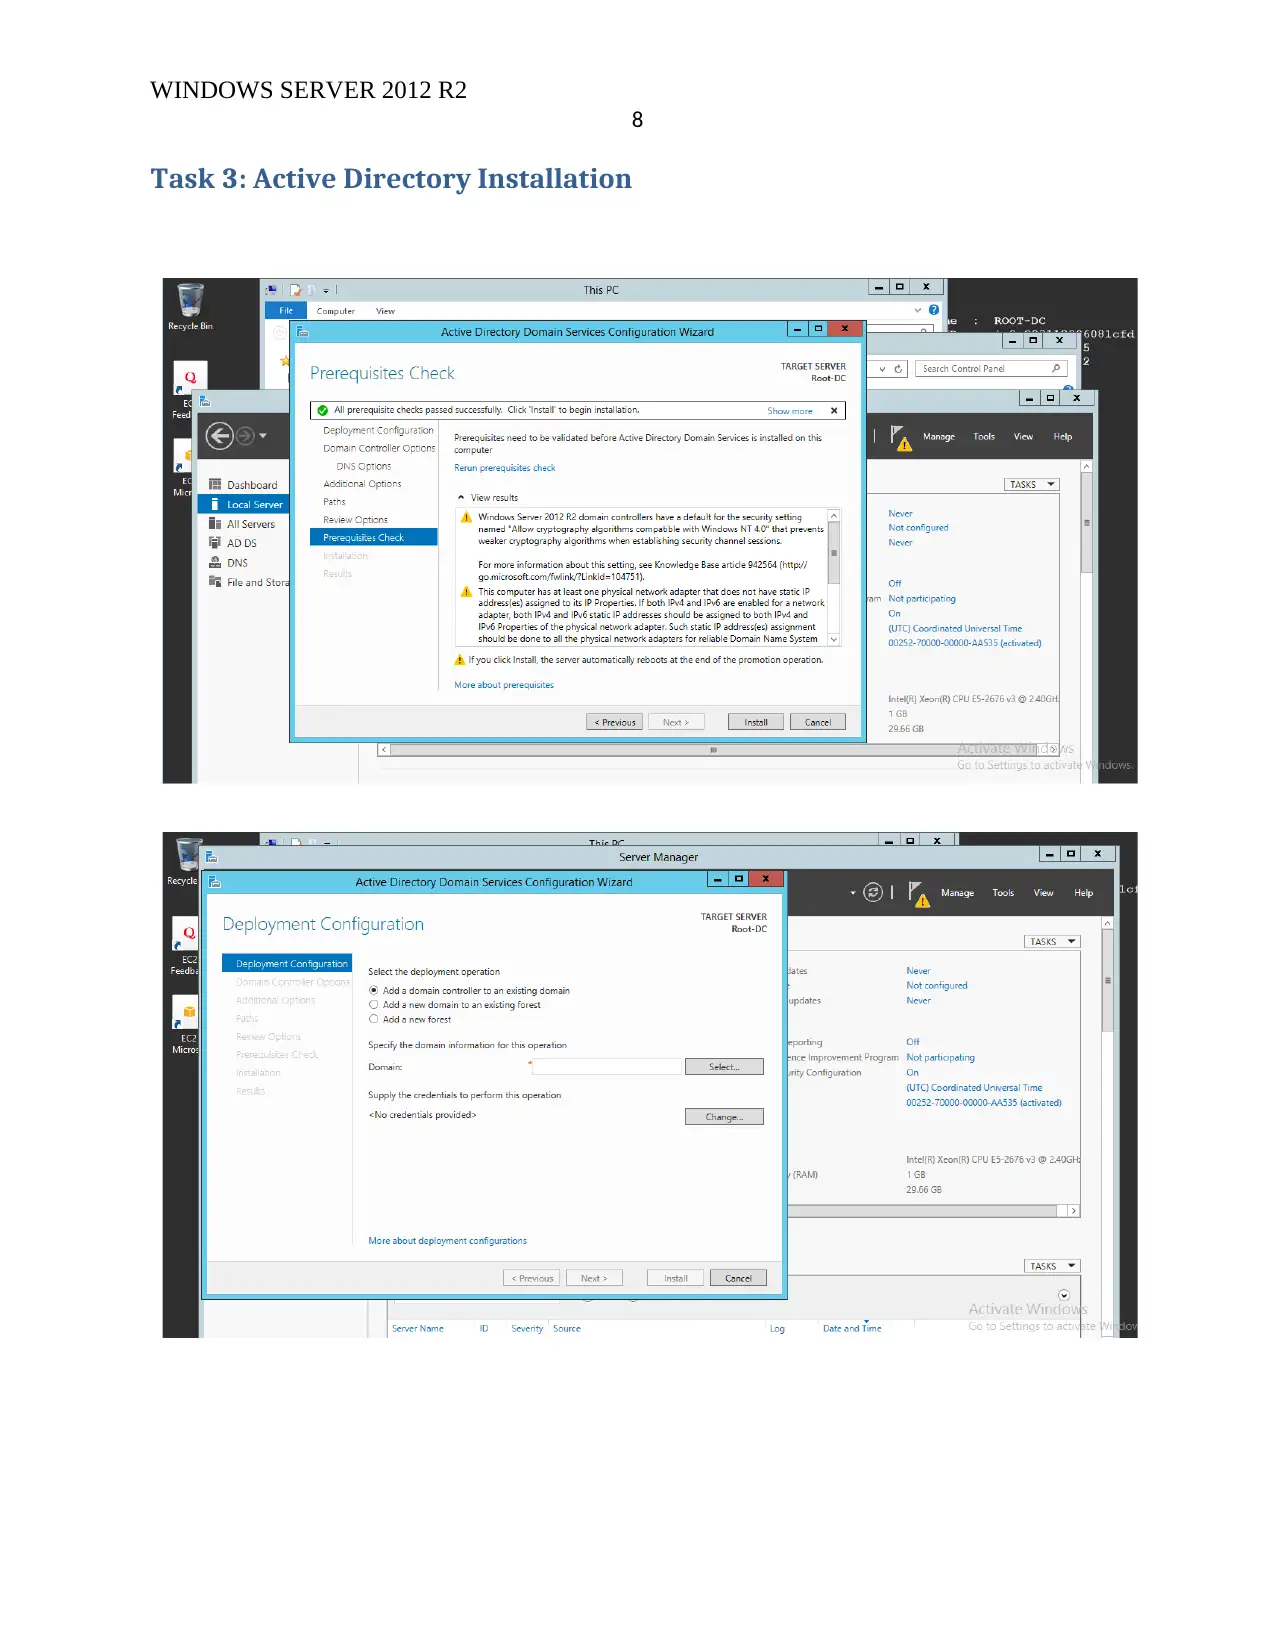
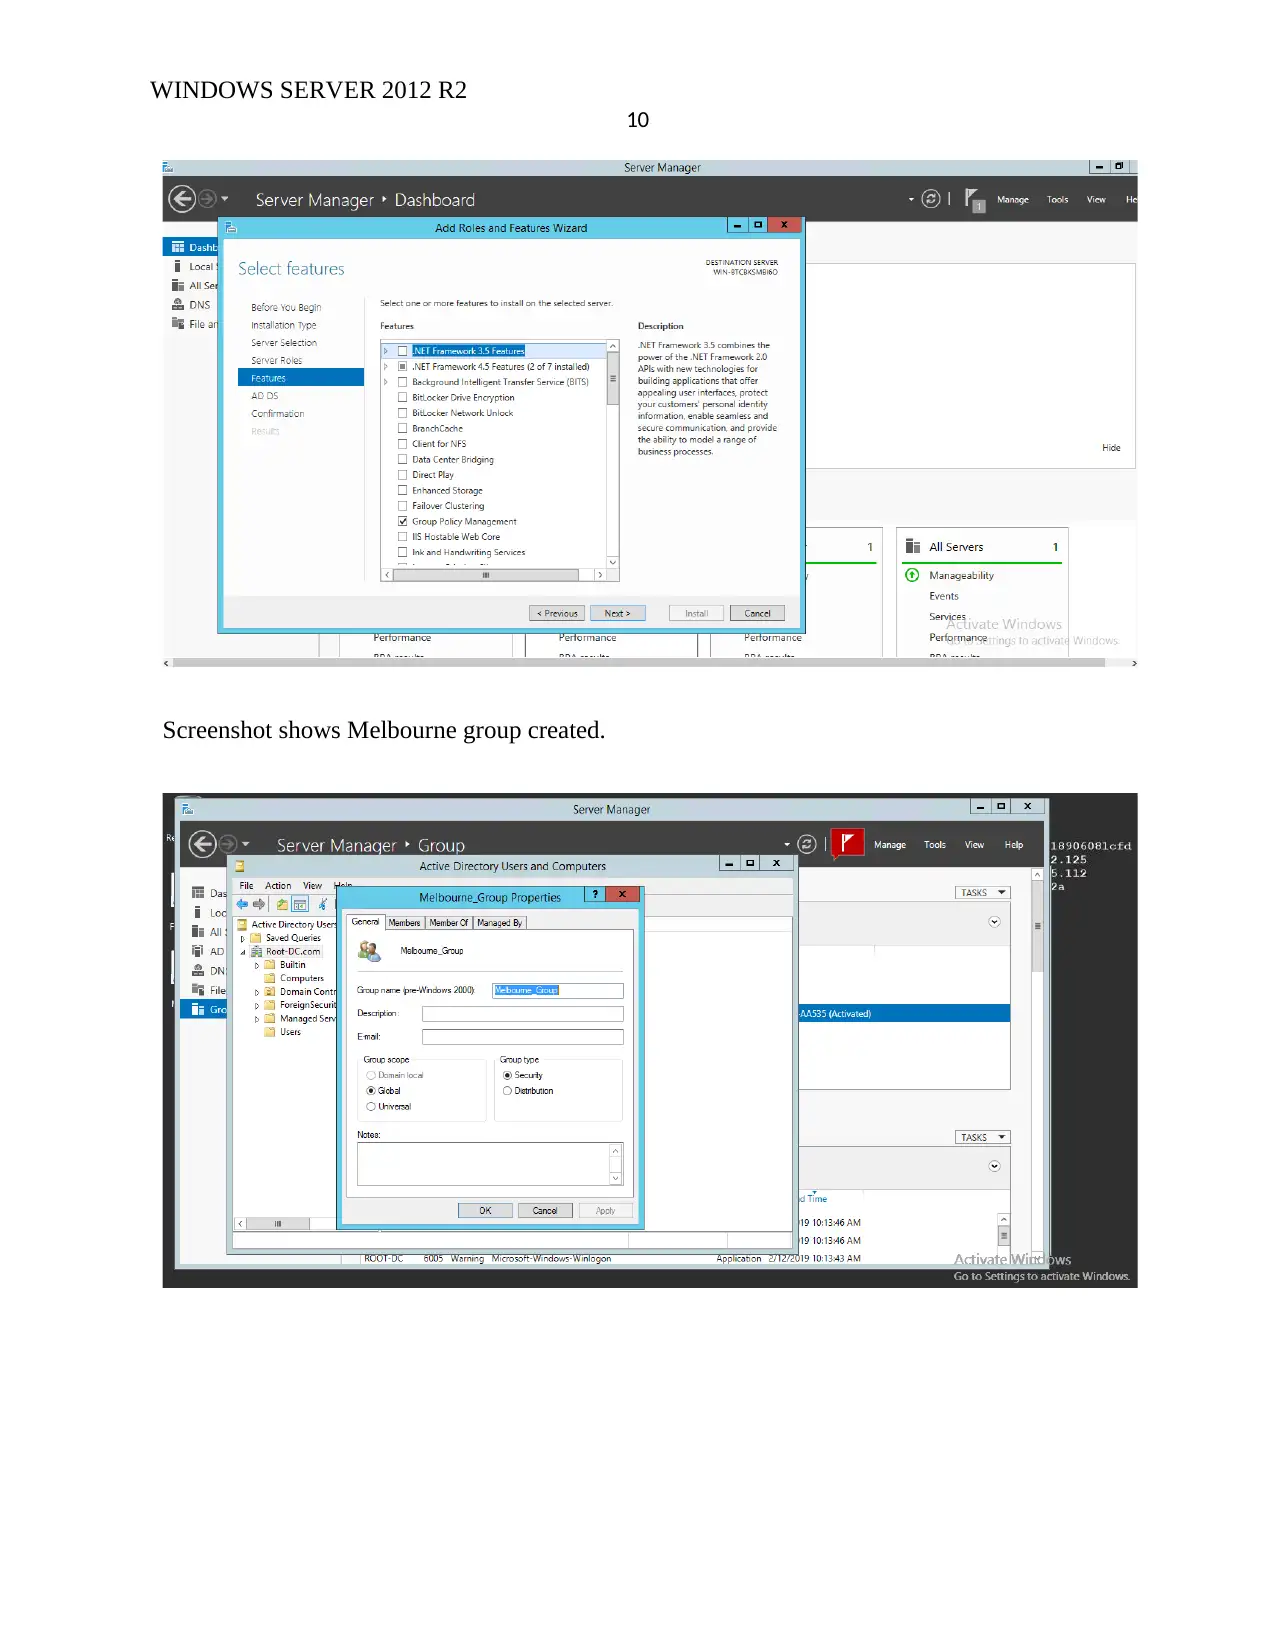
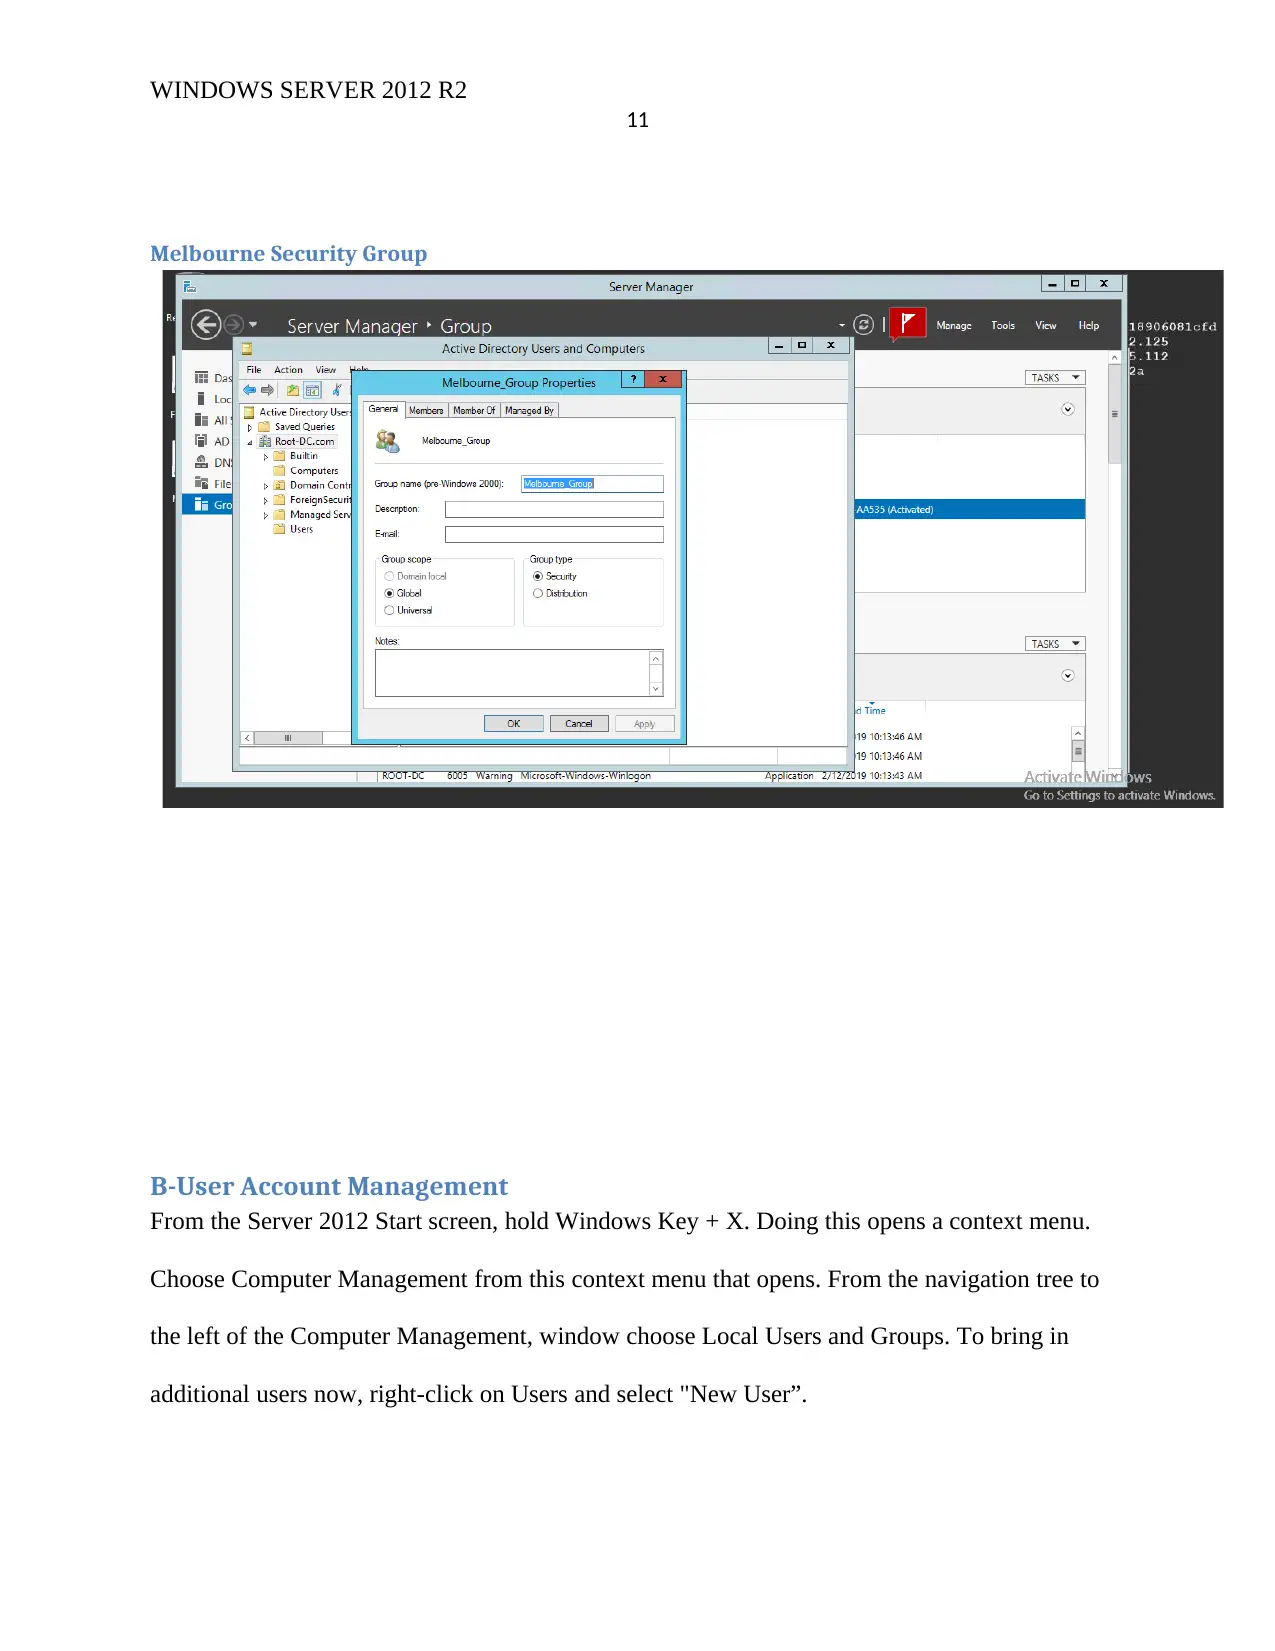
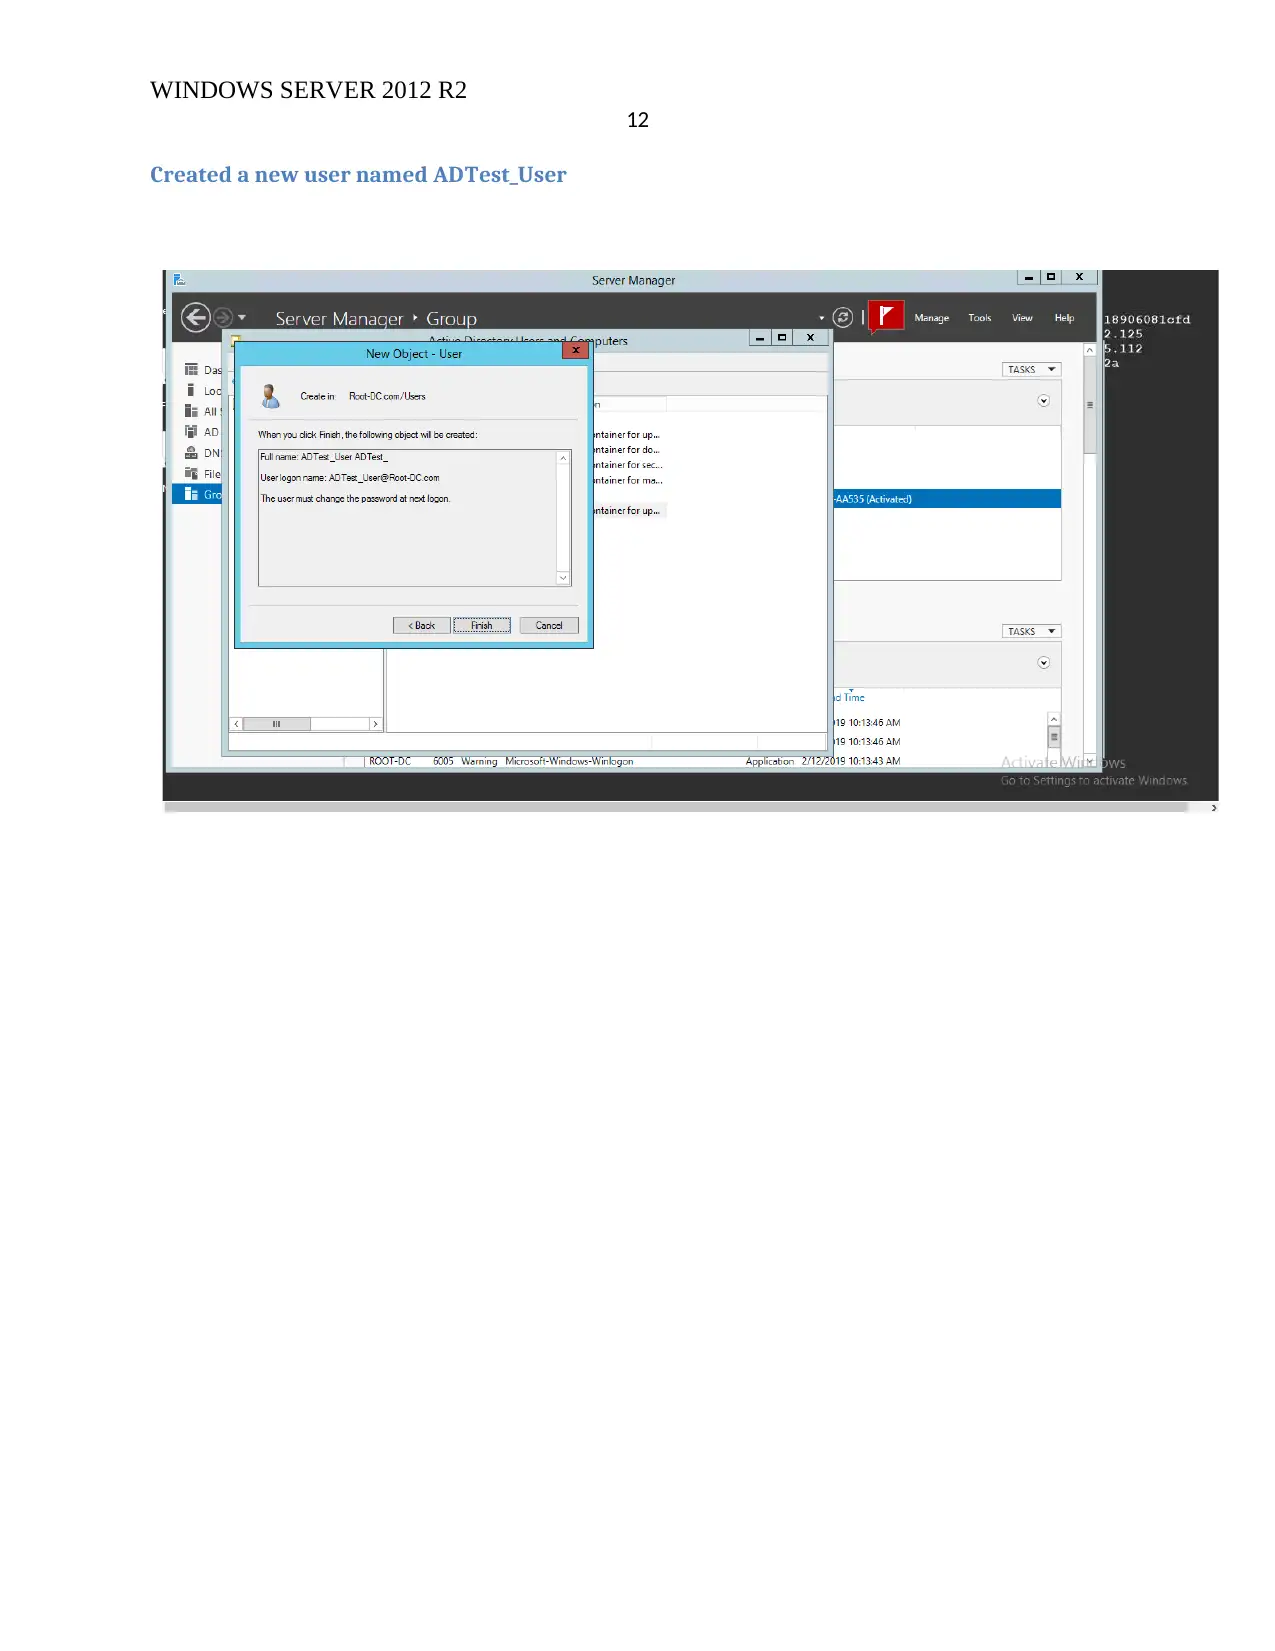
This assignment provides a detailed walkthrough of setting up Active Directory on Windows Server 2012 R2, covering essential tasks such as computer preparation, Active Directory design and installation, and Active Directory management. It includes the setup of a root domain controller (Root-DC), configuration of member computers, and the creation of a child domain. The assignment further explains group and user account management, including creating security groups, managing user accounts with specific policies, and implementing software restrictions. Screenshots are provided to guide the reader through each step of the configuration process, ensuring a clear understanding of the practical implementation.

Running Head: WINDOWS SERVER 2012 R2 1
Windows Server 2012 R2
Institution
Date
Name
Windows Server 2012 R2
Institution
Date
Name
Paraphrase This Document
Need a fresh take? Get an instant paraphrase of this document with our AI Paraphraser

WINDOWS SERVER 2012 R2
2
Table of Contents
Task 1- Computer Preparation.....................................................................................................................3
Root-DC Setup.........................................................................................................................................3
IPCONFIG /All Command.........................................................................................................................4
Task 2- Active Directory Design and Initial Setup........................................................................................5
Task 3: Active Directory Installation............................................................................................................8
Task 4 : Active Directory Management.......................................................................................................9
A – Group Management..........................................................................................................................9
Melbourne Security Group................................................................................................................11
B-User Account Management...............................................................................................................11
Created a new user named ADTest_User..........................................................................................12
C – Policies Applications............................................................................................................................14
D – Software Restriction............................................................................................................................15

WINDOWS SERVER 2012 R2
3
Task 1- Computer Preparation
Root-DC Setup
The root domain controller is setup and named Root-Dc Computer
How the Root-DC computer was setup
This is pretty simple, once the Root-Dc computer is added; we just need to promote it to
become a domain controller. On the dashboard for Server Manager, click the flag icon at the top
(this is seen in the screenshot above)having the exclamation point and click the option
written Promote this server to a domain controller. Next, Setting up the other two other
computers (COM-A and COM-B); This was done by right clicking on All servers and selecting
add server.
⊘ This is a preview!⊘
Do you want full access?
Subscribe today to unlock all pages.

Trusted by 1+ million students worldwide

WINDOWS SERVER 2012 R2
4
IPCONFIG /All Command
The dashboard; this is where all operations on our server can be accesses easily at a glance
4
IPCONFIG /All Command
The dashboard; this is where all operations on our server can be accesses easily at a glance
Paraphrase This Document
Need a fresh take? Get an instant paraphrase of this document with our AI Paraphraser

WINDOWS SERVER 2012 R2
5
Task 2- Active Directory Design and Initial Setup
Open the Server Manager from the task manager bar. From the Server Manager dashboard,
select Add roles and highlights. On the Installation Type screen, select Role-based or based
features and then click next.
5
Task 2- Active Directory Design and Initial Setup
Open the Server Manager from the task manager bar. From the Server Manager dashboard,
select Add roles and highlights. On the Installation Type screen, select Role-based or based
features and then click next.

WINDOWS SERVER 2012 R2
6
6
⊘ This is a preview!⊘
Do you want full access?
Subscribe today to unlock all pages.

Trusted by 1+ million students worldwide

WINDOWS SERVER 2012 R2
7
7
Paraphrase This Document
Need a fresh take? Get an instant paraphrase of this document with our AI Paraphraser

WINDOWS SERVER 2012 R2
8
Task 3: Active Directory Installation
8
Task 3: Active Directory Installation

WINDOWS SERVER 2012 R2
9
Task 4 : Active Directory Management
A – Group Management
The first thing before beginning group management task is to configure the Active Directory
auditing capabilities so as to log group additions, deletions and membership modifications.
Install group policy management.
In the Server Manager principle windows, click "Add roles and features".
In the "Roles and Features Wizard" under "Installation Type" tick the "Role based or feature
based establishment" radio catch and snap "Next".
In the "Include Roles and Features Wizard" under "Server Selection" check the "Select a server
from the server pool", select the server you need to introduce the Group Policy Management
Console Tools (GPMC) on and click "Next"
click "Next"
In the "Include Roles and Features Wizard" under "Highlights" look down and tick "Group
Policy Management". Snap "Next" If provoked to introduce any supporting roles, acknowledge
the defaults and proceed.
In the "Include Roles and Features Wizard" at the "Affirmation" page tick "Install" to start the
establishment of the Group Policy Management Console Tools (GPMC)
⊘ This is a preview!⊘
Do you want full access?
Subscribe today to unlock all pages.

Trusted by 1+ million students worldwide

WINDOWS SERVER 2012 R2
10
Screenshot shows Melbourne group created.
10
Screenshot shows Melbourne group created.
Paraphrase This Document
Need a fresh take? Get an instant paraphrase of this document with our AI Paraphraser

WINDOWS SERVER 2012 R2
11
Melbourne Security Group
B-User Account Management
From the Server 2012 Start screen, hold Windows Key + X. Doing this opens a context menu.
Choose Computer Management from this context menu that opens. From the navigation tree to
the left of the Computer Management, window choose Local Users and Groups. To bring in
additional users now, right-click on Users and select "New User”.

WINDOWS SERVER 2012 R2
12
Created a new user named ADTest_User
12
Created a new user named ADTest_User
⊘ This is a preview!⊘
Do you want full access?
Subscribe today to unlock all pages.

Trusted by 1+ million students worldwide
1 out of 18
Related Documents
Your All-in-One AI-Powered Toolkit for Academic Success.
+13062052269
info@desklib.com
Available 24*7 on WhatsApp / Email
Unlock your academic potential
Copyright © 2020–2026 A2Z Services. All Rights Reserved. Developed and managed by ZUCOL.


