Linux Server Configuration: DNS, SSH, LAMP, and FTP Servers

Verified

Added on  2023/06/05

|25
|2860
|299
Practical Assignment
AI Summary
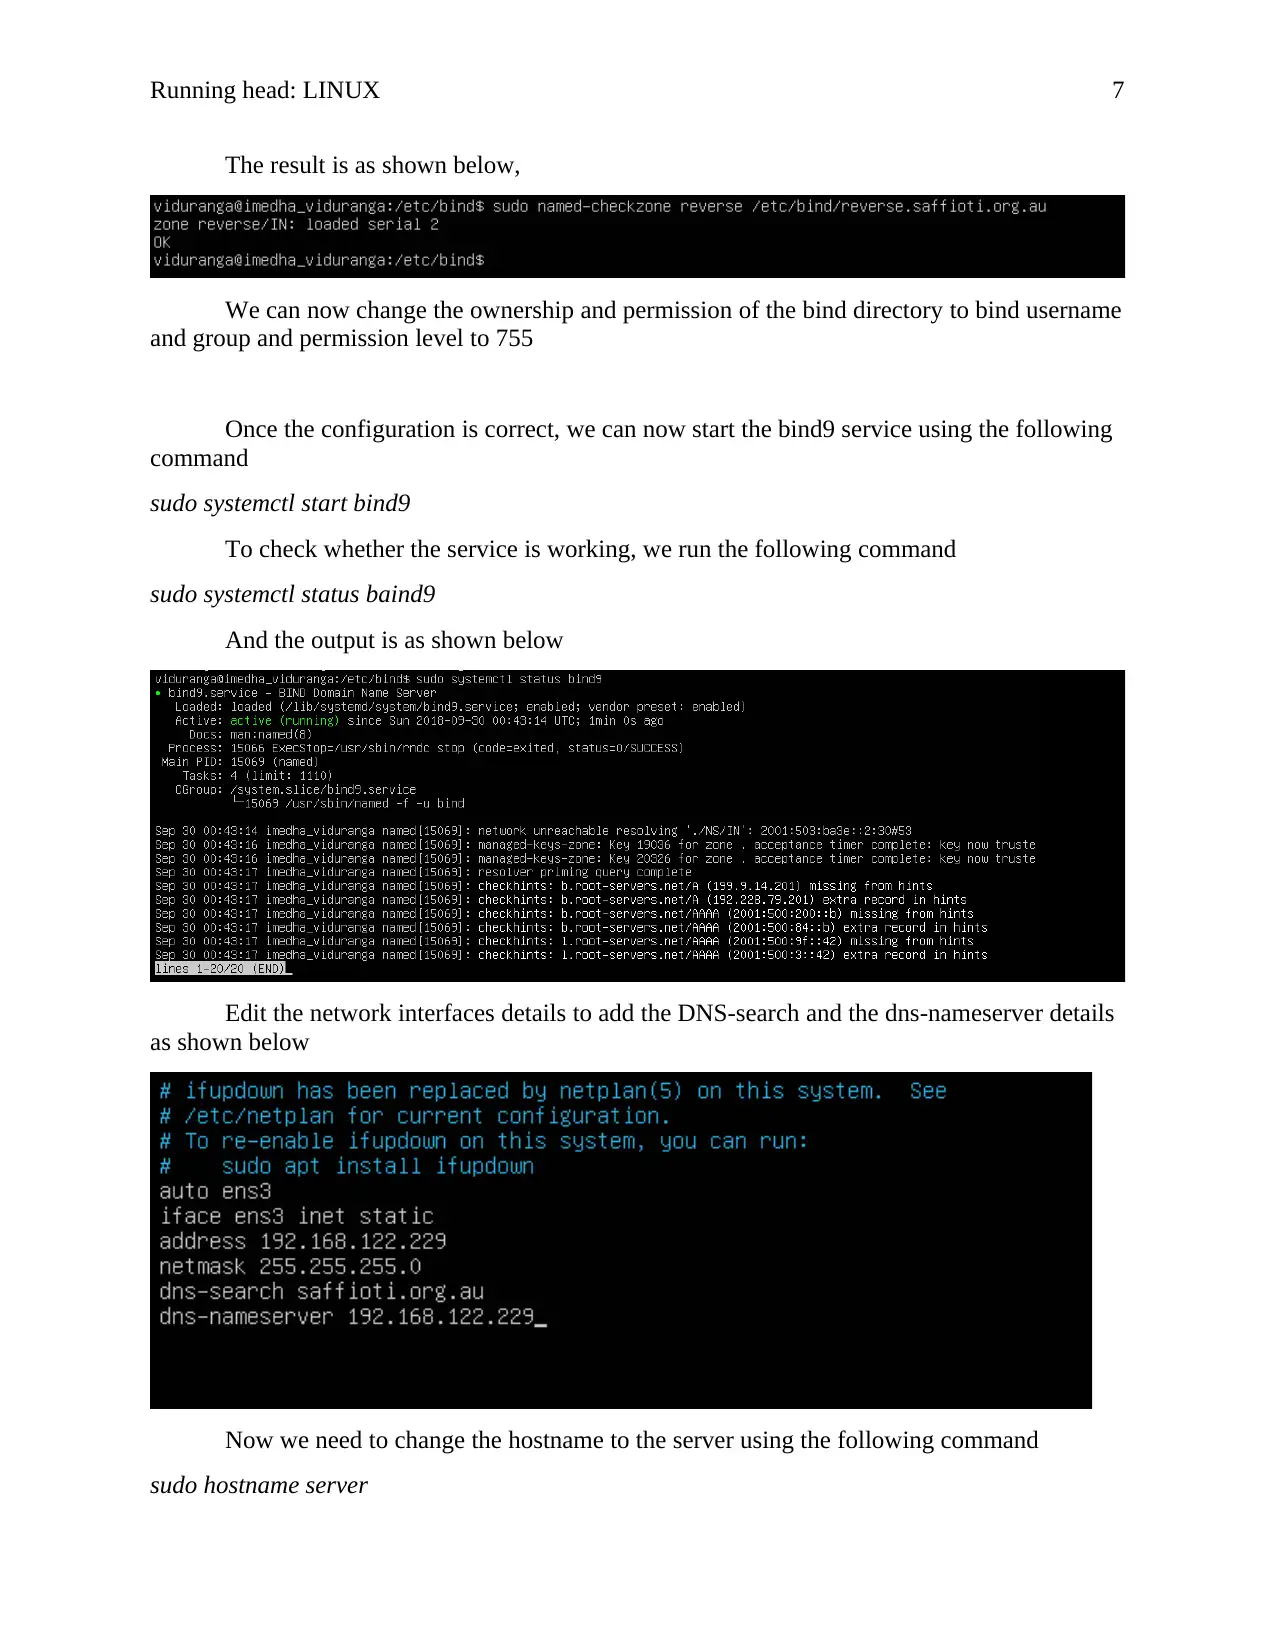
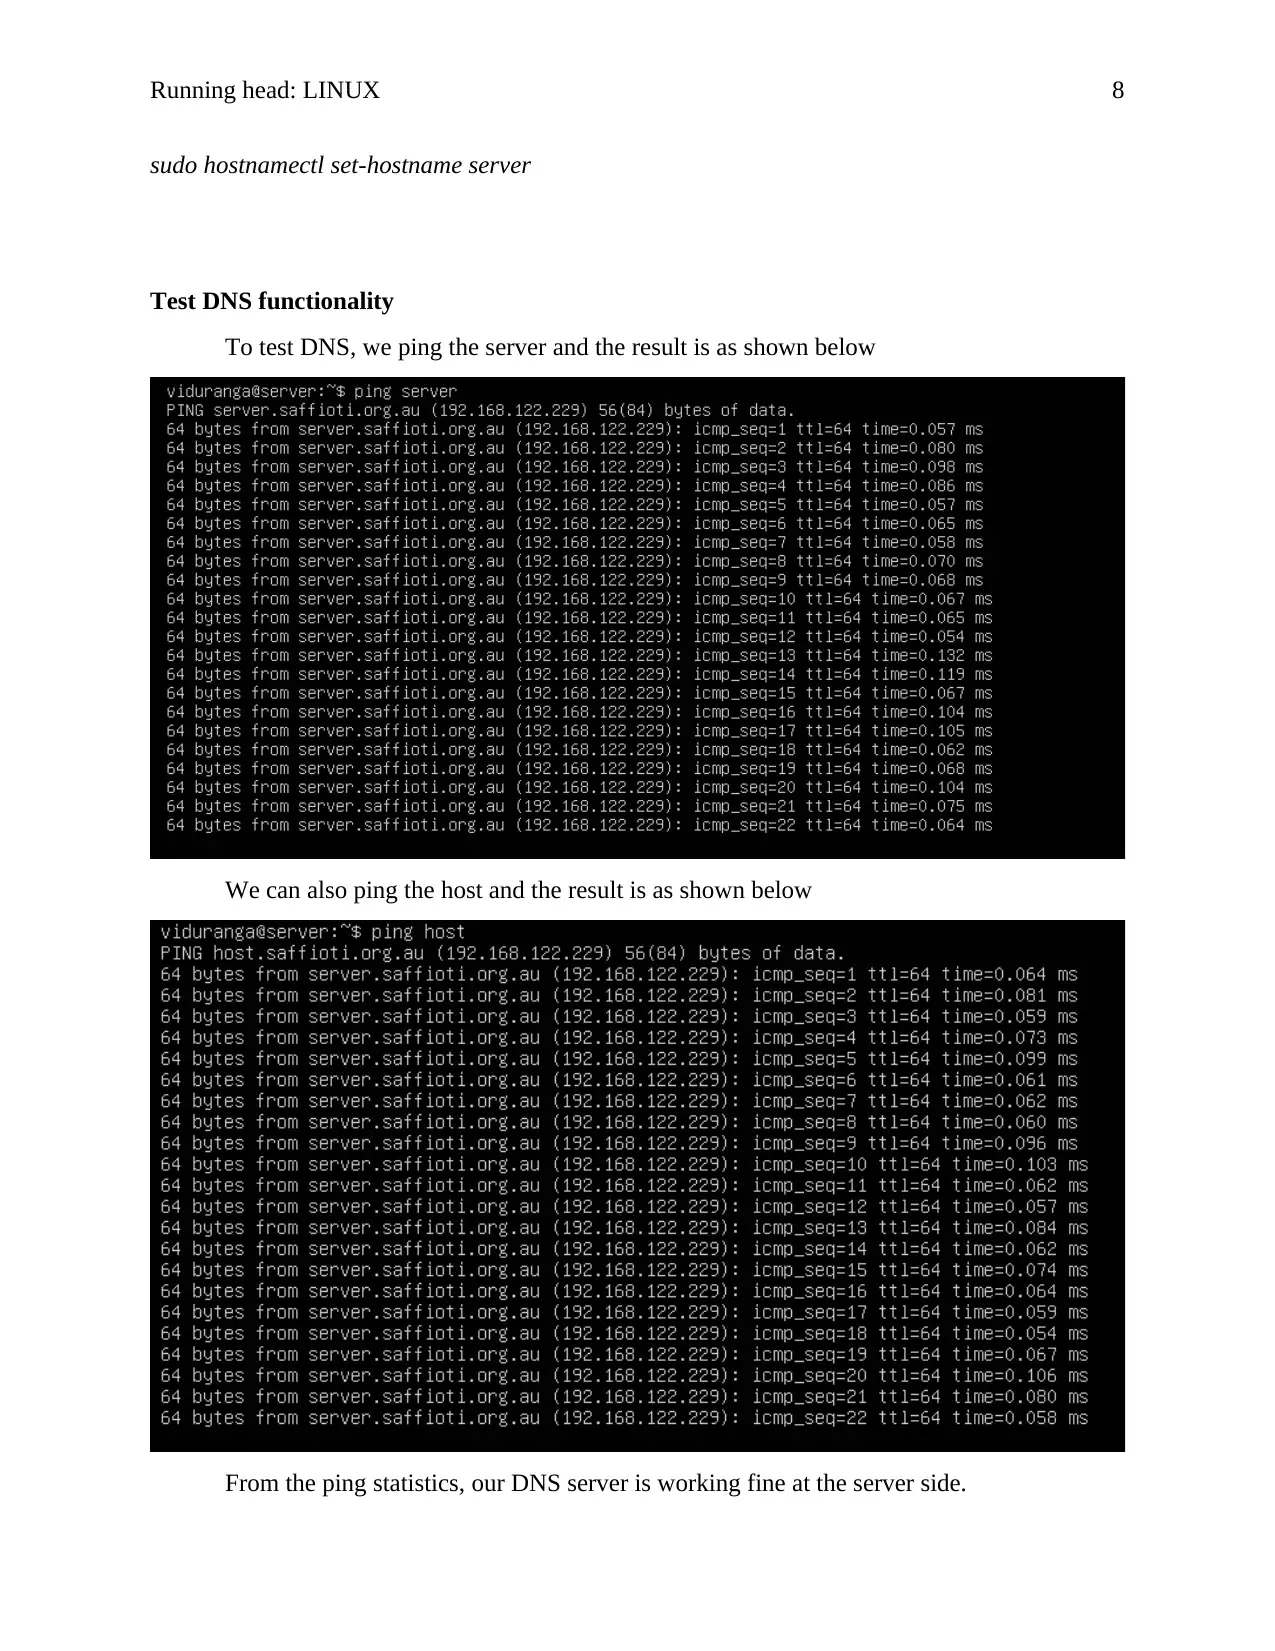
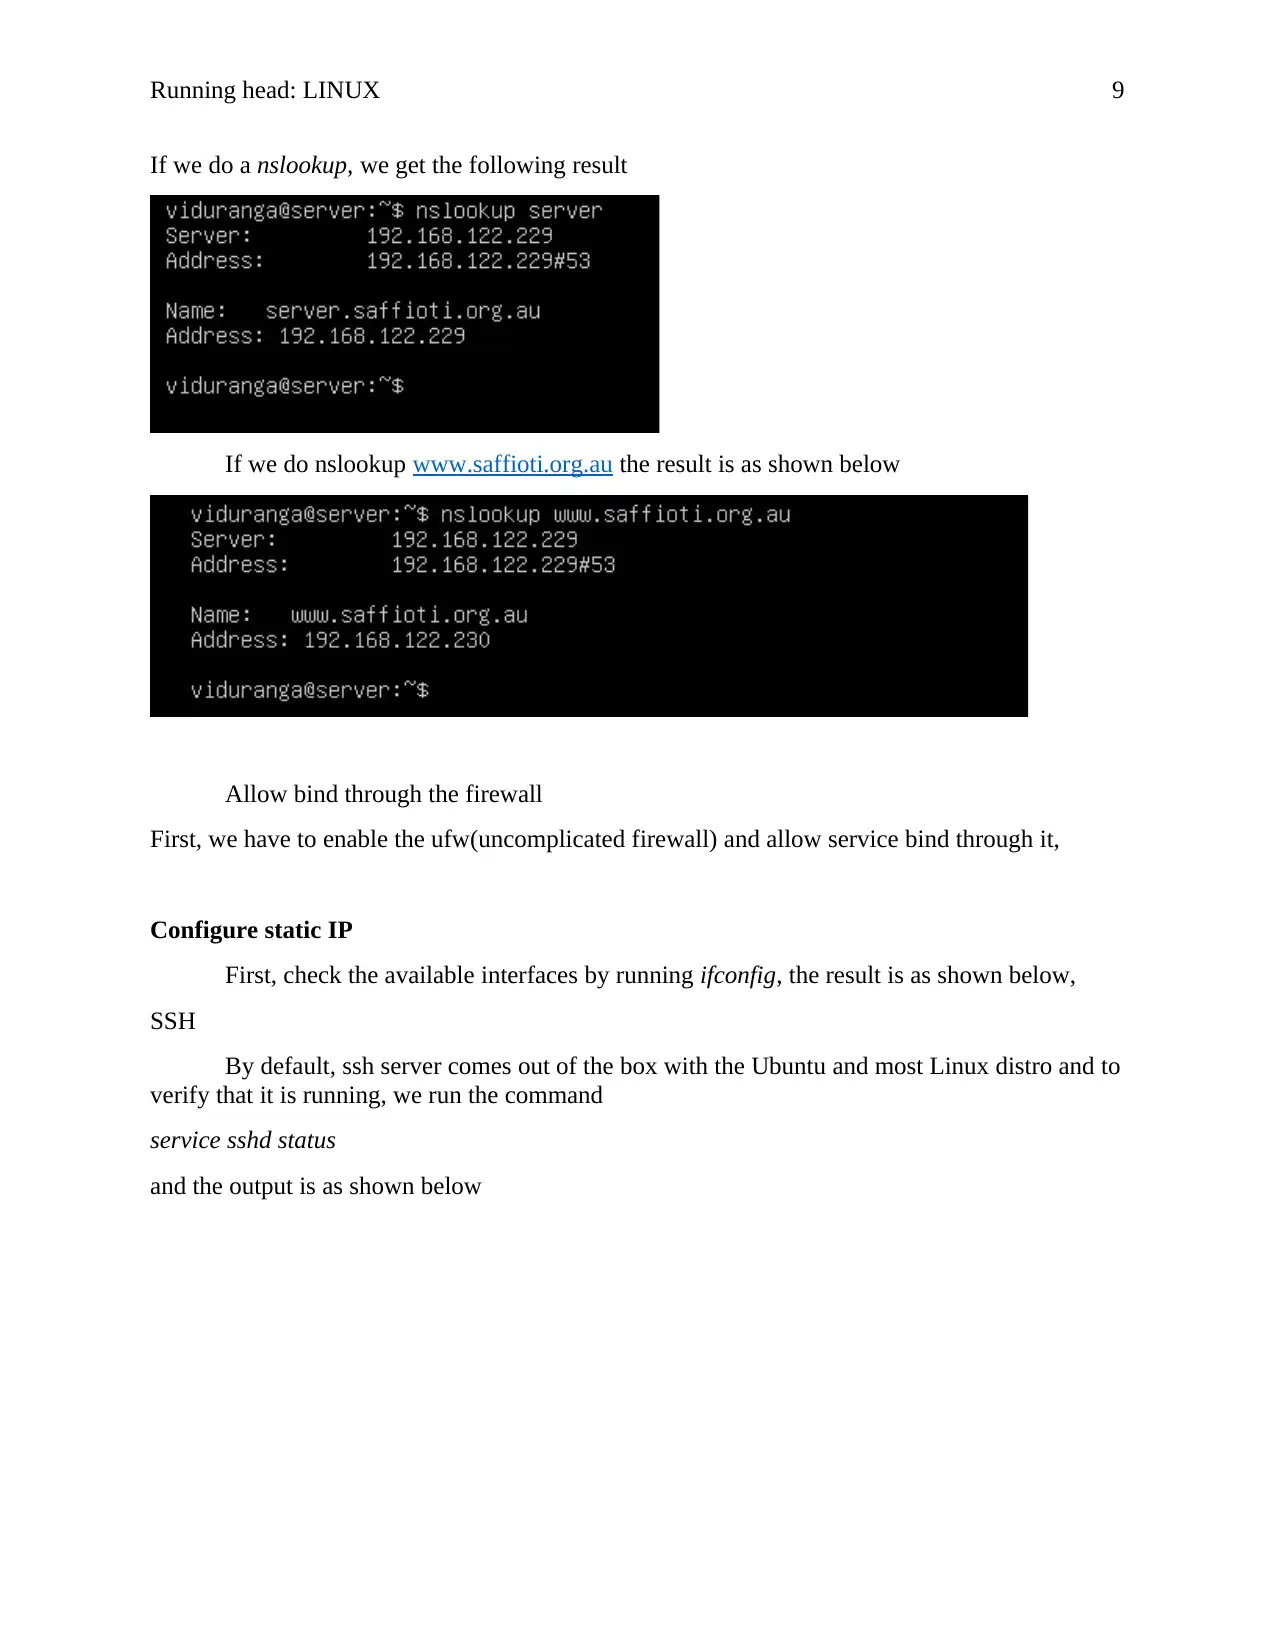
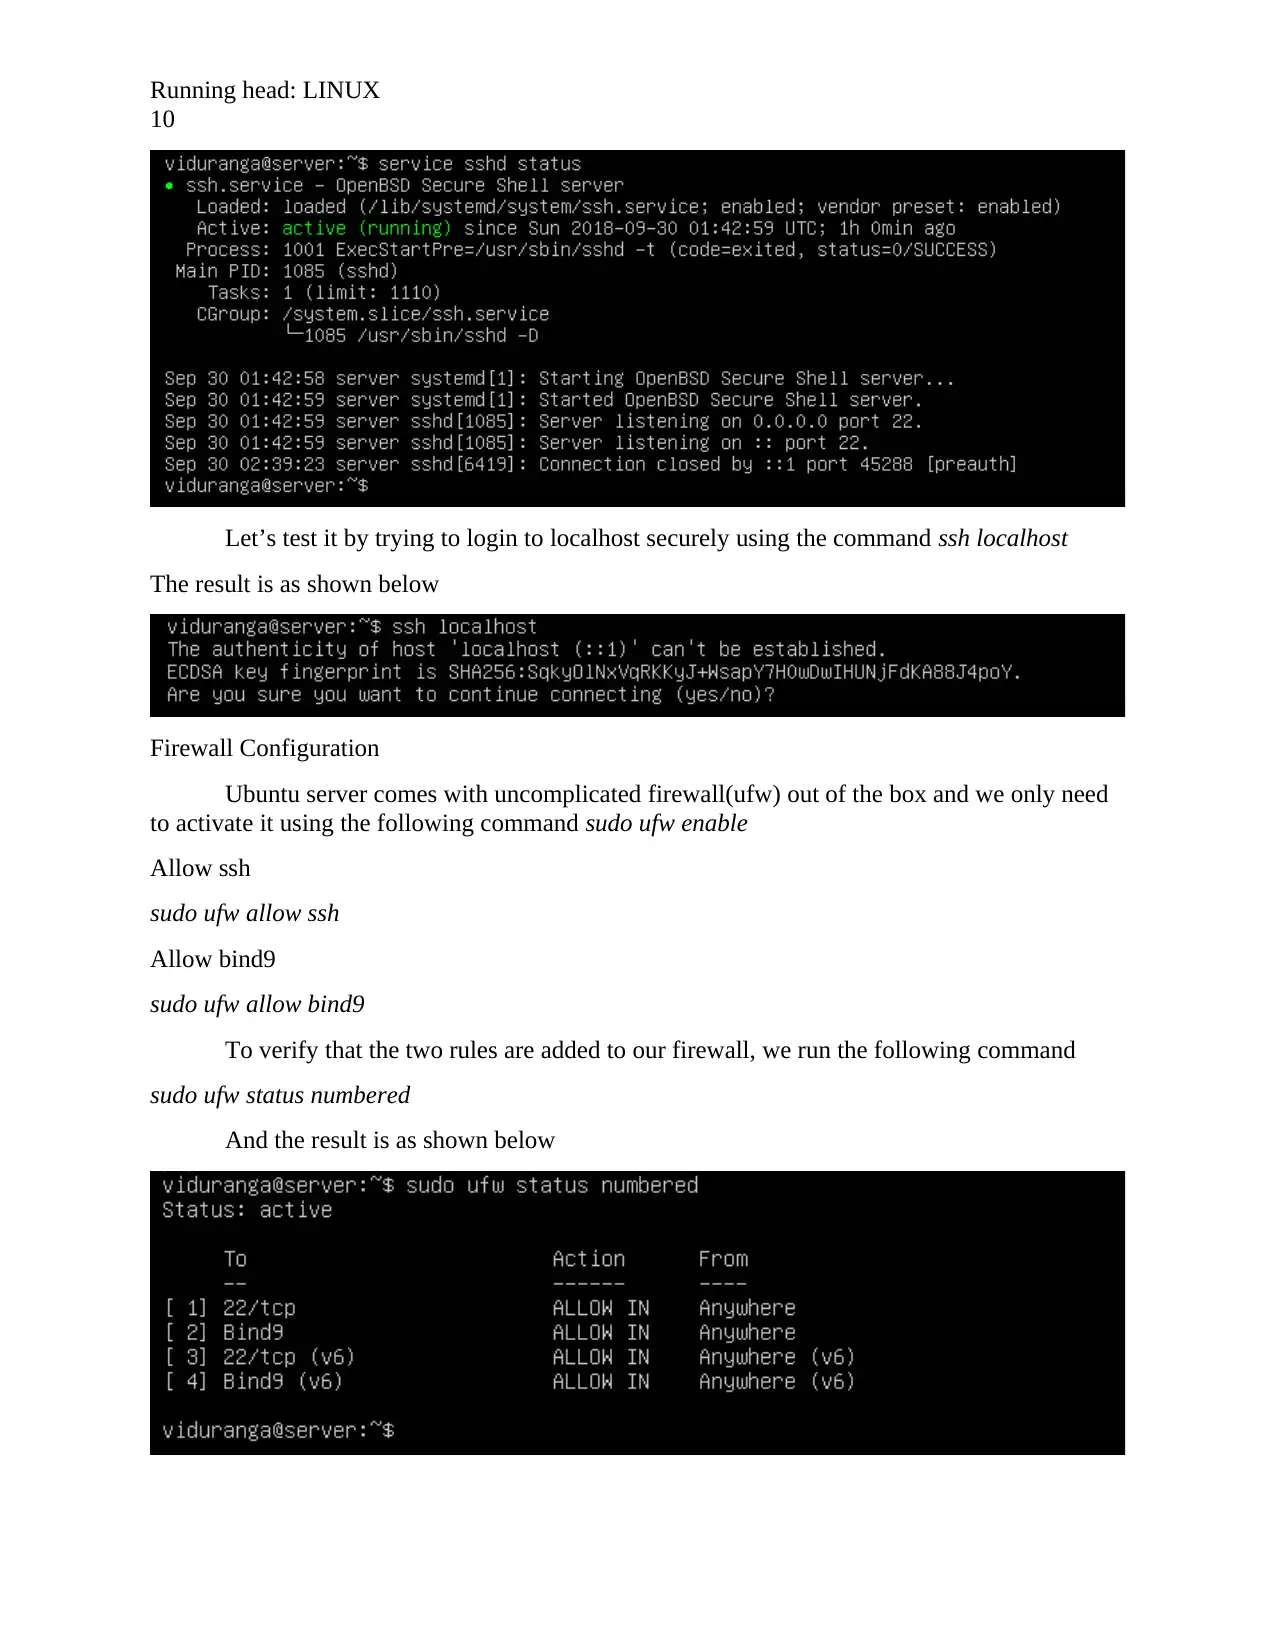
This assignment solution details the configuration of two virtual machines to perform various server roles. The first VM, running Ubuntu 18.04, is set up as a DNS and SSH server. The DNS server uses BIND to manage the saffioti.org.au domain, including setting up forward and reverse zones, configuring static IP and hostname, and testing DNS functionality. SSH is enabled for secure remote access, and UFW is configured to manage firewall rules. The second VM, running CentOS, is configured with a LAMP stack (Linux, Apache, MySQL, PHP) to serve web pages. This includes installing and configuring Apache, MariaDB, and PHP, setting up a test PHP script, and configuring the firewall. Static IP and DNS server information are also configured. Finally, the assignment covers the setup of an FTP server using vsftpd, including installation, configuration, firewall rules, and user setup. Challenges encountered during each part of the process are also discussed, providing valuable insights into the practical aspects of Linux server administration.
Document Page
Running head: LINUX 1
Linux
[Name of Student]
[Institution Affiliation]
tabler-icon-diamond-filled.svg

Paraphrase This Document

Need a fresh take? Get an instant paraphrase of this document with our AI Paraphraser
Document Page
Running head: LINUX 2
Part 1: Virtual Machine One – DNS & SSH Server (3 marks)
The first virtual machine has Ubuntu 18.04 server version running and will be used to
make the machine a DNS and SSH server. The first step will be an installation for BIND DNS
managing the following domain saffioti.org.au. The steps with are detailed below with the
accompanying screenshot (Lee, Kim, Kim, & Shin, 2008)
Steps
Preconditions
1. The machine must have a static hostname
2. The machine must have a static IP address.
Configure Static hostname
First, we check the current hostname by running the command hostname
Since we are creating DNS for saffioti.org.au, our hostname must be prefixed by the
server. And suffix with saffioti.org.au. To set the hostname, we run the following command;
hostnamectl set-hostname server.saffioti.org.au
Document Page
Running head: LINUX 3
The ens3, that is the network interface card
IP-192.168.122.229
BROADCAST-192.168.122.255
To configure static IP, we must edit the etc/network/interfaces and give the following
lines shown in the figure below,
To make the changes take effect, restart the networking service by issuing the command
sudo systemctl restart networking
The configuration of the DNS server
First, it is important to get updated package repositories by running the sudo apt-get
update
Document Page
Running head: LINUX 4
Next, install the bind9 and the bind9utils using sudo apt-get install bind9 bind9utils.
Change directory to /etc/bind and run the ls command to list files and directories in bind
directory (Lee et al., 2008). The various files are shown in the figure below,
Our main file is the named.conf which is the main configuration file for the DNS server.
The current contents are as shown below;
But first, let configure the zone forward zone for saffioti.org.au which can be done by
editing the /etch/bind/named.conf.local file and fill the following details
zone is “saffioti.org.au”
type is master because we are creating a master a DNS server
file will be the file for the forward zone i.e /etc/bind/forward.saffioti.org.au
Then configure the reverse zone by reversing the machine network IP using the in.addr.arpa
inverse addressing.
Zone “122.168.192.in.addr.arpa”
The type will be master
The file will the reverse DND lookup file at /etc/bind/reverse.saffioti.org as shown below
tabler-icon-diamond-filled.svg

Paraphrase This Document

Need a fresh take? Get an instant paraphrase of this document with our AI Paraphraser
Document Page
Running head: LINUX 5
Now we just need to create the two zones in the bind.
Since we need similar configuration as the db.local file, we can copy the contents of db.local into
the two zones and edit the two files as shown below
Forward zone
In the edit mode, the start of authority(SOA) will be given as the hostname i.e
server.saffioti.org.au. The NS i.e name server shall be server.saffioti.org.au and the A i.e IPv4
address shall be the IP address of the server. The client and www shall be defined with an IP in
the range as of the server, in this case, it will be 192.168.122.230 as shown below
To configure the reverse zone, we can just copy the forward file into the reverse file and
edit the reverse zone file. In the PTR(pointer) will given the domain name saffioti.org.au which it
is pointing to as shown below
Document Page
Running head: LINUX 6
To verify our configurations we run the command
sudo named-checkconf –z /etc/bind/named.conf
The output is as shown below,
The local file is also well loaded as shown in figure below,
To verify the forward zone run the command
sudo named-checkzone forward /etc/bind/forward.saffioti.org.au
The result is as shown below
Similarly, the reverse zone is verified by running
sudo named-checkzone reverse /etc/bind/reverse.saffioti.org.au
Document Page
Running head: LINUX 7
The result is as shown below,
We can now change the ownership and permission of the bind directory to bind username
and group and permission level to 755
Once the configuration is correct, we can now start the bind9 service using the following
command
sudo systemctl start bind9
To check whether the service is working, we run the following command
sudo systemctl status baind9
And the output is as shown below
Edit the network interfaces details to add the DNS-search and the dns-nameserver details
as shown below
Now we need to change the hostname to the server using the following command
sudo hostname server
tabler-icon-diamond-filled.svg

Paraphrase This Document

Need a fresh take? Get an instant paraphrase of this document with our AI Paraphraser
Document Page
Running head: LINUX 8
sudo hostnamectl set-hostname server
Test DNS functionality
To test DNS, we ping the server and the result is as shown below
We can also ping the host and the result is as shown below
From the ping statistics, our DNS server is working fine at the server side.
Document Page
Running head: LINUX 9
If we do a nslookup, we get the following result
If we do nslookup www.saffioti.org.au the result is as shown below
Allow bind through the firewall
First, we have to enable the ufw(uncomplicated firewall) and allow service bind through it,
Configure static IP
First, check the available interfaces by running ifconfig, the result is as shown below,
SSH
By default, ssh server comes out of the box with the Ubuntu and most Linux distro and to
verify that it is running, we run the command
service sshd status
and the output is as shown below
Document Page
Running head: LINUX
10
Let’s test it by trying to login to localhost securely using the command ssh localhost
The result is as shown below
Firewall Configuration
Ubuntu server comes with uncomplicated firewall(ufw) out of the box and we only need
to activate it using the following command sudo ufw enable
Allow ssh
sudo ufw allow ssh
Allow bind9
sudo ufw allow bind9
To verify that the two rules are added to our firewall, we run the following command
sudo ufw status numbered
And the result is as shown below
tabler-icon-diamond-filled.svg

Paraphrase This Document

Need a fresh take? Get an instant paraphrase of this document with our AI Paraphraser
Document Page
Running head: LINUX
11
Challenges
Although the process was quite mundane, the following challenges were experiences
i. Setting up forwarding and the reverse zone seems difficult at first sight and had few
errors before I could eventually set it up and running
ii. Failure to restart the networking service always made me feel as if the configuration was
wrong when in fact it was correct only needed restart of services
Part 2: Virtual Machine Two (3 marks)
The second virtual machine runs the CentOS server and in it, the LAMP(Linux Apache
Mysql PHP) stack shall be installed to enable it server web pages. The Procedure is as described
below
Install httpd
First, we have to install httpd daemon which is the Apache web server service using the
yum. The command is as follows below,
sudo yum install httpd
The result is as shown below,
To enable the service, we run the command sudo systemctl enable httpd.service
Once service is enabled, we can start the service using
Document Page
Running head: LINUX
12
sudo systemctl start httpd.service
Install mariadb-server and mariadb
Maria db represents a drop-in replacement for mysql. The two DBMS are compatible and
are opensource though MySQL is currently under oracle incorporation. The following command
is used in the installation (Razzoli, 2014)
sudo yum install mariadb-server mariadb
The result is as shown below
Then we need to start the mariadb service by running the following command
sudo systemctl start mariadb
To enable it on system restart, we just need to run the following command
sudo mysql_secure_installation
The output is as shown below
chevron_up_icon
1 out of 25
circle_padding
hide_on_mobile
zoom_out_icon
[object Object]