Applying Structural Principles to Low-Rise Residential Construction
VerifiedAdded on 2023/06/07
|9
|1005
|146
Report
AI Summary
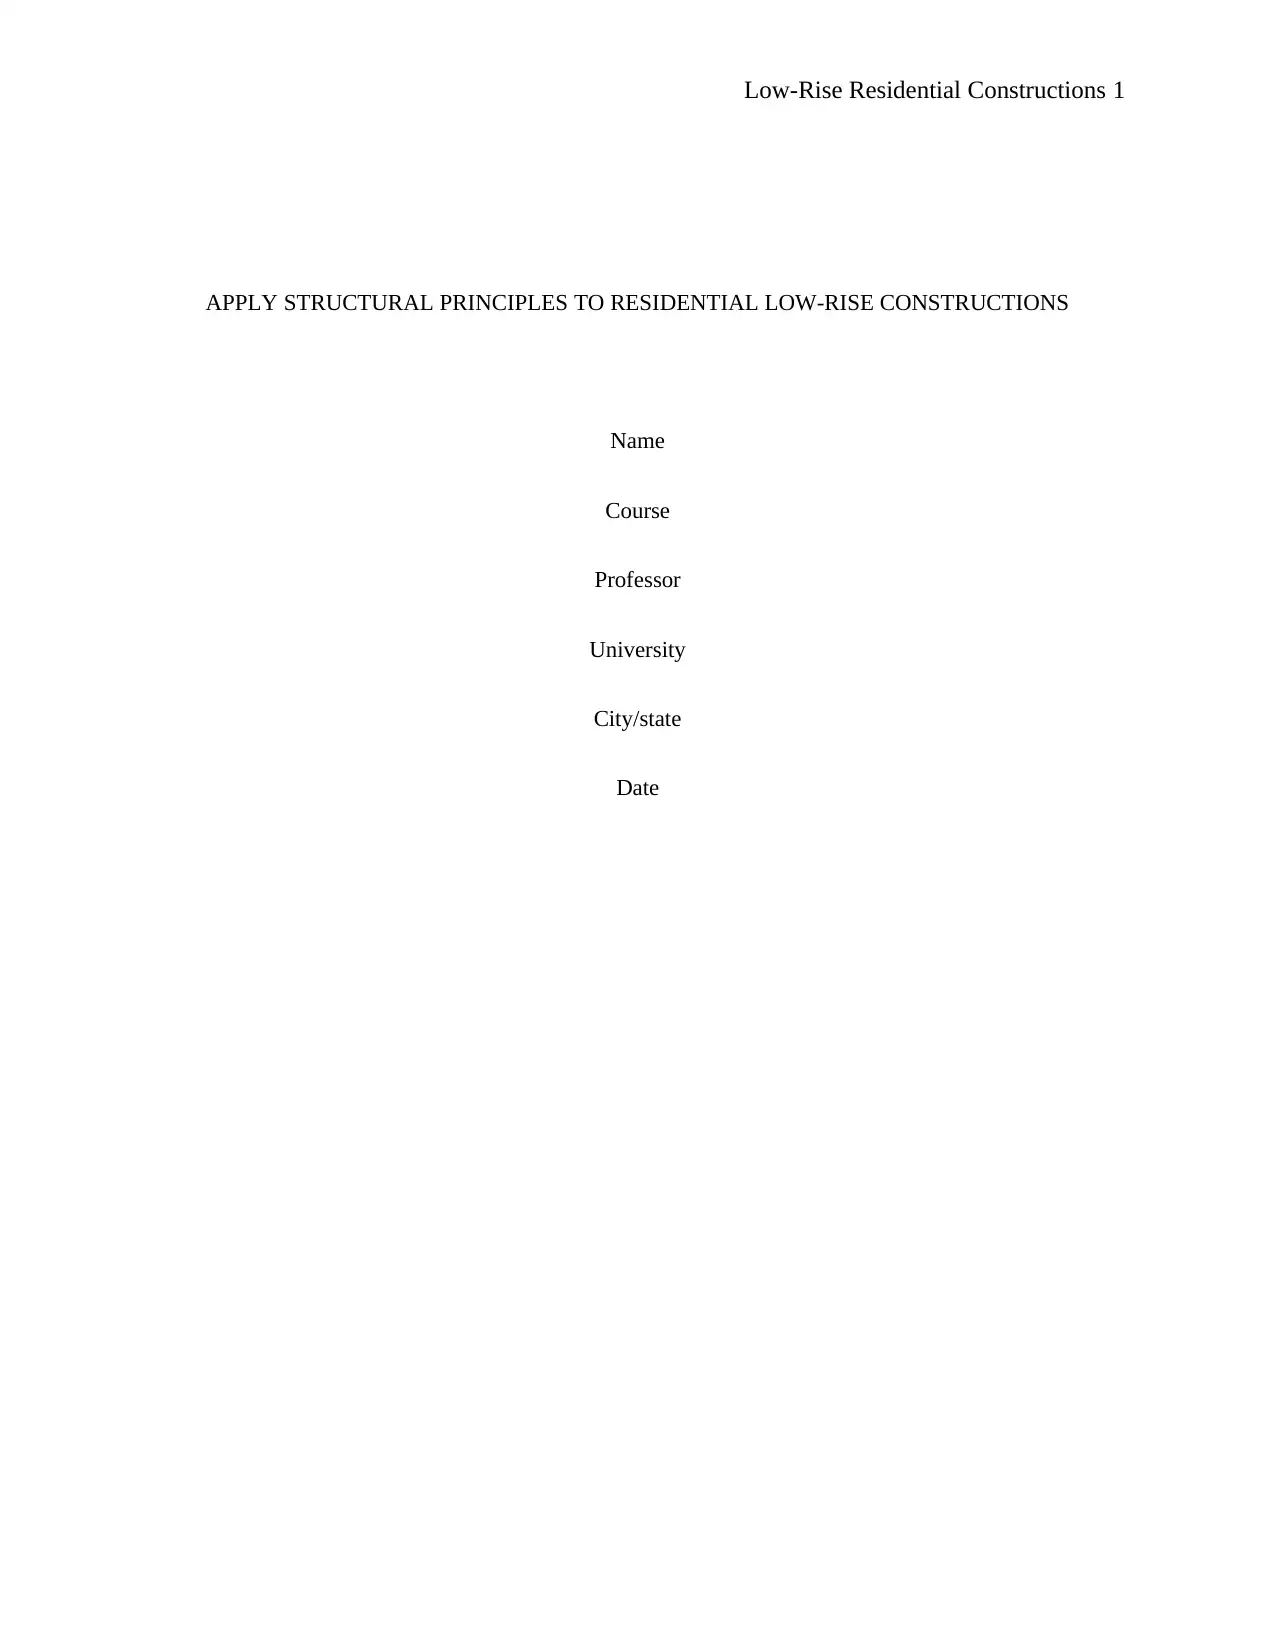
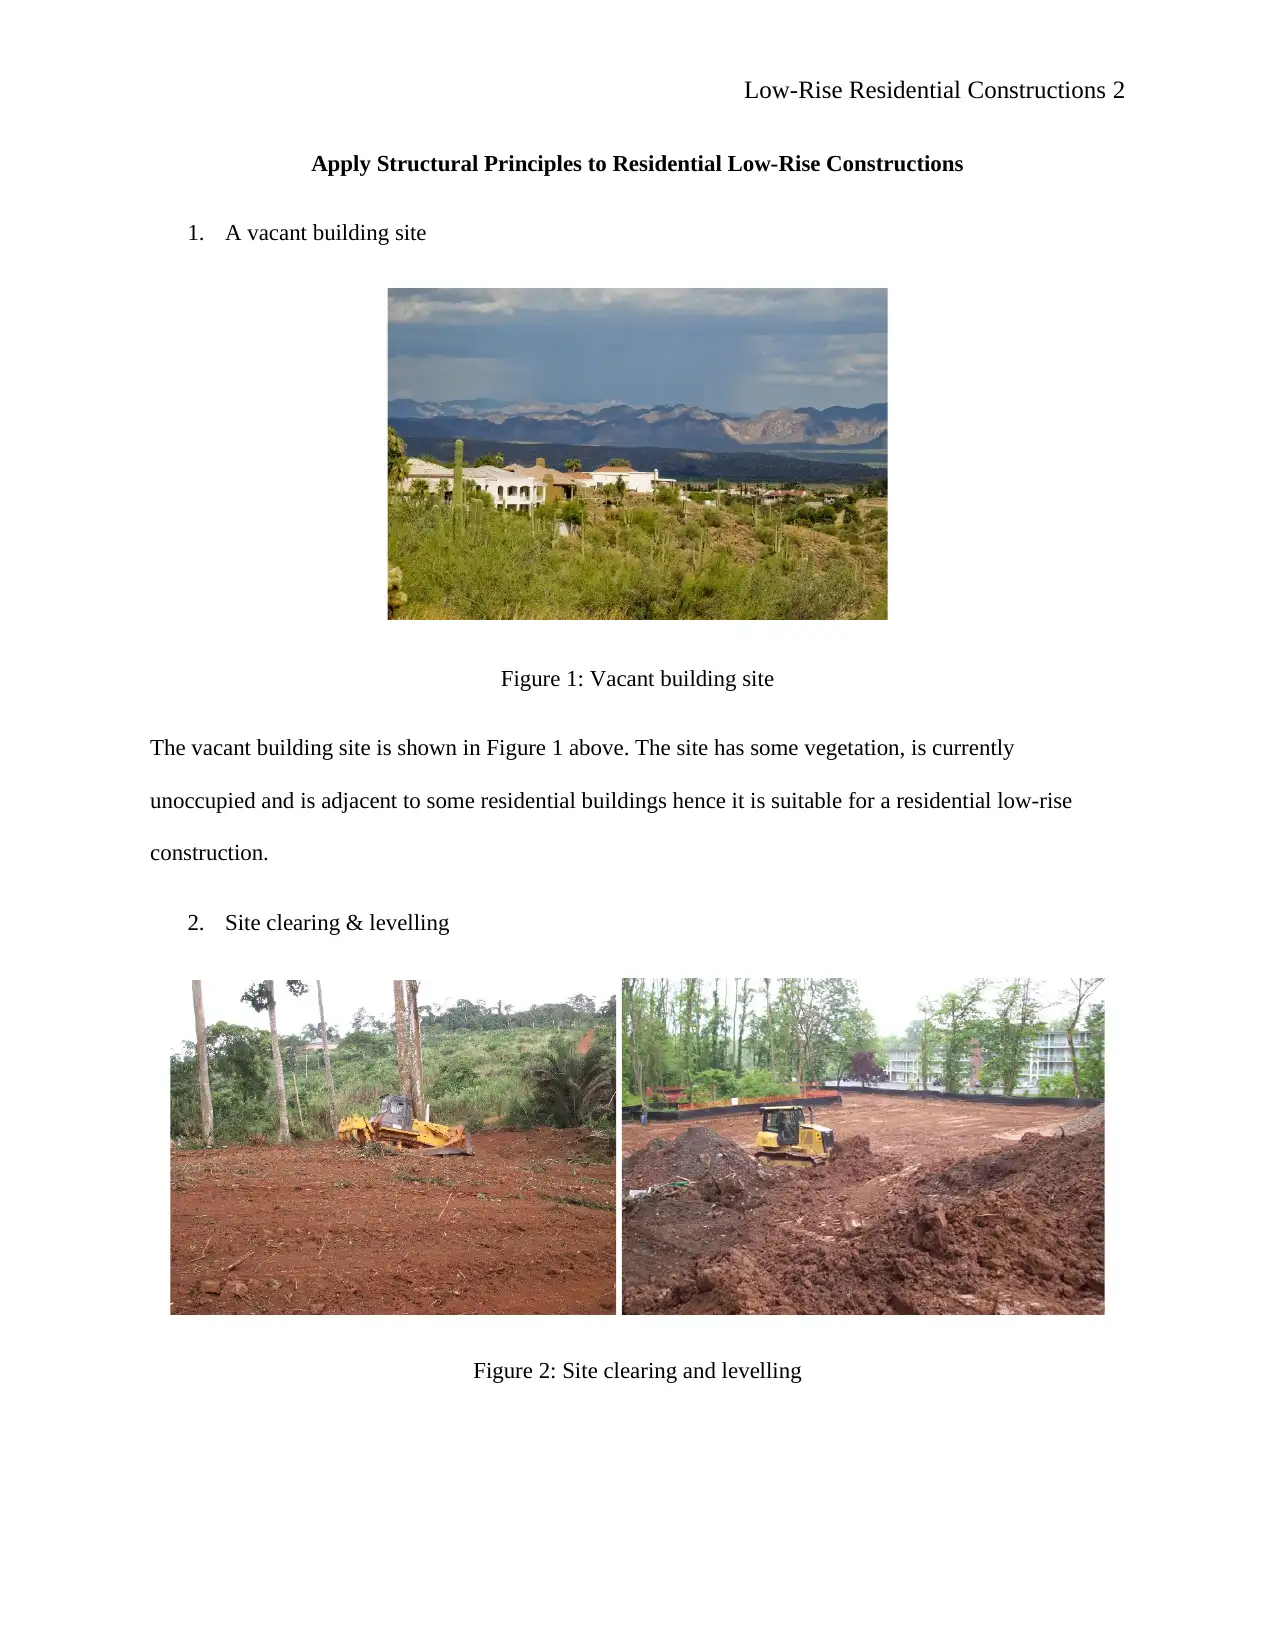
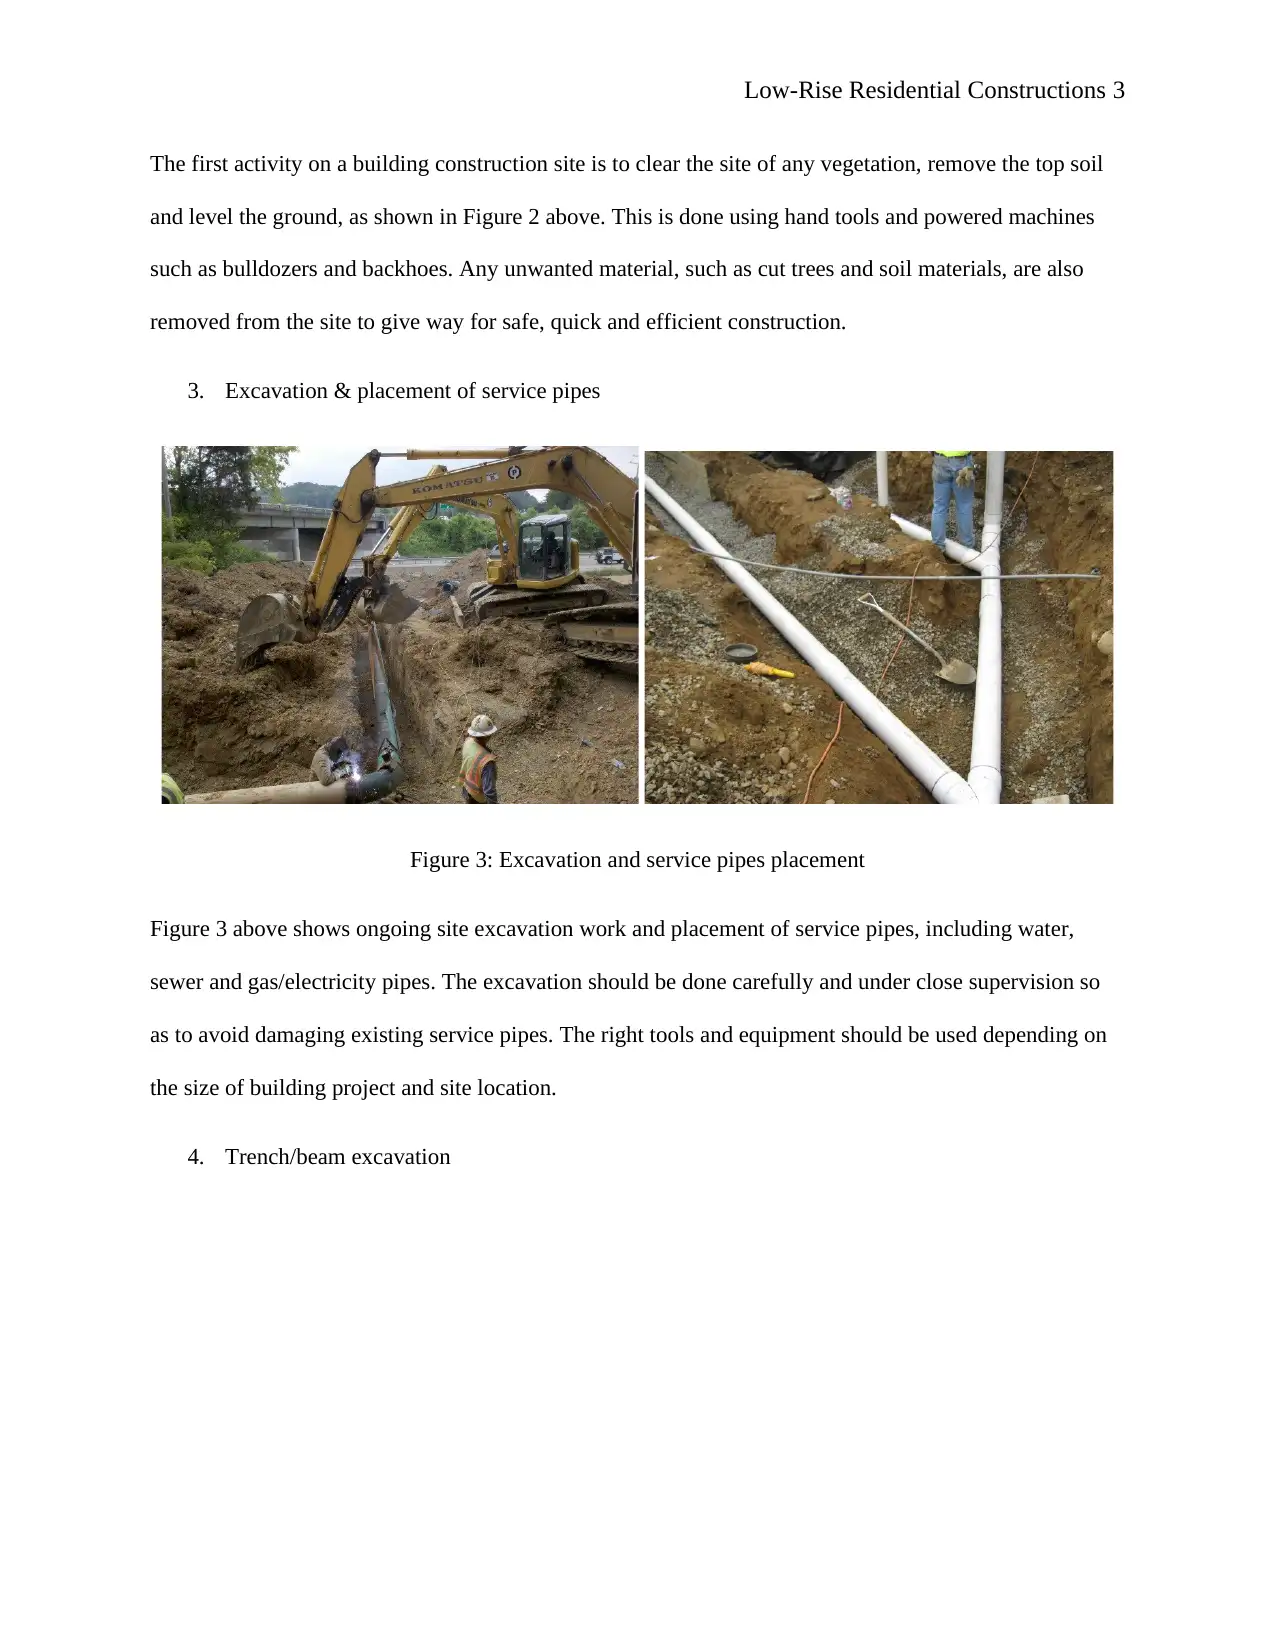
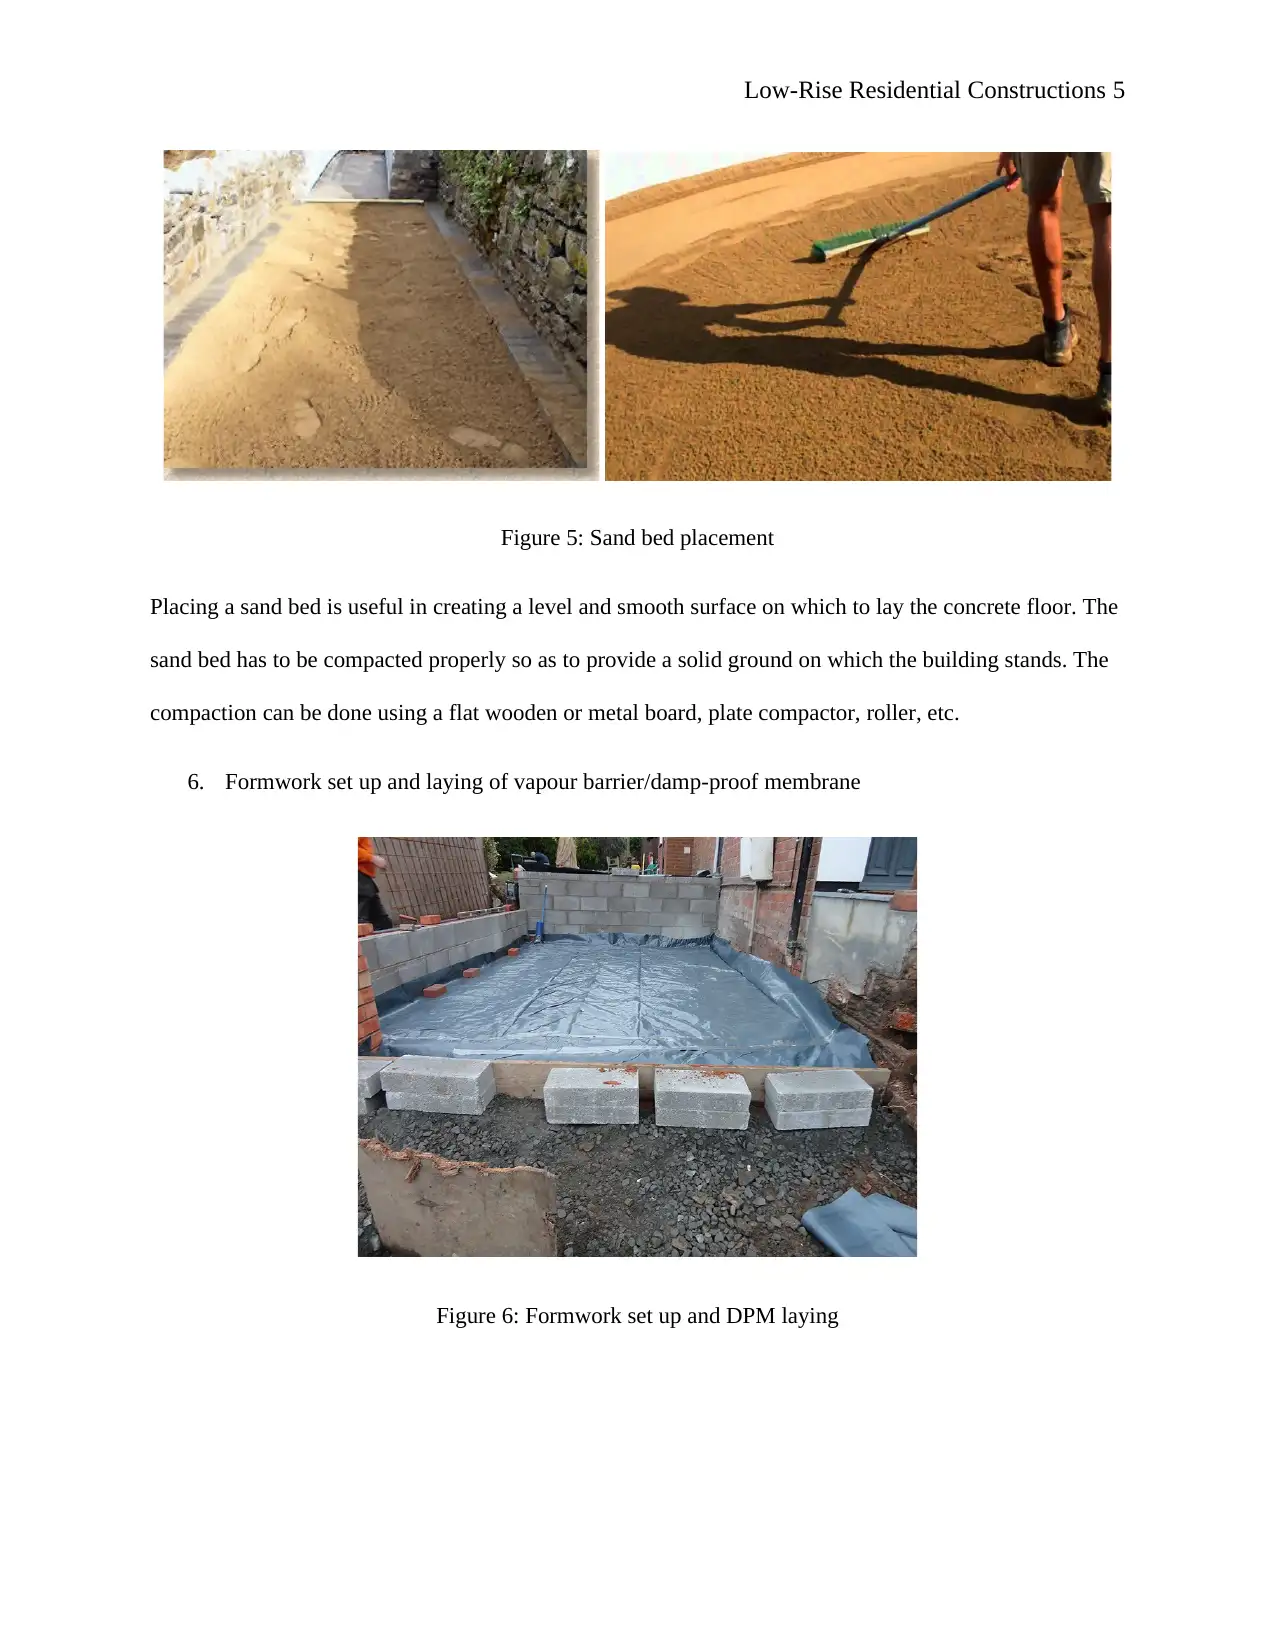
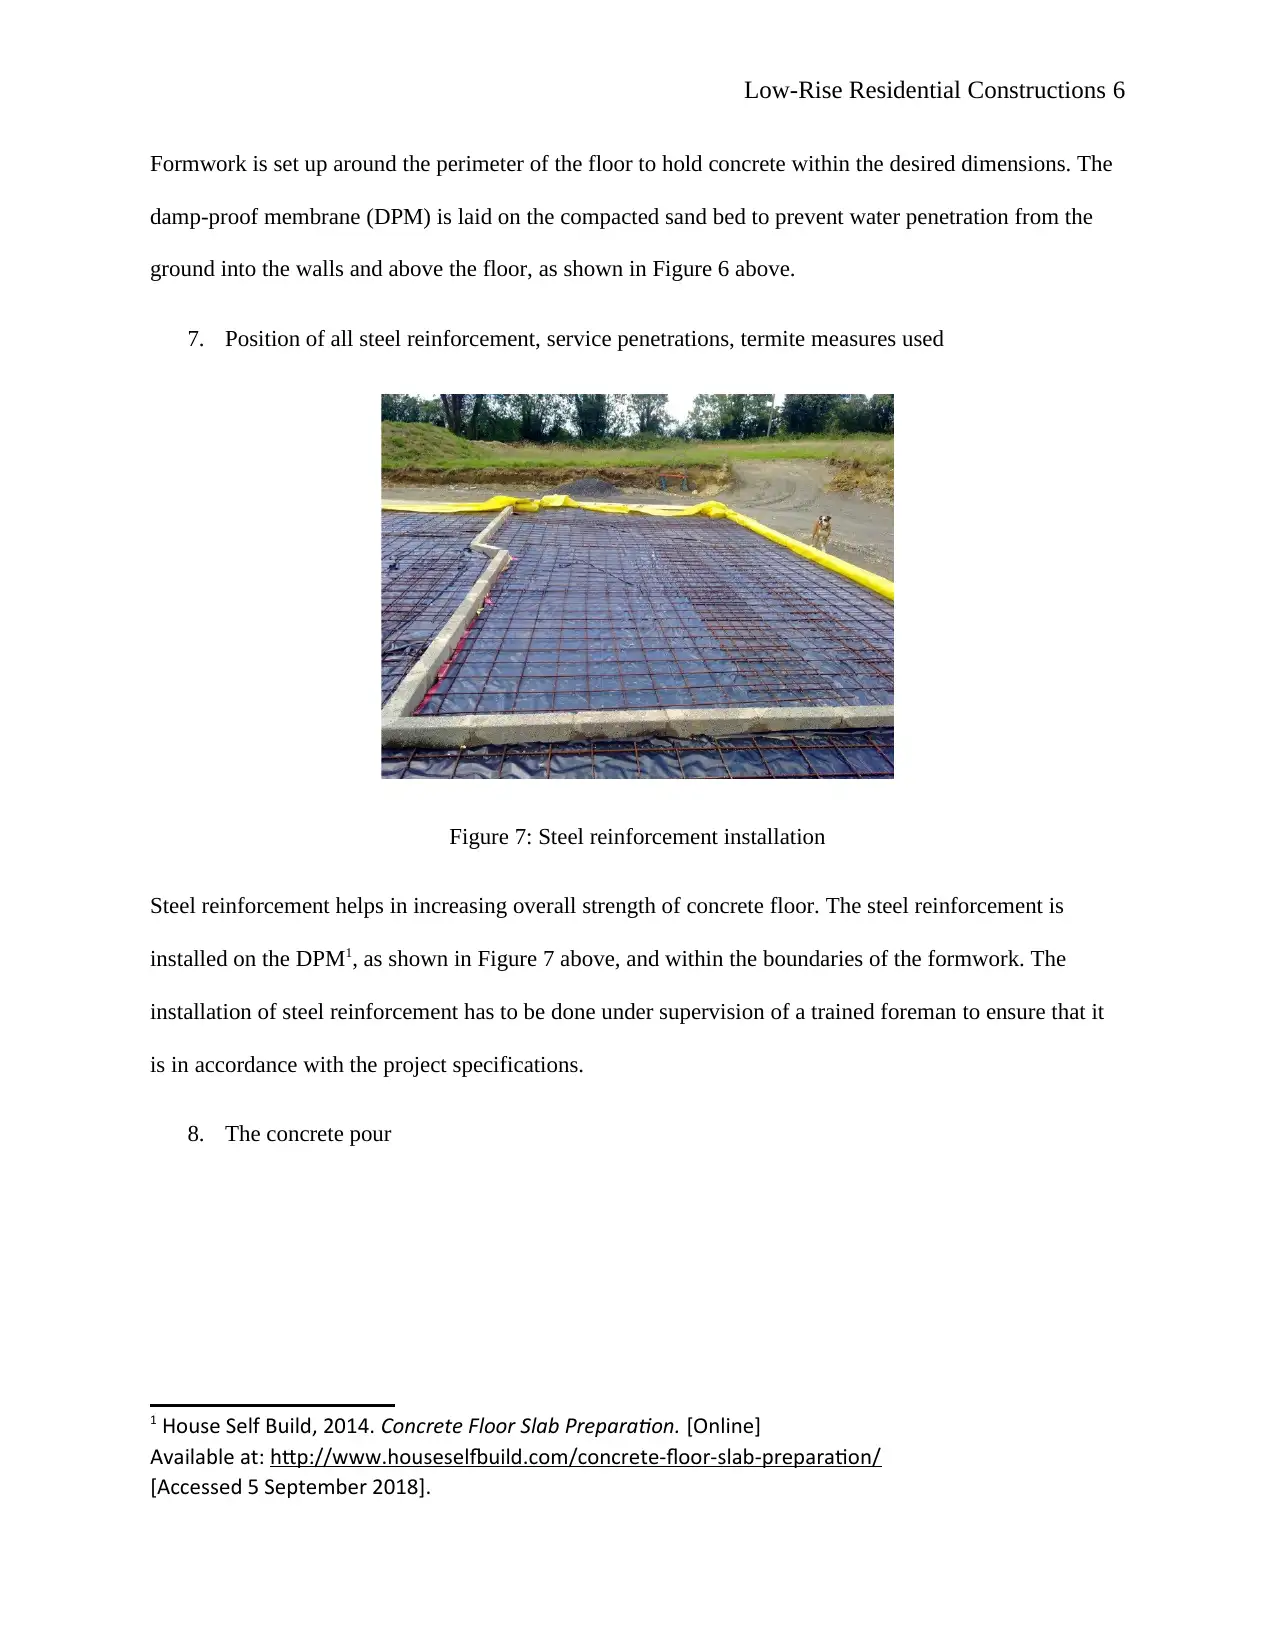
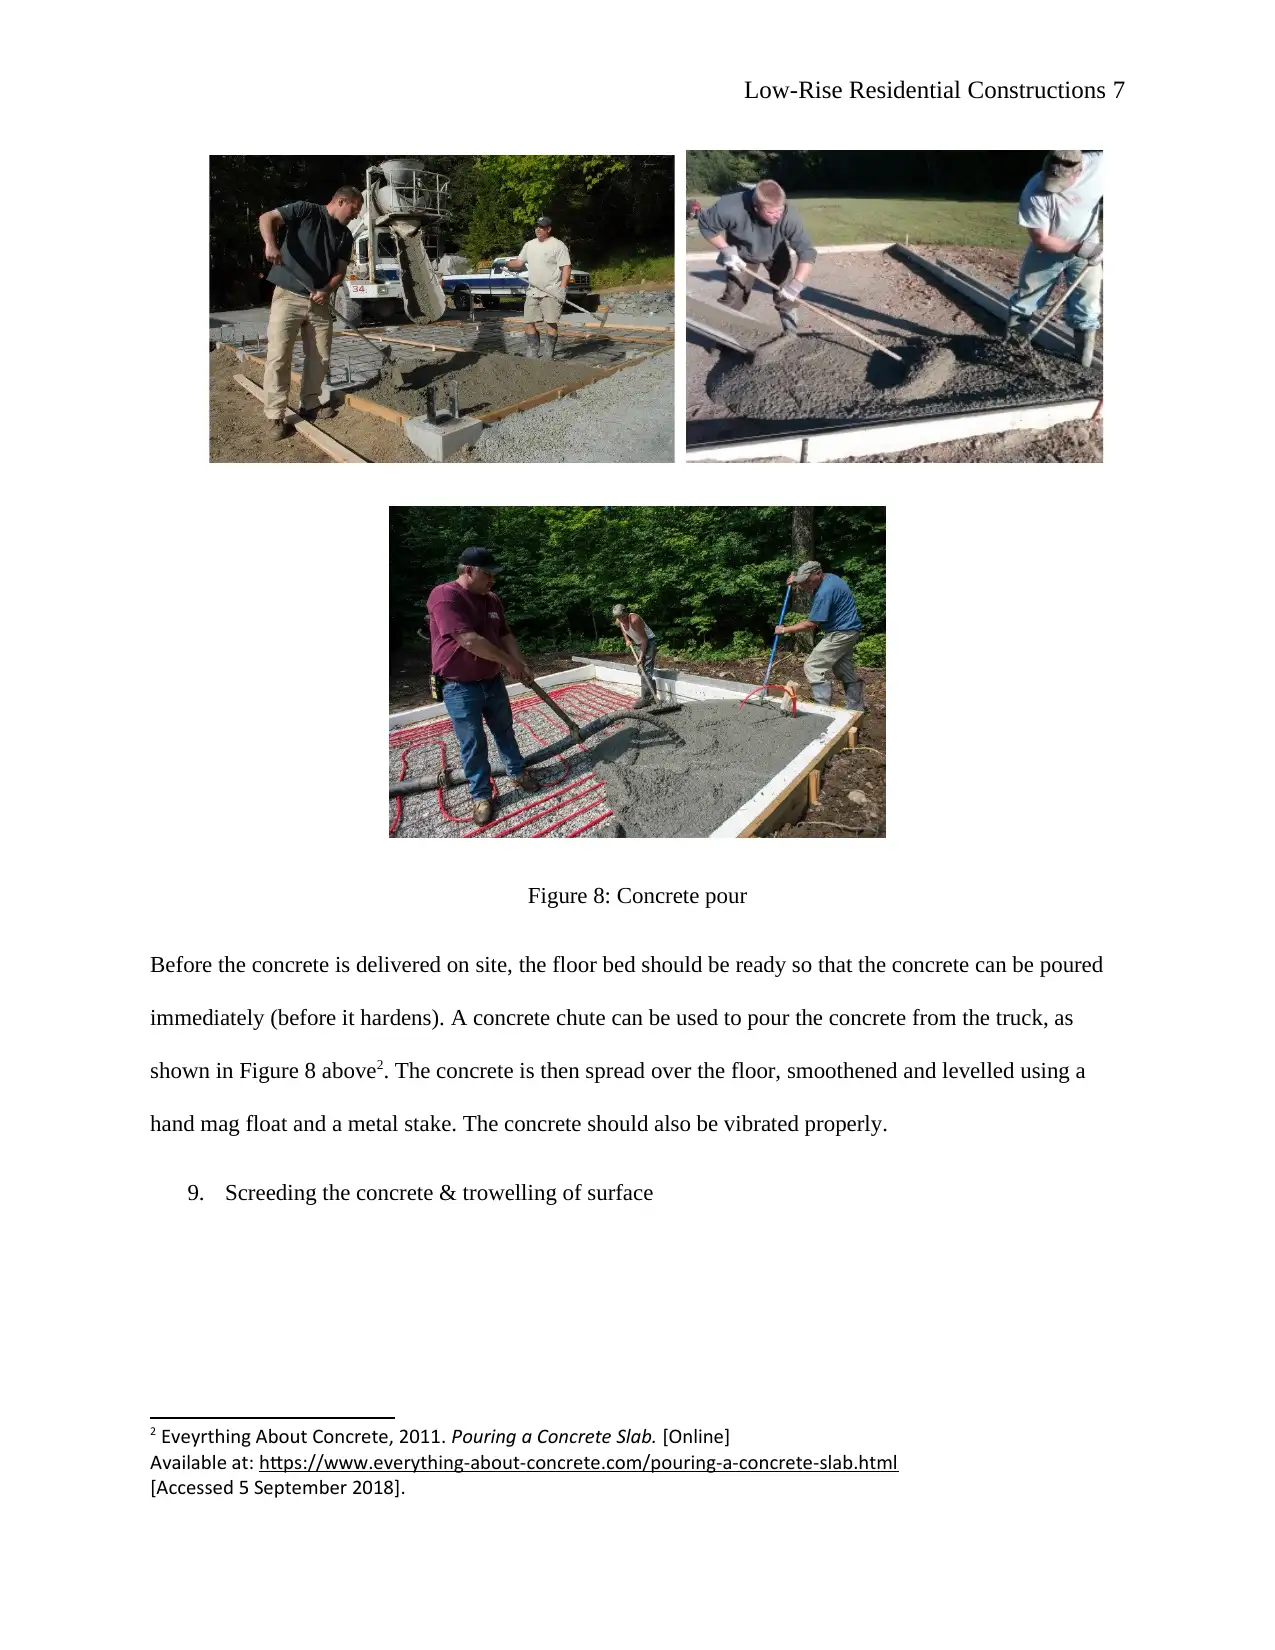
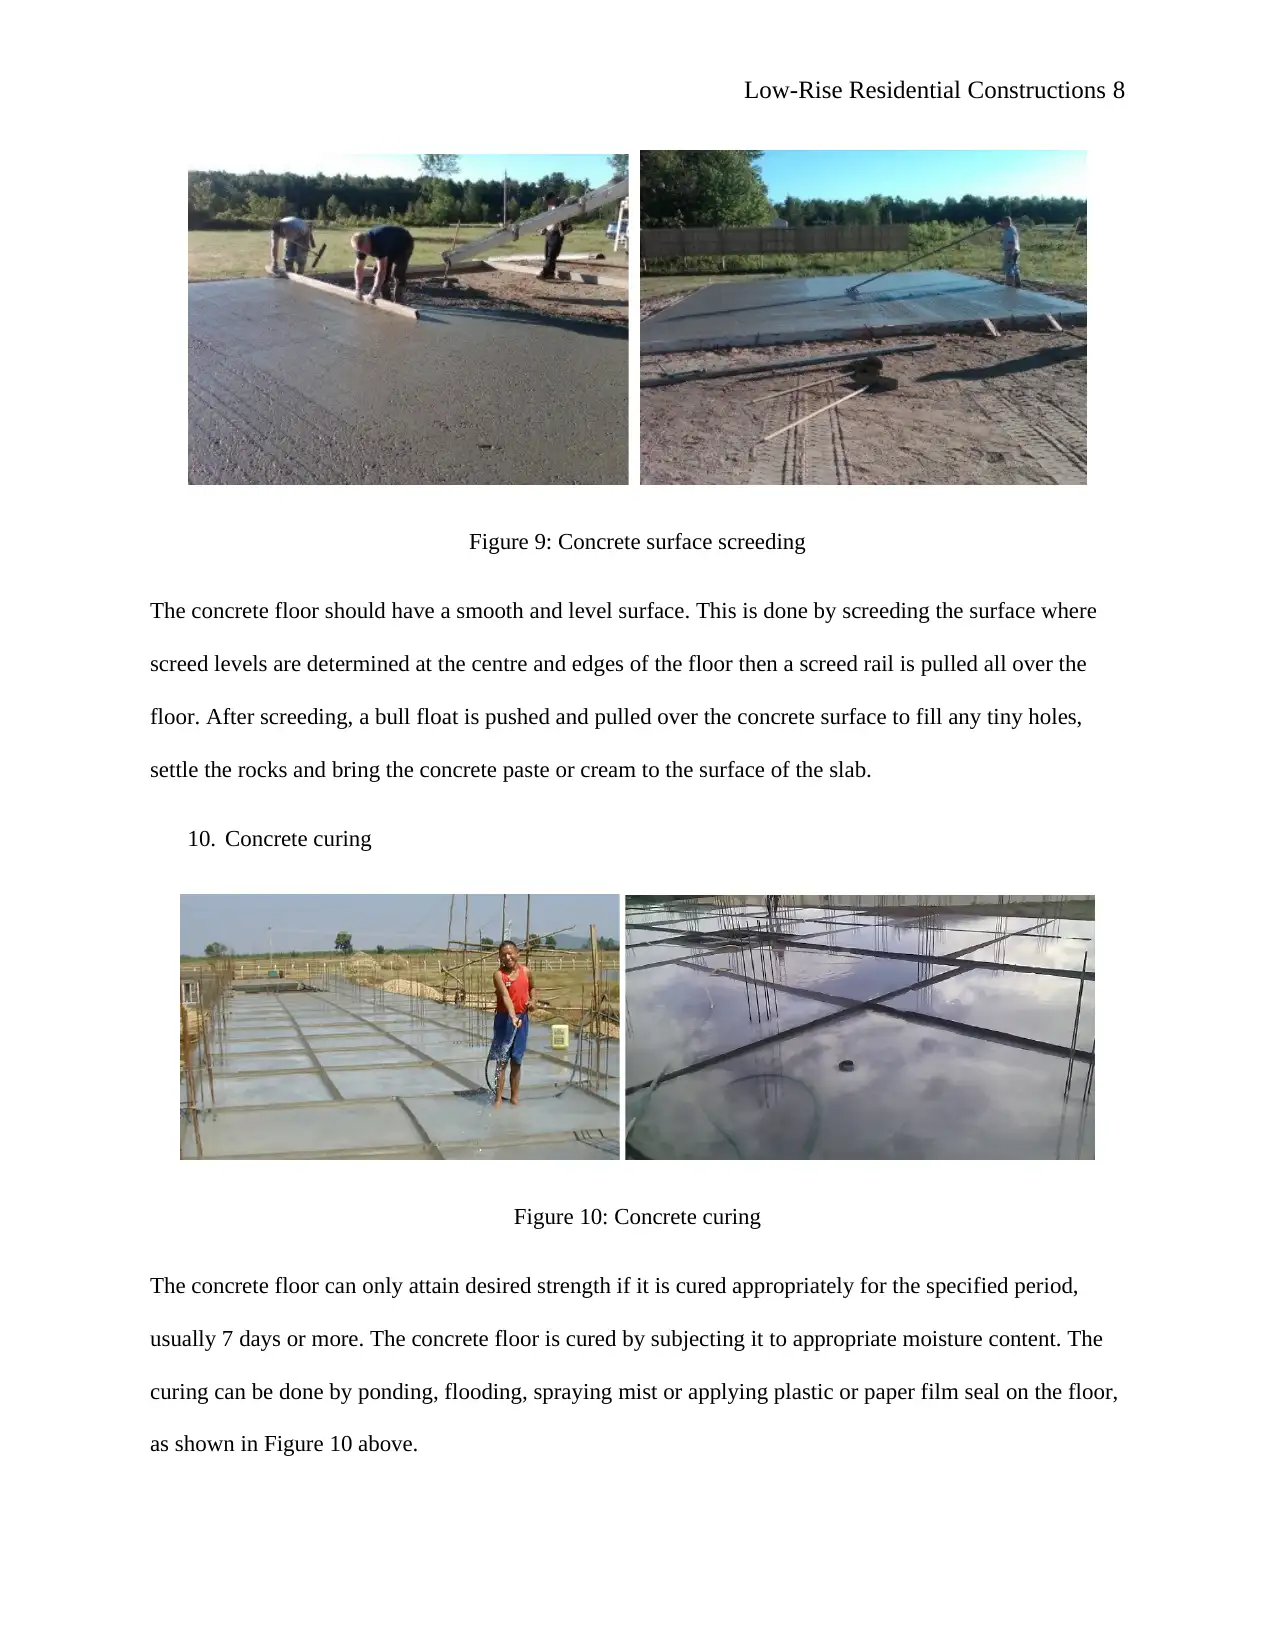
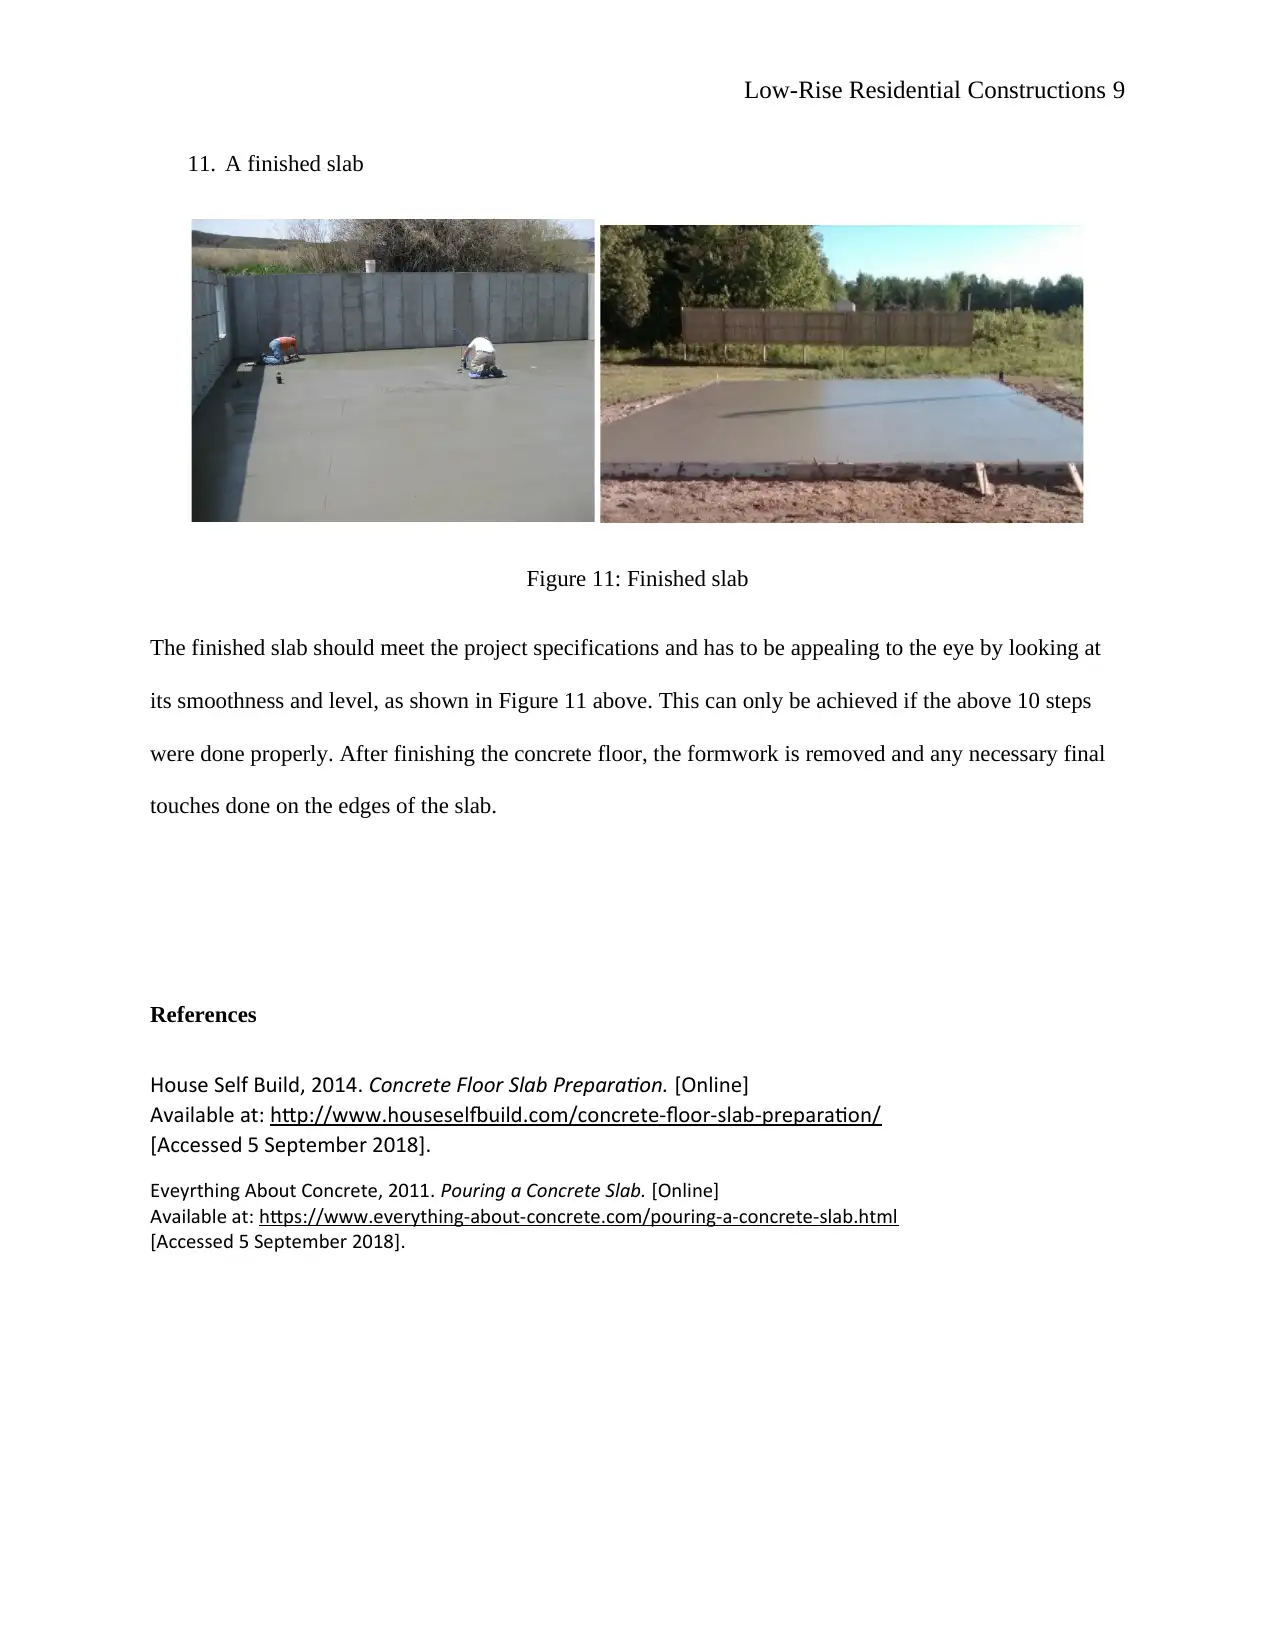
This report outlines the application of structural principles in low-rise residential construction, detailing the sequential steps involved in constructing a solid foundation. It begins with site preparation, including clearing vegetation and leveling the ground, followed by excavation for service pipes and foundation beams. The process continues with sand bed placement, screeding, and compaction to create a smooth base for the concrete floor. Formwork is then set up, and a damp-proof membrane is laid to prevent water penetration. Steel reinforcement is installed to enhance the concrete's strength before pouring, screeding, and trowelling the concrete. Finally, the report emphasizes the importance of proper concrete curing to achieve the desired strength and a smooth, level surface. The finished slab should meet project specifications, achieved through careful execution of each step, ensuring structural integrity and visual appeal.

Low-Rise Residential Constructions 1
APPLY STRUCTURAL PRINCIPLES TO RESIDENTIAL LOW-RISE CONSTRUCTIONS
Name
Course
Professor
University
City/state
Date
APPLY STRUCTURAL PRINCIPLES TO RESIDENTIAL LOW-RISE CONSTRUCTIONS
Name
Course
Professor
University
City/state
Date
Paraphrase This Document
Need a fresh take? Get an instant paraphrase of this document with our AI Paraphraser

Low-Rise Residential Constructions 2
Apply Structural Principles to Residential Low-Rise Constructions
1. A vacant building site
Figure 1: Vacant building site
The vacant building site is shown in Figure 1 above. The site has some vegetation, is currently
unoccupied and is adjacent to some residential buildings hence it is suitable for a residential low-rise
construction.
2. Site clearing & levelling
Figure 2: Site clearing and levelling

Low-Rise Residential Constructions 3
The first activity on a building construction site is to clear the site of any vegetation, remove the top soil
and level the ground, as shown in Figure 2 above. This is done using hand tools and powered machines
such as bulldozers and backhoes. Any unwanted material, such as cut trees and soil materials, are also
removed from the site to give way for safe, quick and efficient construction.
3. Excavation & placement of service pipes
Figure 3: Excavation and service pipes placement
Figure 3 above shows ongoing site excavation work and placement of service pipes, including water,
sewer and gas/electricity pipes. The excavation should be done carefully and under close supervision so
as to avoid damaging existing service pipes. The right tools and equipment should be used depending on
the size of building project and site location.
4. Trench/beam excavation
⊘ This is a preview!⊘
Do you want full access?
Subscribe today to unlock all pages.

Trusted by 1+ million students worldwide

Low-Rise Residential Constructions 4
Figure 4: Trench/beam excavation
Trenches are excavated for the installation of the foundation beams and footings. The trenches should be
wide enough to allow more space for workers to set up the formwork and place the beams easily and
safely, as shown in Figure 4 above.
5. Sand bed placement – screeding & compaction
Paraphrase This Document
Need a fresh take? Get an instant paraphrase of this document with our AI Paraphraser

Low-Rise Residential Constructions 5
Figure 5: Sand bed placement
Placing a sand bed is useful in creating a level and smooth surface on which to lay the concrete floor. The
sand bed has to be compacted properly so as to provide a solid ground on which the building stands. The
compaction can be done using a flat wooden or metal board, plate compactor, roller, etc.
6. Formwork set up and laying of vapour barrier/damp-proof membrane
Figure 6: Formwork set up and DPM laying

Low-Rise Residential Constructions 6
Formwork is set up around the perimeter of the floor to hold concrete within the desired dimensions. The
damp-proof membrane (DPM) is laid on the compacted sand bed to prevent water penetration from the
ground into the walls and above the floor, as shown in Figure 6 above.
7. Position of all steel reinforcement, service penetrations, termite measures used
Figure 7: Steel reinforcement installation
Steel reinforcement helps in increasing overall strength of concrete floor. The steel reinforcement is
installed on the DPM1, as shown in Figure 7 above, and within the boundaries of the formwork. The
installation of steel reinforcement has to be done under supervision of a trained foreman to ensure that it
is in accordance with the project specifications.
8. The concrete pour
1 House Self Build, 2014. Concrete Floor Slab Preparation. [Online]
Available at: http://www.houseselfbuild.com/concrete-floor-slab-preparation/
[Accessed 5 September 2018].
⊘ This is a preview!⊘
Do you want full access?
Subscribe today to unlock all pages.

Trusted by 1+ million students worldwide

Low-Rise Residential Constructions 7
Figure 8: Concrete pour
Before the concrete is delivered on site, the floor bed should be ready so that the concrete can be poured
immediately (before it hardens). A concrete chute can be used to pour the concrete from the truck, as
shown in Figure 8 above2. The concrete is then spread over the floor, smoothened and levelled using a
hand mag float and a metal stake. The concrete should also be vibrated properly.
9. Screeding the concrete & trowelling of surface
2 Eveyrthing About Concrete, 2011. Pouring a Concrete Slab. [Online]
Available at: https://www.everything-about-concrete.com/pouring-a-concrete-slab.html
[Accessed 5 September 2018].
Paraphrase This Document
Need a fresh take? Get an instant paraphrase of this document with our AI Paraphraser

Low-Rise Residential Constructions 8
Figure 9: Concrete surface screeding
The concrete floor should have a smooth and level surface. This is done by screeding the surface where
screed levels are determined at the centre and edges of the floor then a screed rail is pulled all over the
floor. After screeding, a bull float is pushed and pulled over the concrete surface to fill any tiny holes,
settle the rocks and bring the concrete paste or cream to the surface of the slab.
10. Concrete curing
Figure 10: Concrete curing
The concrete floor can only attain desired strength if it is cured appropriately for the specified period,
usually 7 days or more. The concrete floor is cured by subjecting it to appropriate moisture content. The
curing can be done by ponding, flooding, spraying mist or applying plastic or paper film seal on the floor,
as shown in Figure 10 above.

Low-Rise Residential Constructions 9
11. A finished slab
Figure 11: Finished slab
The finished slab should meet the project specifications and has to be appealing to the eye by looking at
its smoothness and level, as shown in Figure 11 above. This can only be achieved if the above 10 steps
were done properly. After finishing the concrete floor, the formwork is removed and any necessary final
touches done on the edges of the slab.
References
House Self Build, 2014. Concrete Floor Slab Preparation. [Online]
Available at: http://www.houseselfbuild.com/concrete-floor-slab-preparation/
[Accessed 5 September 2018].
Eveyrthing About Concrete, 2011. Pouring a Concrete Slab. [Online]
Available at: https://www.everything-about-concrete.com/pouring-a-concrete-slab.html
[Accessed 5 September 2018].
⊘ This is a preview!⊘
Do you want full access?
Subscribe today to unlock all pages.

Trusted by 1+ million students worldwide
1 out of 9
Related Documents

Your All-in-One AI-Powered Toolkit for Academic Success.
+13062052269
info@desklib.com
Available 24*7 on WhatsApp / Email
Unlock your academic potential
Copyright © 2020–2025 A2Z Services. All Rights Reserved. Developed and managed by ZUCOL.