Comprehensive Guide: Creating Mail Merge Documents Using Excel & Word

Verified

Added on  2023/03/22

|10
|390
|54
Practical Assignment
AI Summary
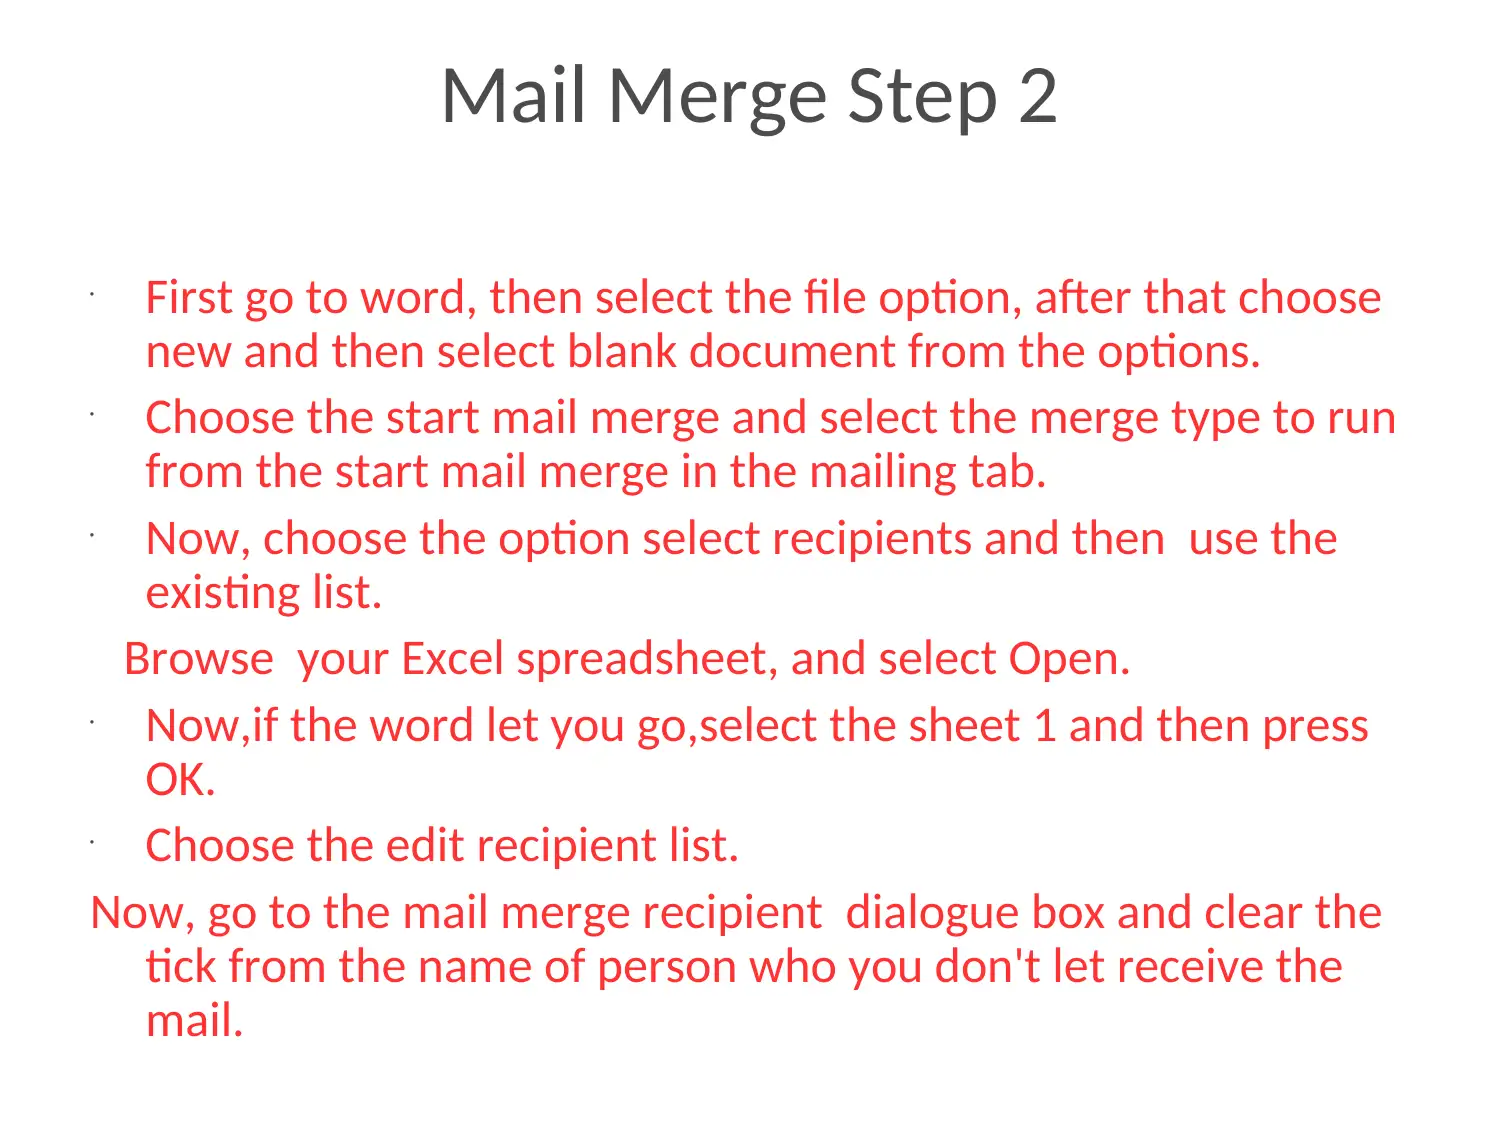
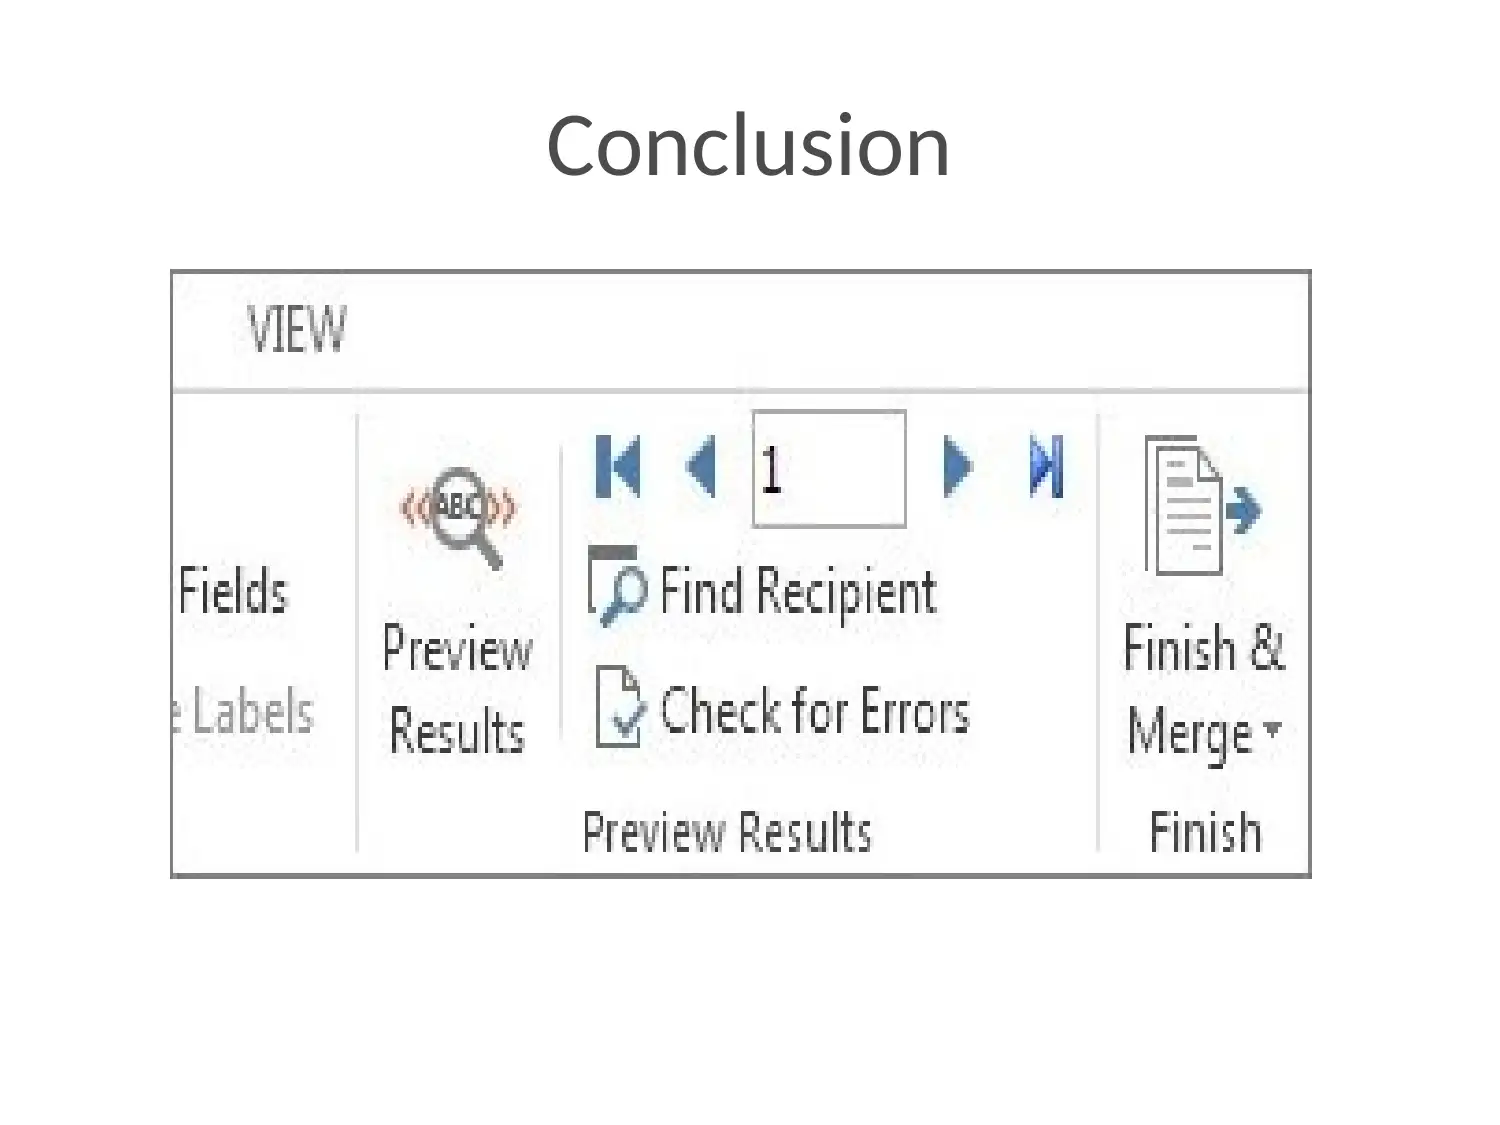
This document provides a comprehensive guide on how to perform a mail merge using Microsoft Word and Excel. It begins by introducing mail merge as a tool for creating personalized documents like letters, labels, and envelopes from data stored in lists. The guide outlines the three essential components: the main document, the data source (Excel spreadsheet), and the merged document. It then provides step-by-step instructions, starting with preparing the data in Excel, then setting up the main document in Word, selecting the data source, inserting address blocks, previewing the results, and finally, completing the merge to either print or send the documents. The guide also covers saving the mail merge for future use, ensuring the connection between the Word document and Excel data source is maintained.
Document Page
Mail Merge
Presented By:
Student Number
Date:
tabler-icon-diamond-filled.svg

Paraphrase This Document

Need a fresh take? Get an instant paraphrase of this document with our AI Paraphraser
Document Page
Introduction

Mail Merge is a tool to produce letters, labels,
envelopes name tags and information that is
stored in lists in the computer.
Document Page
Mail Merge Creation

Identify the 3 documents required for mail
merge creation in the computer

The main document

Data source

The merged document
Document Page
Mail Merge Step 1

Prepare data using Excel for mail merge
tabler-icon-diamond-filled.svg

Paraphrase This Document

Need a fresh take? Get an instant paraphrase of this document with our AI Paraphraser
Document Page
Mail Merge Step 2

First go to word, then select the file option, after that choose
new and then select blank document from the options.

Choose the start mail merge and select the merge type to run
from the start mail merge in the mailing tab.

Now, choose the option select recipients and then use the
existing list.
Browse your Excel spreadsheet, and select Open.

Now,if the word let you go,select the sheet 1 and then press
OK.

Choose the edit recipient list.
Now, go to the mail merge recipient dialogue box and clear the
tick from the name of person who you don't let receive the
mail.
Document Page
Mail Merge Step 4
Browse mailings tab, and choose the address block
from the “write and insert fields group”
Now you can select the type or format in which you
want to make appear the name of the recipient on the
envelope or any other document you want to create,
from the “insert address block”
Choose option OK.
Now select the file option and then save it.
Document Page
Mail Merge Step 5

Preview and finish the mail merge

Again browse the mailings tab and select the
preview results.

Now, in order to view the appearance of the
records select any of the one from next and
previous record buttons.

Now, select the finish and merge option from
the finish group to send mails or to print the
documents.
tabler-icon-diamond-filled.svg

Paraphrase This Document

Need a fresh take? Get an instant paraphrase of this document with our AI Paraphraser
Document Page
Mail Merge Step 5

Now the mail merge can be saved.

Access the document of mail merge,and when
the word makes it ready to keep the
connection going then select yes.
Document Page
Completion of the process
Document Page
Conclusion
chevron_up_icon
1 out of 10
circle_padding
hide_on_mobile
zoom_out_icon
[object Object]