Spatial Statistical Analysis Introduction and Report - Project #4
VerifiedAdded on 2019/09/20
|10
|4070
|291
Report
AI Summary
This report details a spatial statistical analysis project using ArcGIS, focusing on data from the Chicago Community Areas (CCAs). The project involves downloading and analyzing data on per capita income and childhood lead levels. The methodology includes the use of Moran's I and Anselin Local Moran's I spatial autocorrelation tools to identify patterns and clusters. The analysis requires data preparation, including projecting shapefiles and joining data tables. The report includes exploratory data analysis using histograms and the creation of thematic maps to visualize the spatial distribution of variables such as per capita income and the percentage of children with elevated blood lead levels. The report follows a journal format with an introduction, methods, and results and discussion sections, providing a comprehensive overview of the spatial relationships within the dataset. Students can find similar assignments and solutions on Desklib.
Spatial Statistical Analysis
Introduction and report
The purpose of this project is to give you some experience performing spatial
statistical analyses and interpreting the results. You will download data in order
to perform these analyses. This document provides the steps you will need to
follow in order to complete the project. The outcome of this project is a report
in a 'journal" format. This means that the report should have a brief
"Introduction", a "Methods" section, and a "Results and Discussion" section.
In the "Methods" section we would like you to list the files you used and the
GIS methods you employed (e.g., Moran's I). We do not need a full
explanation of Moran's I, for instance, only a statement that you used it and
any non-default parameters used for that method. The idea behind the Methods
section is that another GIS person could replicate the work that you have done
if given the same original files. In the "Results and Discussion" section, you
will present your results and briefly discuss them.
Data
Ch icago Community Areas (CCAs) with per capita income (attached)
City of Chicago's Childhood lead data (CVS text -- CCA_Pb_csv.txt )
Background
Data
Chicomm shapefile (Chicago Community Areas including selected economic data)
The Map Collection, University of Chicago Library site does not define the fields in the
ArcView shapefile. Here are the field (variable) definitions:
SHAPE = polygon
CHICOMNO = Chicago Comm unity Area four-digit number
DISTNAME = Chicago Community Area number
DISTITLE = Chicago Community Area names
FAMINC = family income, average
HOUSINC = household income, average
PERCAPINC = per capita income, average
Paraphrase This Document
Need a fresh take? Get an instant paraphrase of this document with our AI Paraphraser
MEDVALOOH = median value, owner units (building or house value)
MEDRENT = median gross rent
City of Chicago's Child hood lead data (CCA_Pb_csv.txt)
The lead data file has the following fields:
CA_No = Chicago Community Area number
Comm_Area = Chicago Community Area names
No_It_6yrs = Child is defined as age six or younger (<84 month s). The population of
children in a given comm unity area is based upon the 2000 census.
No_Tested = The num ber of children tested includes the total number of unique children
with any blood lead test (capillary or venous) reported in each given year.
perc_Tested = (No_Tested /No_lt_6yrs)* 100
No_Elevated = The num ber of children with an elevated blood lead level (i.e. lead
poisoned) counts the nu mber of children whose highest venous blood lead level was 10
micrograms per deciliter or higher.
perc_Elevated = (No_Elevated/No_Tested)* 100
Spatial statistics
Moran's I
This tool measures spatial autocorrelation (feature similarity) based not only on feature
locations alone or on attribute values alone, but on both
feature locations and feature values simultaneously . Given a set of features and an associated
attribute, it evaluates whether the pattern expressed is clustered, dispersed or random. A
Moran's Index value near +1.0 indicates clustering; an index value near -1.0 indicates
dispersion. A Z Score is also calculated to assess whether the observed clustering/dispersion
is statistically significant or not.
Anselin Local Moran's I
As described in the ArcGIS Help file: Given a set of weighted data points, the Cluster and
Outlier Analysis tool identifies those clusters of points with values similar in magnitude, and
those clusters of points with very heterogeneous values. (For line and polygon features,
centroids are calculated prior to analysis). Output includes an Index value and a Z Score for
each feature. The Z Score represents the statistical significance of the index value for the
distance specified.
⊘ This is a preview!⊘
Do you want full access?
Subscribe today to unlock all pages.
Trusted by 1+ million students worldwide
Steps to complete Project
1. Make sure you have all the required data:
chicomm.zi p (from U RL, see above)
CCA_Pb_csv.txt
Project #4 explanation
2. Add Chicomm.shp
Open ArcMap. Add the chicomm.shp fi le via the "plus" button icon or via File, Add
data. (The chicomm shapefile has Chicago Comm unity Areas and their respective,
selected economic data.) You may receive a message box entitled: U nknown Spatial
Reference. Click the "OK" button. If you move your mouse over the Chicago
Community Areas shapefile in the Data View window you 'll see changing numbers at
the bottom of the view. These values are latitude and longitude, hence the shapefile
is not projected. To project the shapefile le, do the following:
Project
• open ArcTool box if it isn't already open and select Data Management Tools.
(You open ArcTool box by single-clicking on the red tool box icon in the top row
of icons i n ArcMap.)
· • mouse-cl ick the plus sign next to Data Management Tools
• then mouse-click the plus sign next to Projections and Transformations
• then double mouse-cl ick on "Project" (do not select "Define Projection")
• double-cl ick on Project
• in the new d ialogue box, choose "chicomm" for the Input Dataset or Feature Class
• in the "Input Coordinate System (option) box, it should show up as grayed out. If
so, cont inue to the next bullet poi nt. If not, you will need to provide an input
coordinate system for the ''chicomm" shapefile. Mouse-click on the icon to the
right. Single-cl ick on the "Select" button, double-cl ick on the "Geographic
Coordinate Systems" folder, double-click on the "North America" folder, then
choose "NAO 1983.pij" (in ArcGIS). Now click on Apply and OK
• provide a new name and location in the Output Dataset or Feature Class, e.g.,
C:\C2\chicomm_sp.shp
• mouse-cl ick on the icon to the righ t of the Output Coord inate System
• in the new d ialogue box, Single-cl ick on the "Select" button, then double-cl ick on
the "Projected Coord i nate Systems" folder, then dou ble-cl ick on the "State
Plane'· folder, then dou ble-cl ick on the ·'NAO 1983 (US Feet)".
• now single-cl ick on the projection "NAO 1 983 StatePlane Illinois East FIPS 1201
(US Feet).prj" and mouse-cl ick on the Add button. (This is the proper "zone" for
the Chicago area.)
Paraphrase This Document
Need a fresh take? Get an instant paraphrase of this document with our AI Paraphraser
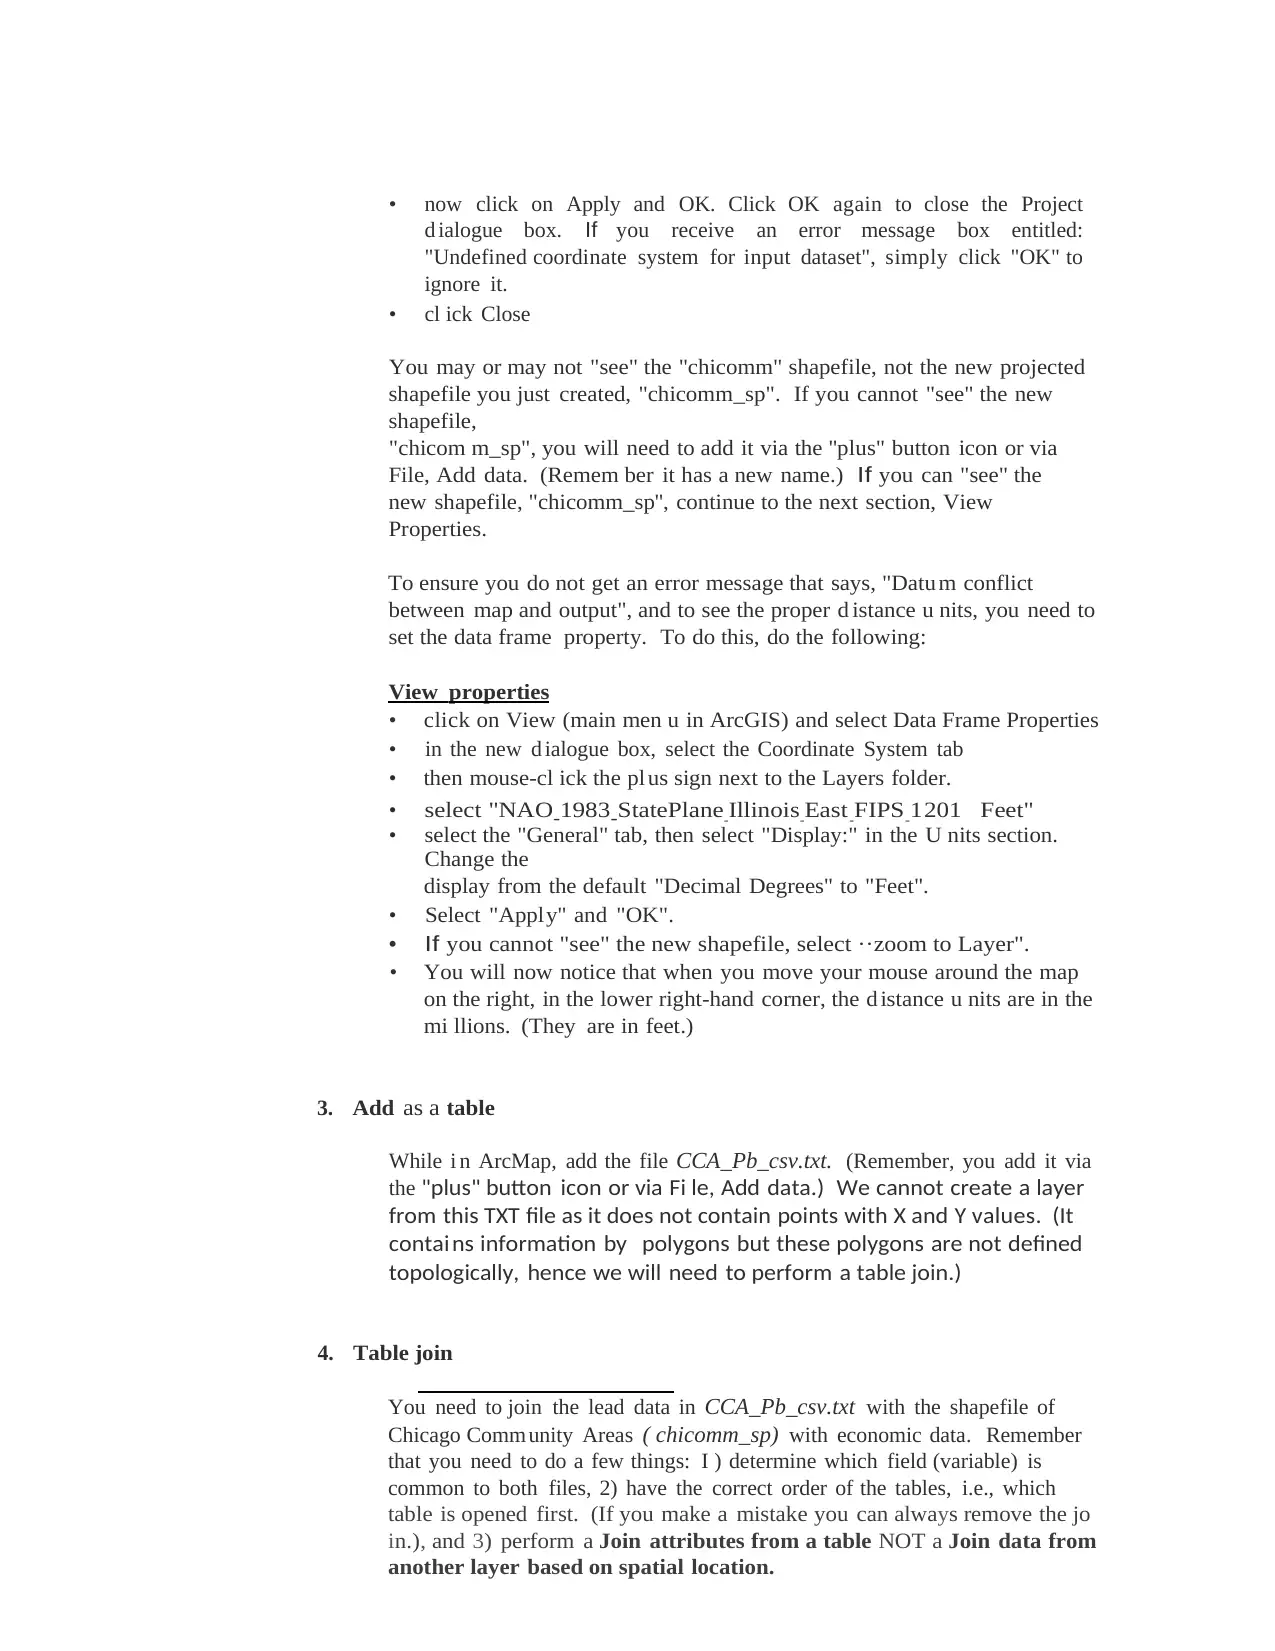
• now click on Apply and OK. Click OK again to close the Project
d ialogue box. If you receive an error message box entitled:
"Undefined coordinate system for input dataset", simply click "OK" to
ignore it.
• cl ick Close
You may or may not "see" the "chicomm" shapefile, not the new projected
shapefile you just created, "chicomm_sp". If you cannot "see" the new
shapefile,
"chicom m_sp", you will need to add it via the ''plus" button icon or via
File, Add data. (Remem ber it has a new name.) If you can "see" the
new shapefile, "chicomm_sp'', continue to the next section, View
Properties.
To ensure you do not get an error message that says, "Datu m conflict
between map and output", and to see the proper d istance u nits, you need to
set the data frame property. To do this, do the following:
View properties
• click on View (main men u in ArcGIS) and select Data Frame Properties
• in the new d ialogue box, select the Coordinate System tab
• then mouse-cl ick the pl us sign next to the Layers folder.
• select "NAO-1983 -StatePlane- Illinois - East - FIPS - 1201 Feet"
• select the "General" tab, then select "Display:" in the U nits section.
Change the
display from the default "Decimal Degrees" to "Feet".
• Select "Apply" and "OK".
• If you cannot "see" the new shapefile, select ··zoom to Layer".
• You will now notice that when you move your mouse around the map
on the right, in the lower right-hand corner, the d istance u nits are in the
mi llions. (They are in feet.)
3. Add as a table
While i n ArcMap, add the file CCA_Pb_csv.txt. (Remember, you add it via
the "plus" button icon or via Fi le, Add data.) We cannot create a layer
from this TXT file as it does not contain points with X and Y values. (It
contains information by polygons but these polygons are not defined
topologically, hence we will need to perform a table join.)
4. Table join
You need to join the lead data in CCA_Pb_csv.txt with the shapefile of
Chicago Comm unity Areas ( chicomm_sp) with economic data. Remember
that you need to do a few things: I ) determine which field (variable) is
common to both files, 2) have the correct order of the tables, i.e., which
table is opened first. (If you make a mistake you can always remove the jo
in.), and 3) perform a Join attributes from a table NOT a Join data from
another layer based on spatial location.
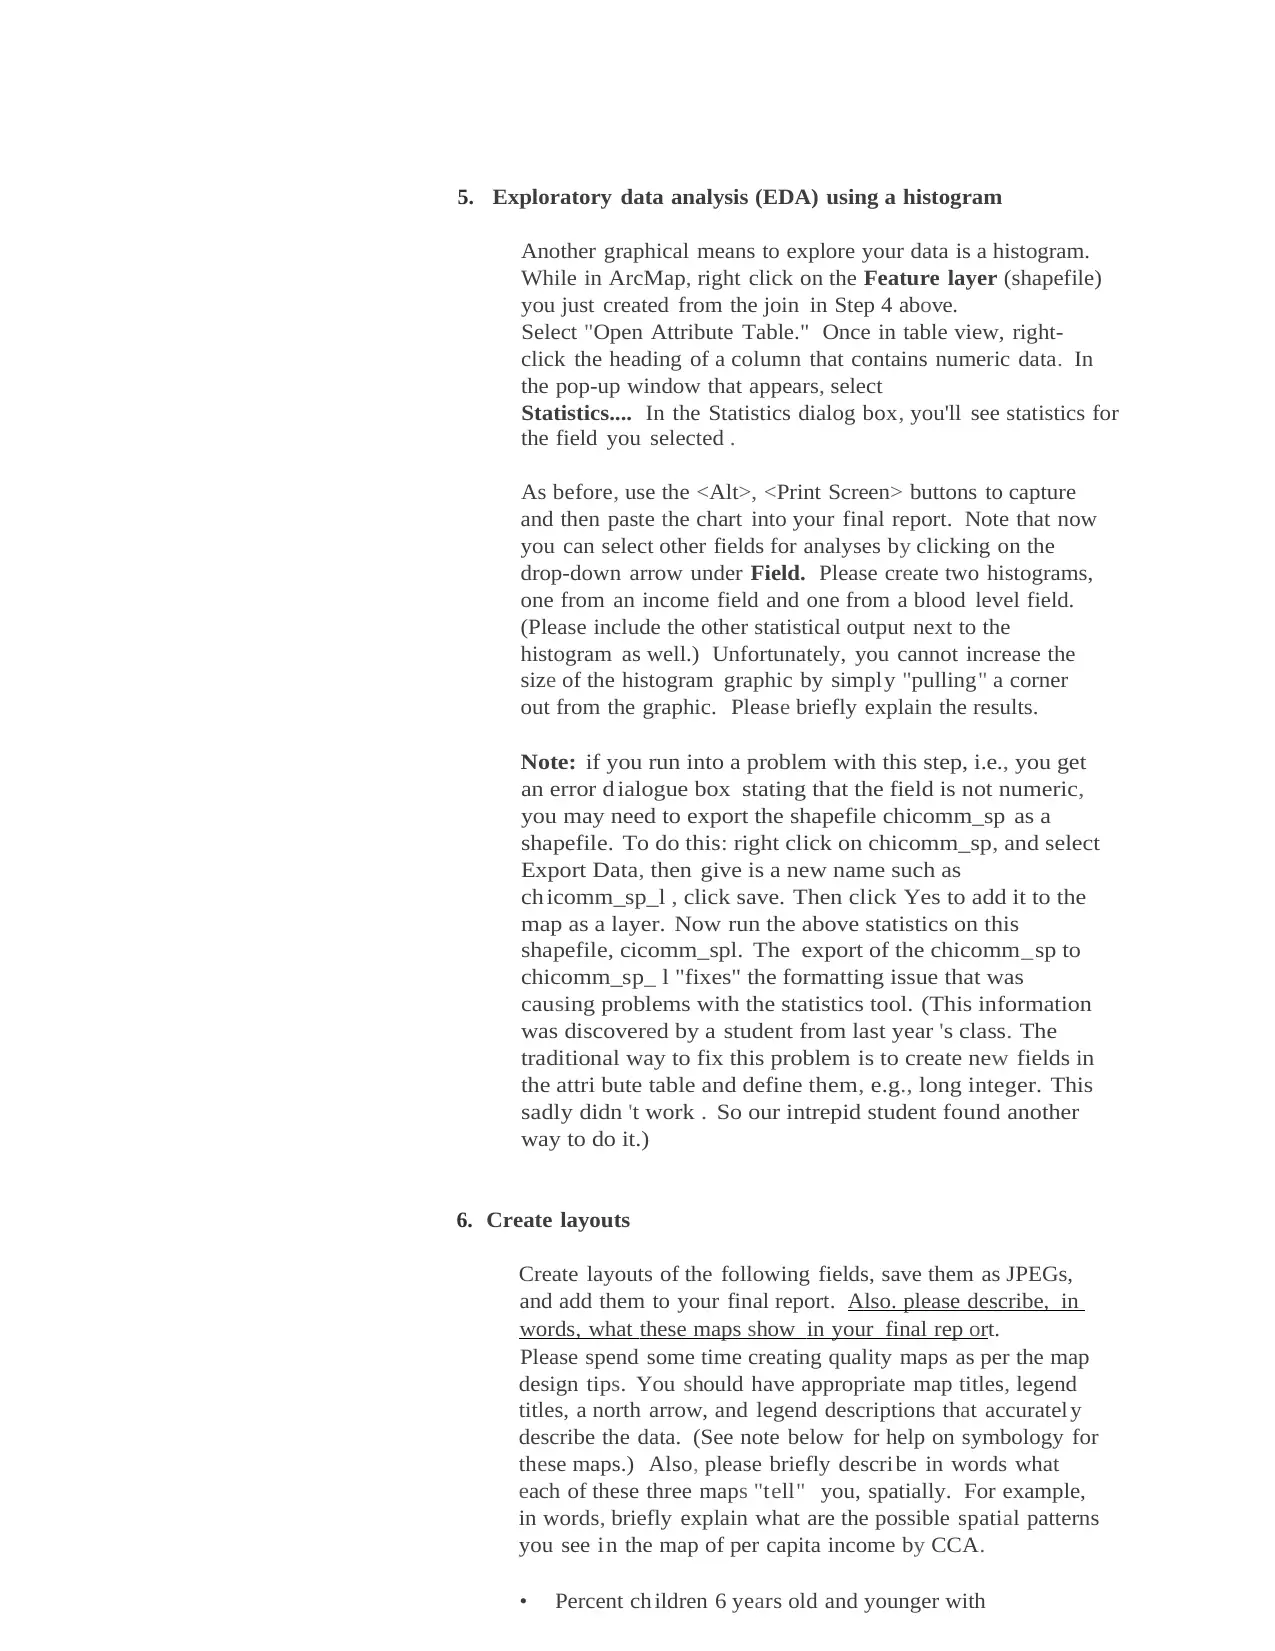
5. Exploratory data analysis (EDA) using a histogram
Another graphical means to explore your data is a histogram.
While in ArcMap, right click on the Feature layer (shapefile)
you just created from the join in Step 4 above.
Select "Open Attribute Table." Once in table view, right-
click the heading of a column that contains numeric data. In
the pop-up window that appears, select
Statistics.... In the Statistics dialog box, you'll see statistics for
the field you selected .
As before, use the <Alt>, <Print Screen> buttons to capture
and then paste the chart into your final report. Note that now
you can select other fields for analyses by clicking on the
drop-down arrow under Field. Please create two histograms,
one from an income field and one from a blood level field.
(Please include the other statistical output next to the
histogram as well.) Unfortunately, you cannot increase the
size of the histogram graphic by simply "pulling" a corner
out from the graphic. Please briefly explain the results.
Note: if you run into a problem with this step, i.e., you get
an error d ialogue box stating that the field is not numeric,
you may need to export the shapefile chicomm_sp as a
shapefile. To do this: right click on chicomm_sp, and select
Export Data, then give is a new name such as
ch icomm_sp_l , click save. Then click Yes to add it to the
map as a layer. Now run the above statistics on this
shapefile, cicomm_spl. The export of the chicomm_sp to
chicomm_sp_ l "fixes" the formatting issue that was
causing problems with the statistics tool. (This information
was discovered by a student from last year 's class. The
traditional way to fix this problem is to create new fields in
the attri bute table and define them, e.g., long integer. This
sadly didn 't work . So our intrepid student found another
way to do it.)
6. Create layouts
Create layouts of the following fields, save them as JPEGs,
and add them to your final report. Also. please describe, in
words, what these maps show in your final rep ort.
Please spend some time creating quality maps as per the map
design tips. You should have appropriate map titles, legend
titles, a north arrow, and legend descriptions that accuratel y
describe the data. (See note below for help on symbology for
these maps.) Also, please briefly descri be in words what
each of these three maps "tell" you, spatially. For example,
in words, briefly explain what are the possible spatial patterns
you see in the map of per capita income by CCA.
• Percent ch ildren 6 years old and younger with
⊘ This is a preview!⊘
Do you want full access?
Subscribe today to unlock all pages.
Trusted by 1+ million students worldwide
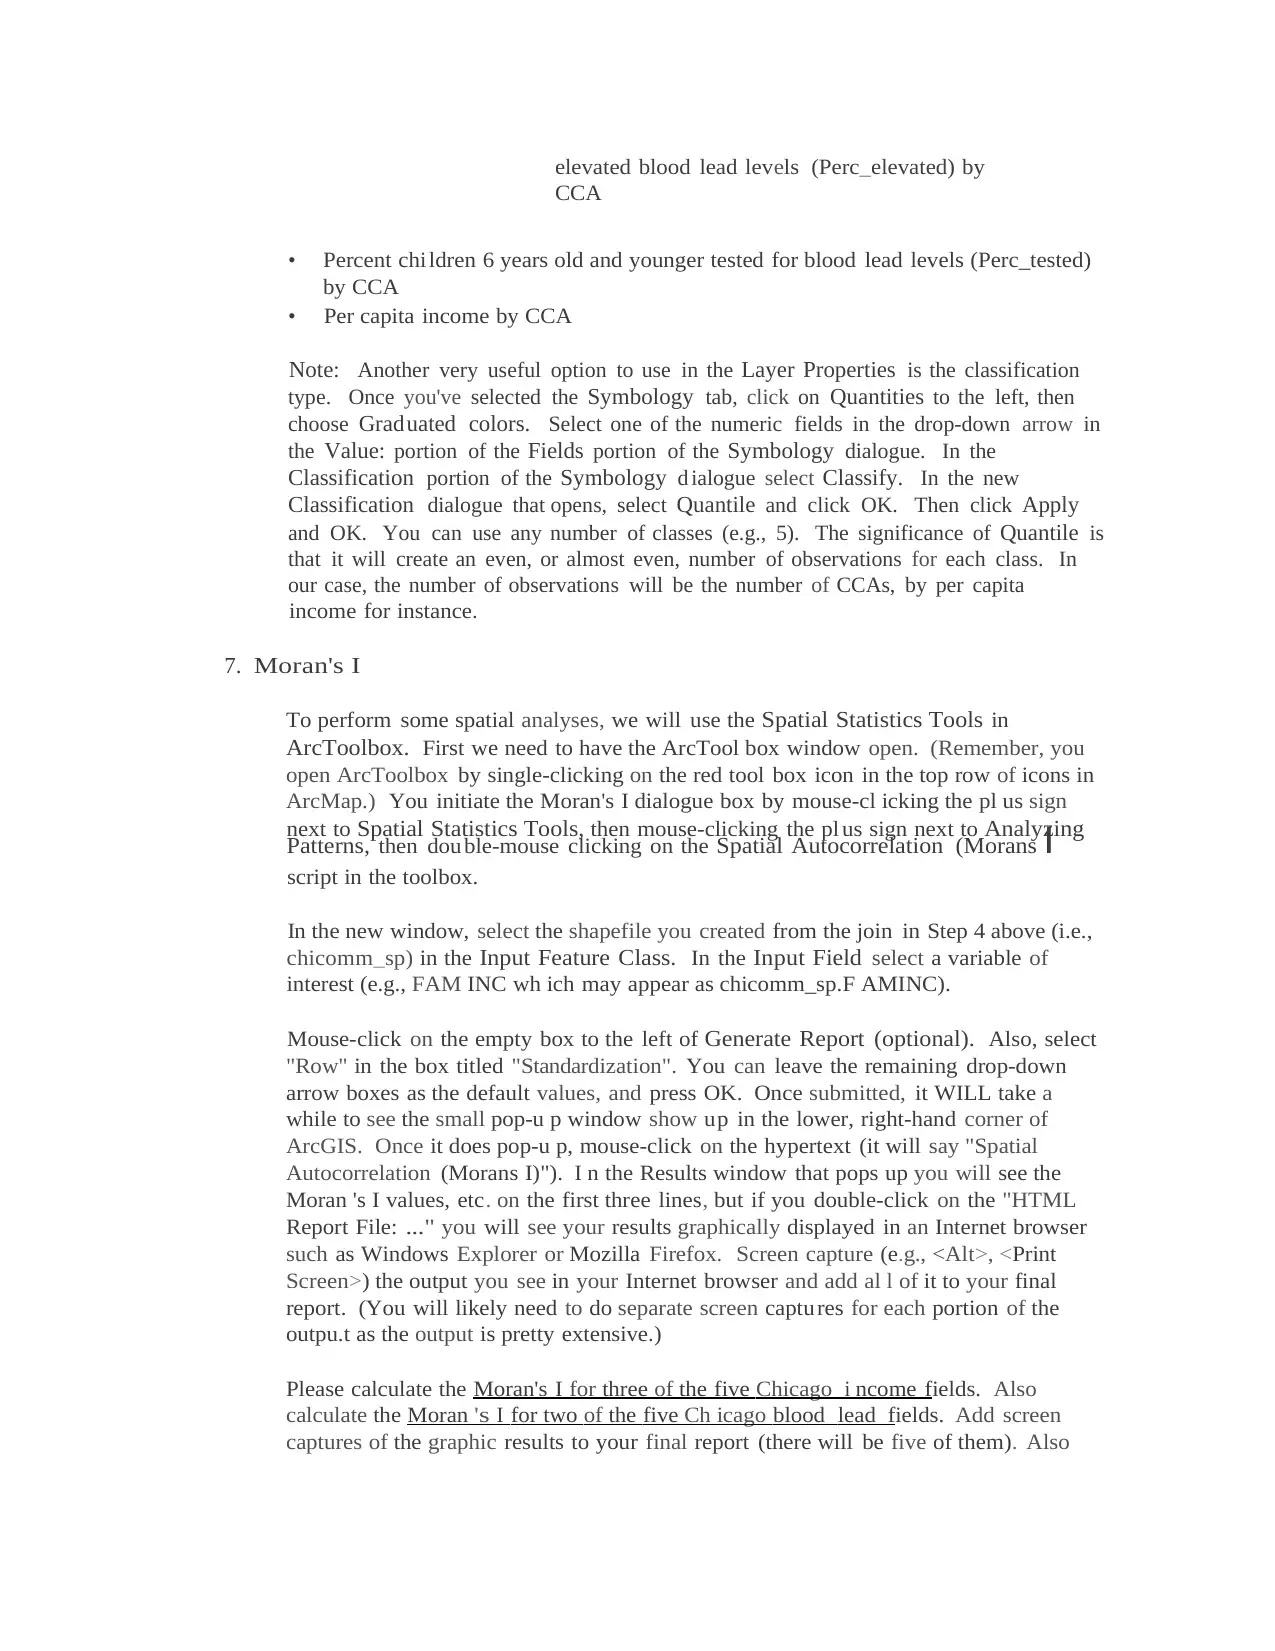
elevated blood lead levels (Perc_elevated) by
CCA
• Percent chi ldren 6 years old and younger tested for blood lead levels (Perc_tested)
by CCA
• Per capita income by CCA
Note: Another very useful option to use in the Layer Properties is the classification
type. Once you've selected the Symbology tab, click on Quantities to the left, then
choose Graduated colors. Select one of the numeric fields in the drop-down arrow in
the Value: portion of the Fields portion of the Symbology dialogue. In the
Classification portion of the Symbology d ialogue select Classify. In the new
Classification dialogue that opens, select Quantile and click OK. Then click Apply
and OK. You can use any number of classes (e.g., 5). The significance of Quantile is
that it will create an even, or almost even, number of observations for each class. In
our case, the number of observations will be the number of CCAs, by per capita
income for instance.
7. Moran's I
To perform some spatial analyses, we will use the Spatial Statistics Tools in
ArcToolbox. First we need to have the ArcTool box window open. (Remember, you
open ArcToolbox by single-clicking on the red tool box icon in the top row of icons in
ArcMap.) You initiate the Moran's I dialogue box by mouse-cl icking the pl us sign
next to Spatial Statistics Tools, then mouse-clicking the pl us sign next to Analyzing
Patterns, then dou ble-mouse clicking on the Spatial Autocorrelation (Morans I
script in the toolbox.
In the new window, select the shapefile you created from the join in Step 4 above (i.e.,
chicomm_sp) in the Input Feature Class. In the Input Field select a variable of
interest (e.g., FAM INC wh ich may appear as chicomm_sp.F AMINC).
Mouse-click on the empty box to the left of Generate Report (optional). Also, select
"Row" in the box titled "Standardization". You can leave the remaining drop-down
arrow boxes as the default values, and press OK. Once submitted, it WILL take a
while to see the small pop-u p window show up in the lower, right-hand corner of
ArcGIS. Once it does pop-u p, mouse-click on the hypertext (it will say "Spatial
Autocorrelation (Morans I)"). I n the Results window that pops up you will see the
Moran 's I values, etc. on the first three lines, but if you double-click on the "HTML
Report File: ..." you will see your results graphically displayed in an Internet browser
such as Windows Explorer or Mozilla Firefox. Screen capture (e.g., <Alt>, <Print
Screen>) the output you see in your Internet browser and add al l of it to your final
report. (You will likely need to do separate screen captures for each portion of the
outpu.t as the output is pretty extensive.)
Please calculate the Moran's I for three of the five Chicago i ncome fields. Also
calculate the Moran ' s I for two of the five Ch icago blood lead fields. Add screen
captures of the graphic results to your final report (there will be five of them). Also
Paraphrase This Document
Need a fresh take? Get an instant paraphrase of this document with our AI Paraphraser
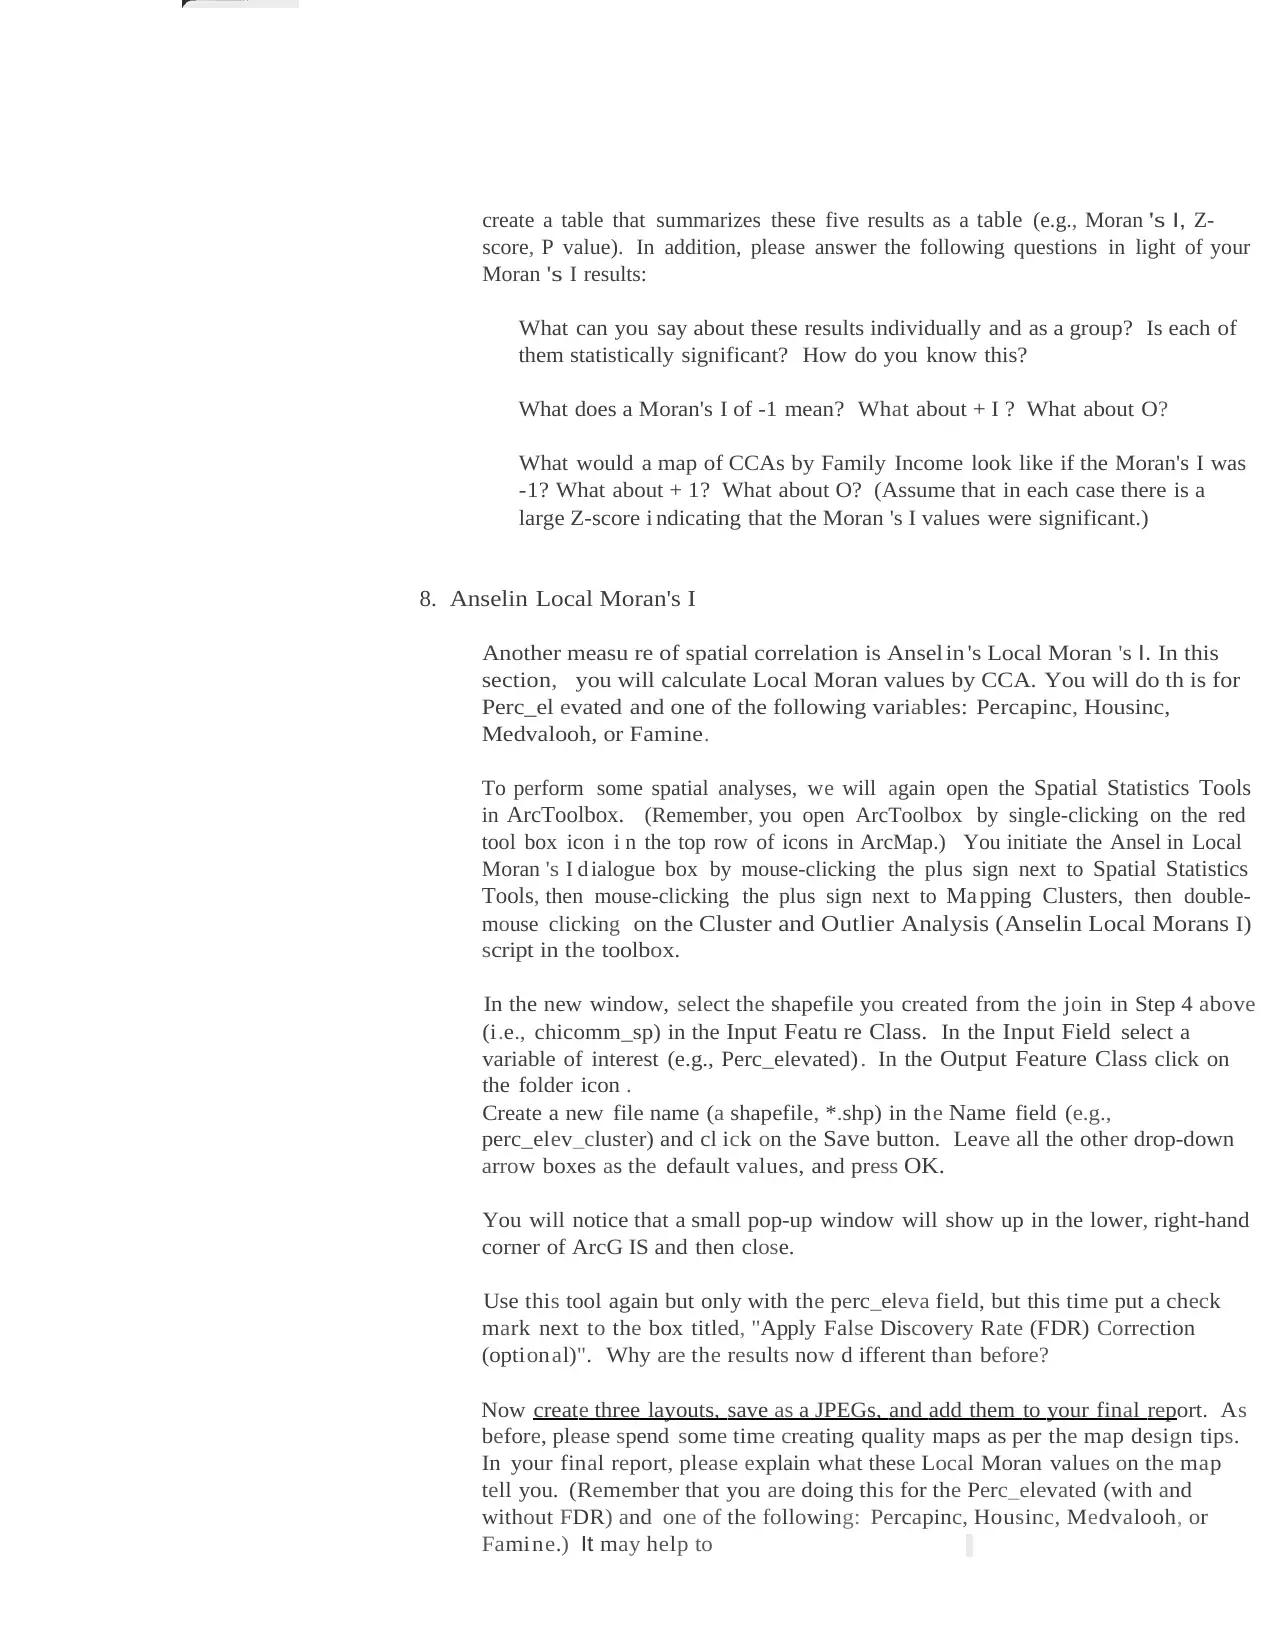
create a table that summarizes these five results as a table (e.g., Moran 's l, Z-
score, P value). In addition, please answer the following questions in light of your
Moran 's I results:
What can you say about these results individually and as a group? Is each of
them statistically significant? How do you know this?
What does a Moran's I of -1 mean? What about + I ? What about O?
What would a map of CCAs by Family Income look like if the Moran's I was
-1? What about + 1? What about O? (Assume that in each case there is a
large Z-score i ndicating that the Moran 's I values were significant.)
8. Anselin Local Moran's I
Another measu re of spatial correlation is Ansel in 's Local Moran 's I. In this
section, you will calculate Local Moran values by CCA. You will do th is for
Perc_el evated and one of the following variables: Percapinc, Housinc,
Medvalooh, or Famine.
To perform some spatial analyses, we will again open the Spatial Statistics Tools
in ArcToolbox. (Remember, you open ArcToolbox by single-clicking on the red
tool box icon i n the top row of icons in ArcMap.) You initiate the Ansel in Local
Moran 's I d ialogue box by mouse-clicking the plus sign next to Spatial Statistics
Tools, then mouse-clicking the plus sign next to Ma pping Clusters, then double-
mouse clicking on the Cluster and Outlier Analysis (Anselin Local Morans I)
script in the toolbox.
In the new window, select the shapefile you created from the join in Step 4 above
(i.e., chicomm_sp) in the Input Featu re Class. In the Input Field select a
variable of interest (e.g., Perc_elevated) . In the Output Feature Class click on
the folder icon .
Create a new file name (a shapefile, *.shp) in the Name field (e.g.,
perc_elev_cluster) and cl ick on the Save button. Leave all the other drop-down
arrow boxes as the default values, and press OK.
You will notice that a small pop-up window will show up in the lower, right-hand
corner of ArcG IS and then close.
Use this tool again but only with the perc_eleva field, but this time put a check
mark next to the box titled, "Apply False Discovery Rate (FDR) Correction
(optional)". Why are the results now d ifferent than before?
Now create three layouts, save as a JPEGs, and add them to your final report. As
before, please spend some time creating quality maps as per the map design tips.
In your final report, please explain what these Local Moran values on the map
tell you. (Remember that you are doing this for the Perc_elevated (with and
without FDR) and one of the following: Percapinc, Housinc, Medvalooh, or
Famine.) It may help to
read ArcGIS's Help file (see directions below for how to find this information). Also
explain why using FDR gave different results.
Open ArcGIS's Hel p file and choose the "Search" tab. To learn about Moran's l, type
"Moran '' and mouse-cl ick on the Ask button to see the results. Select the "How
Spatial Autocorrelation (Global Moran 's I) works" to see the help file. To learn about
Ansel in Local Moran's I, type "Anselin" and mouse-click on the Ask button to see the
results. Select the ''How Cluster and Outlier Analysis (Anselin Local Moran's I)
works" to see the help file.
9. High/Low Clustering (Getis-Ord General G)
There is another spatial correlation measure one can use. It is the Getis-Ord General G.
It measures clusters of high/low values (see ArcGIS' Help for more details). (It is in
ArcToolbox, Spatial Statistics Tools, Analyzing Patterns, High/Low Clustering (Getis
Ord General G).) The tools works much like Moran 's I used above (see Step #7). Hence,
you can use the d irections in #7 above to help you use the tool. However, make sure to
put a check mark next to the "Generate Report (optional)" box. Please use it for one
of each type of field (i.e., demographic and blood lead data):
FAM INC, HOUSINC, or MEDRENT;
Perc_eleva or perc_tested
Note about output:
You will get a graphical output. However, finding this graphic output is a bit
convoluted. See the two screen captures as the end of this document for help.
Now, use this tool again but only with a field you used above (e.g., FAMINC,
HOUSINC, or M EDR ENT), but this time use the "Conceptualization of Spatial
Relationships” option called '·CONTIGU ITY_EDGES_CORNERS " instead of THE
default option ''INVERSE_DISTANCE" used the first time arou nd . Why are the results
about these two d ifferent?
Add these three graphic results to your fi nal report (e.g., screen capture of the High-Low
Clustering Reports that opened in your Internet browser). Use ArcGIS' Help file to
explain these results in your final report. Also explain why using d ifferent
"Conceptual ization of Spatial Relationships" options gave different results.
10. Hot Spot Analysis (Getis-Ord Gi*)
An additional spatial correlation mapping tool is the Getis-Ord Gi*. (It is in ArcToolbox,
Spatial Statistics Tools, Mapping Clusters, Hot Spot Analysis (Getis-Ord Gi*).) It
identifies statistically significant hot spots and cold spots (see ArcGIS ' Help for more
detai ls). The tools works much like Ansel in Local Moran's I used above (see Step #8).
⊘ This is a preview!⊘
Do you want full access?
Subscribe today to unlock all pages.
Trusted by 1+ million students worldwide
-
Hence, you can use the directions in #8 above to help you use the tool.
Please use it for one of each type of field (i.e., demographic and blood lead data):
FAMINC, HOUSINC, or MEDRENT;
Perc_eleva
The map output will be of the Gi_Bin field which cleverly has its own legend. .
Use this tool again but only with the perc_eleva field, but this time use
"Conceptualization of Spatial Relationships" option called
"CONTIGU JTY_EDGES_CORNERS" instead of THE default option
"FIXED_DISTANCE BAND" used the first time around. Why are the results now
different than before?
Now create three layouts of the above output, save as a JPEGs, and add them to your
final report. As before, please spend some time creating quality maps as per the map
design tips. J n your final report, please explain what these Gi_Bin values on the maps tell
you. (It will help to read ArcGTS's Help file.) Also explain why using d ifferent
"Conceptualization of Spatial Relationships" options gave different results.
Due data and format:
As a remi nder, combi ne the above outputs into a final report that follows a journal format. The
final report can be in Word or WordPerfect.
1 out of 10
Your All-in-One AI-Powered Toolkit for Academic Success.
+13062052269
info@desklib.com
Available 24*7 on WhatsApp / Email
![[object Object]](/_next/static/media/star-bottom.7253800d.svg)
Unlock your academic potential
Copyright © 2020–2026 A2Z Services. All Rights Reserved. Developed and managed by ZUCOL.