Web Development Assignment: PHP, MySQL, JavaScript, and AJAX Exercises
VerifiedAdded on 2020/06/04
|14
|4437
|116
Homework Assignment
AI Summary
This document presents a student's reflection and solutions to a series of web development exercises focusing on PHP, MySQL, JavaScript, and AJAX. The exercises cover fundamental concepts such as database connection and interaction using PHP and MySQL, including creating tables, inserting and retrieving data, and displaying content on a webpage. The student demonstrates understanding of database operations, including creating functions for database connection, checking table existence, and inserting data. Furthermore, the assignment involves building a photo album application, implementing both server-side (PHP) and client-side (JavaScript and AJAX) functionalities. The student addresses file uploads, image handling, and dynamic content loading using JavaScript and AJAX. The solutions involve creating HTML structures, integrating JavaScript libraries, and implementing AJAX calls to fetch data from the server. The document provides detailed code snippets and explanations of the implementation steps, demonstrating a practical understanding of web development principles.

REFLECTION
Paraphrase This Document
Need a fresh take? Get an instant paraphrase of this document with our AI Paraphraser

Table of Contents
PHP and My SQL Exercise – 1.......................................................................................................1
PHP and My SQL Exercise – 2.......................................................................................................3
PHP and My SQL Exercise – 3.......................................................................................................4
PHP and My SQL Exercise – 4.......................................................................................................5
JavaScript and Ajax Exercise -1......................................................................................................7
JavaScript and Ajax Exercise -2......................................................................................................8
JavaScript and Ajax Exercise -3....................................................................................................10
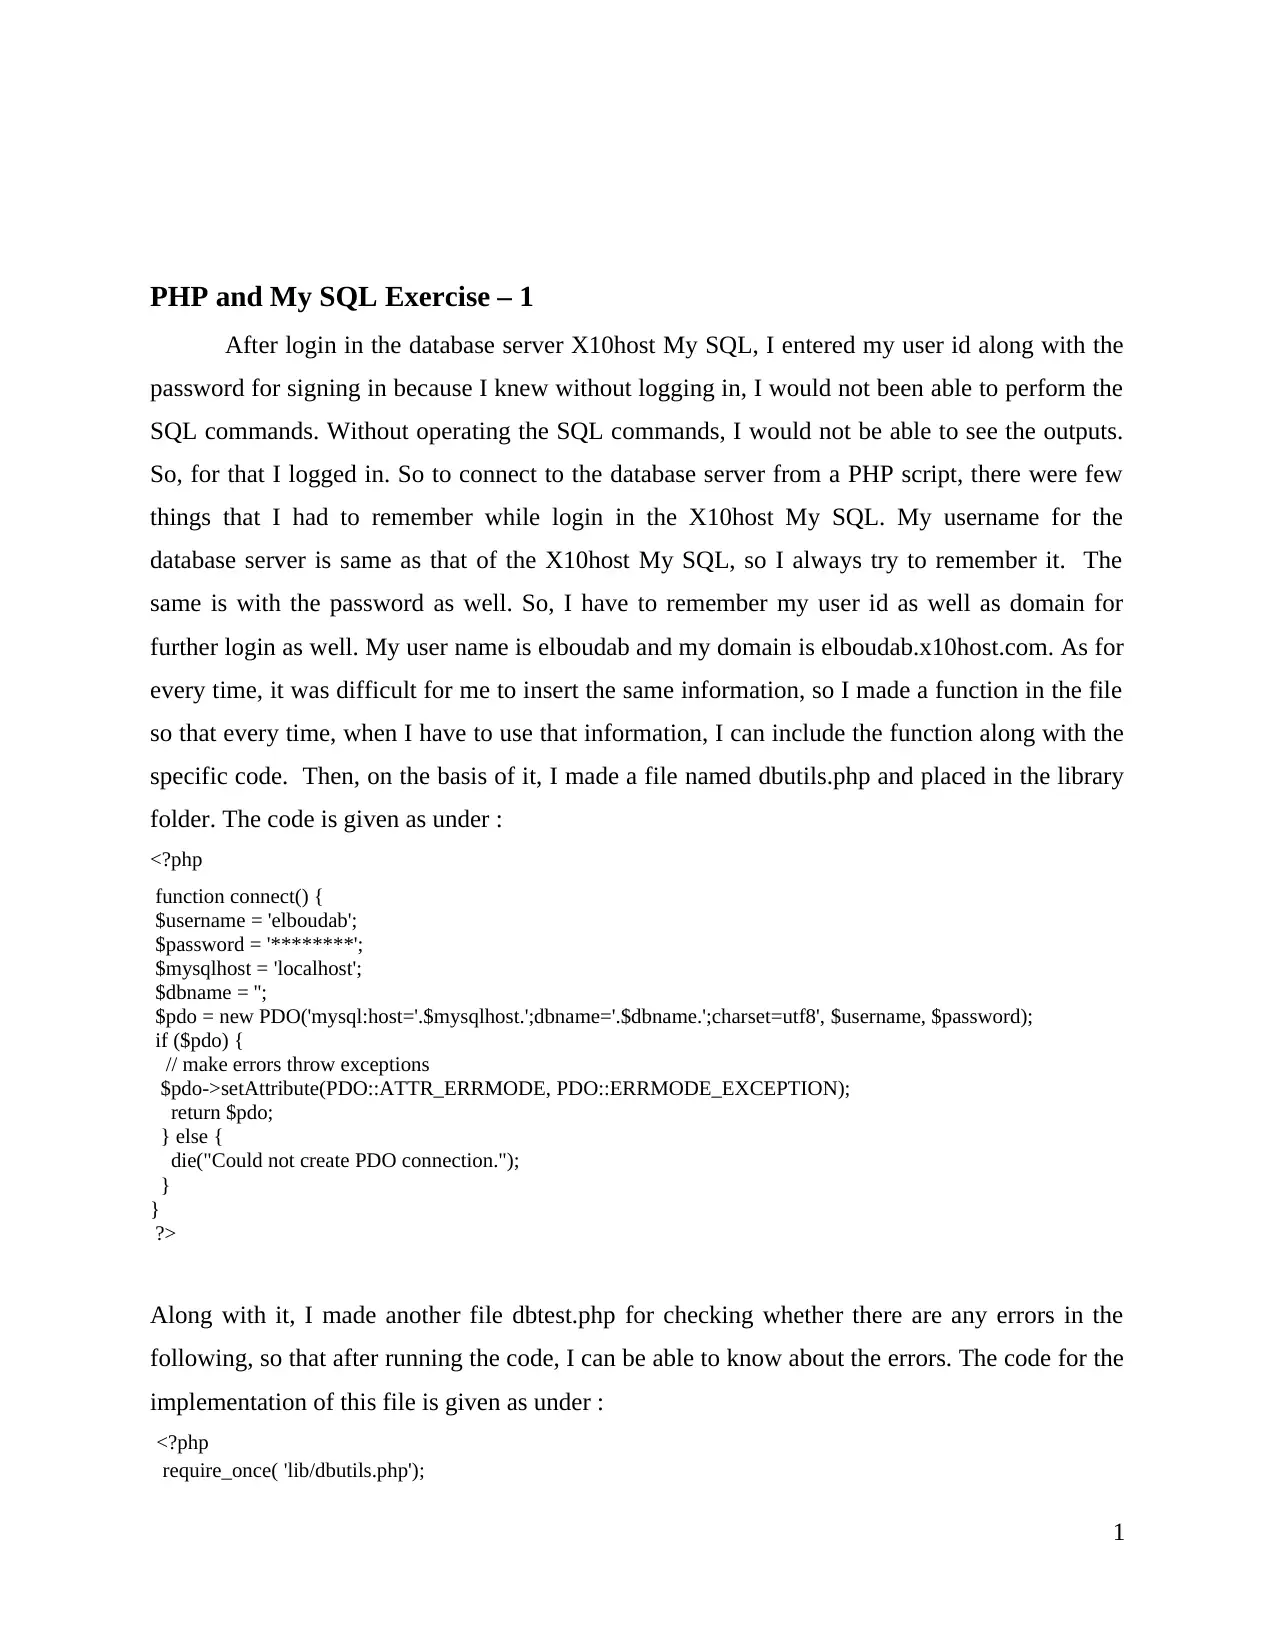
PHP and My SQL Exercise – 1
After login in the database server X10host My SQL, I entered my user id along with the
password for signing in because I knew without logging in, I would not been able to perform the
SQL commands. Without operating the SQL commands, I would not be able to see the outputs.
So, for that I logged in. So to connect to the database server from a PHP script, there were few
things that I had to remember while login in the X10host My SQL. My username for the
database server is same as that of the X10host My SQL, so I always try to remember it. The
same is with the password as well. So, I have to remember my user id as well as domain for
further login as well. My user name is elboudab and my domain is elboudab.x10host.com. As for
every time, it was difficult for me to insert the same information, so I made a function in the file
so that every time, when I have to use that information, I can include the function along with the
specific code. Then, on the basis of it, I made a file named dbutils.php and placed in the library
folder. The code is given as under :
<?php
function connect() {
$username = 'elboudab';
$password = '********';
$mysqlhost = 'localhost';
$dbname = '';
$pdo = new PDO('mysql:host='.$mysqlhost.';dbname='.$dbname.';charset=utf8', $username, $password);
if ($pdo) {
// make errors throw exceptions
$pdo->setAttribute(PDO::ATTR_ERRMODE, PDO::ERRMODE_EXCEPTION);
return $pdo;
} else {
die("Could not create PDO connection.");
}
}
?>
Along with it, I made another file dbtest.php for checking whether there are any errors in the
following, so that after running the code, I can be able to know about the errors. The code for the
implementation of this file is given as under :
<?php
require_once( 'lib/dbutils.php');
1
⊘ This is a preview!⊘
Do you want full access?
Subscribe today to unlock all pages.
Trusted by 1+ million students worldwide
?>
<!DOCTYPE html>
<html>
<head>
<title>DB Test</title>
</head>
<body>
<?php
$pdo = connect();
if ( $pdo) {
print "<h1>Successfully connected!</h1>\n";
} else {
print "<h1>Did not connect.</h1>\n";
}
?>
</body>
</html>
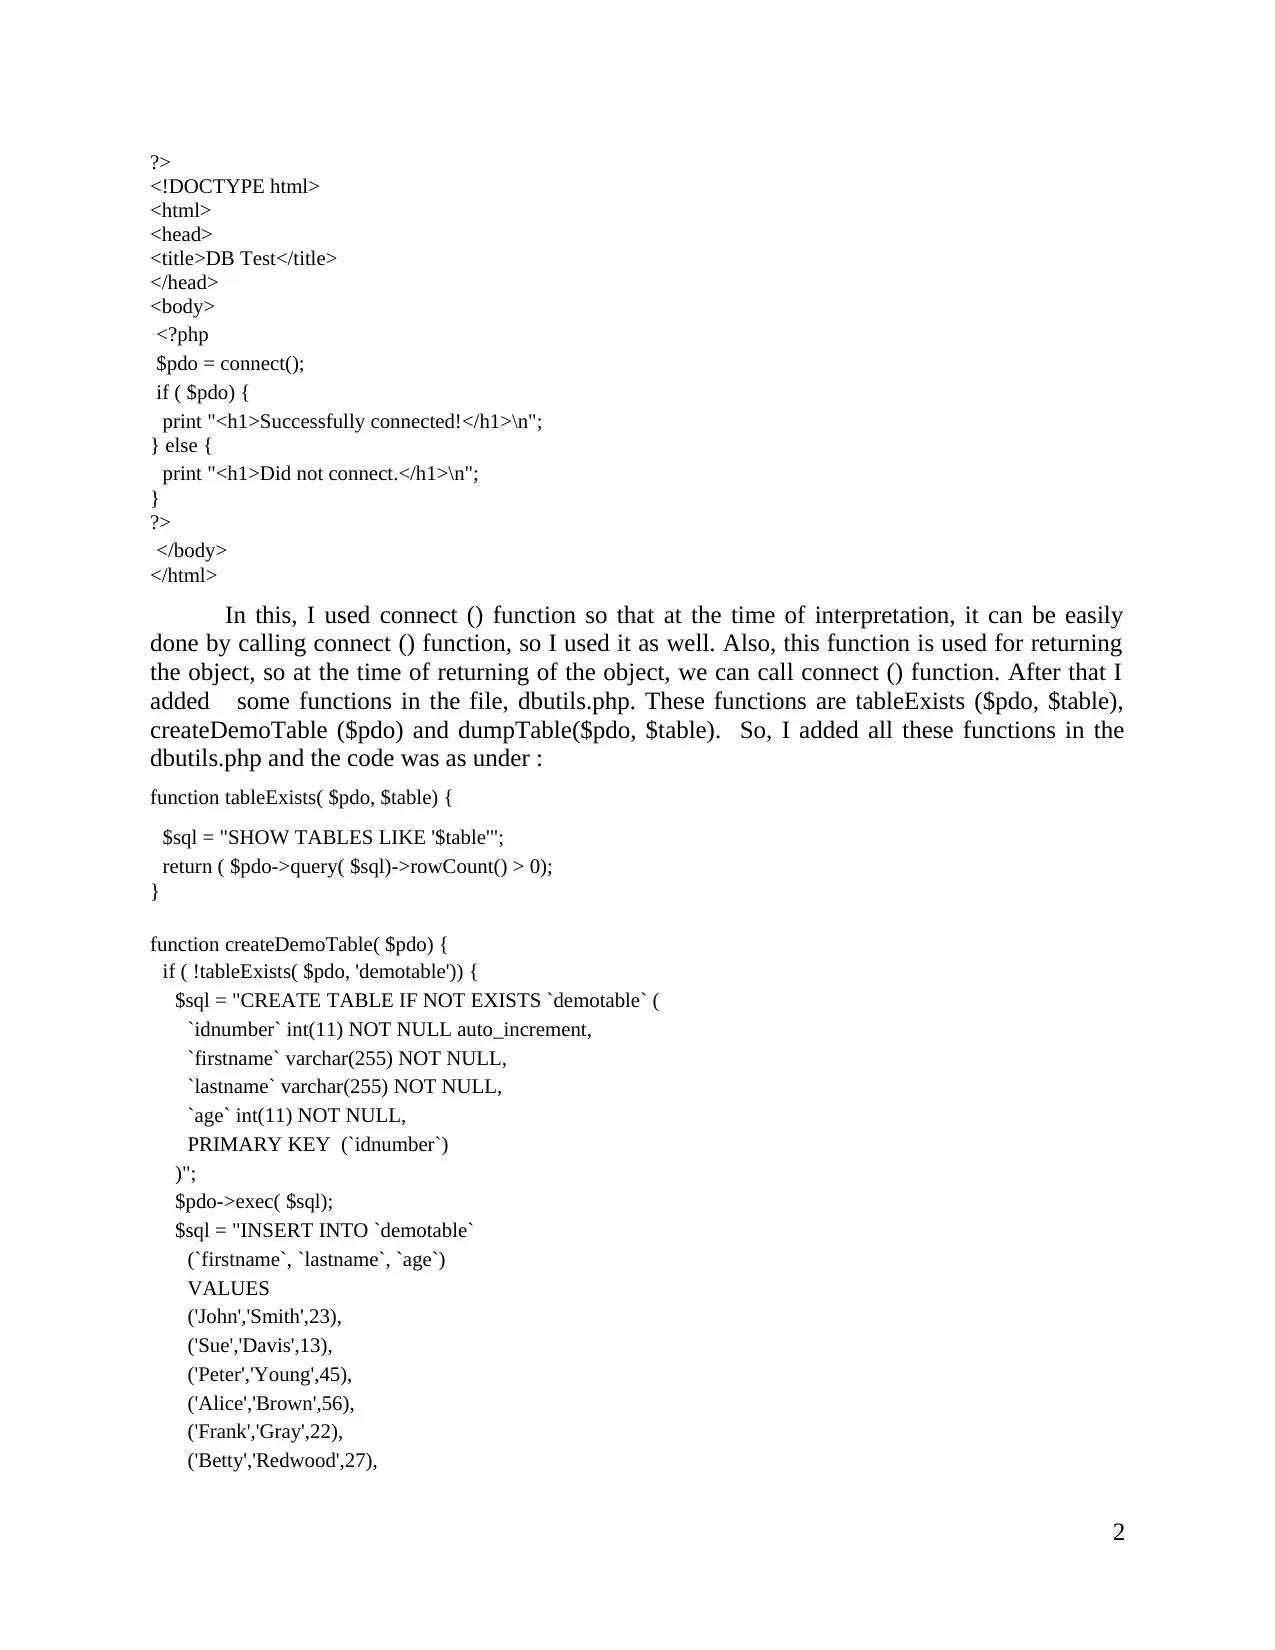
In this, I used connect () function so that at the time of interpretation, it can be easily
done by calling connect () function, so I used it as well. Also, this function is used for returning
the object, so at the time of returning of the object, we can call connect () function. After that I
added some functions in the file, dbutils.php. These functions are tableExists ($pdo, $table),
createDemoTable ($pdo) and dumpTable($pdo, $table). So, I added all these functions in the
dbutils.php and the code was as under :
function tableExists( $pdo, $table) {
$sql = "SHOW TABLES LIKE '$table'";
return ( $pdo->query( $sql)->rowCount() > 0);
}
function createDemoTable( $pdo) {
if ( !tableExists( $pdo, 'demotable')) {
$sql = "CREATE TABLE IF NOT EXISTS `demotable` (
`idnumber` int(11) NOT NULL auto_increment,
`firstname` varchar(255) NOT NULL,
`lastname` varchar(255) NOT NULL,
`age` int(11) NOT NULL,
PRIMARY KEY (`idnumber`)
)";
$pdo->exec( $sql);
$sql = "INSERT INTO `demotable`
(`firstname`, `lastname`, `age`)
VALUES
('John','Smith',23),
('Sue','Davis',13),
('Peter','Young',45),
('Alice','Brown',56),
('Frank','Gray',22),
('Betty','Redwood',27),
2
<!DOCTYPE html>
<html>
<head>
<title>DB Test</title>
</head>
<body>
<?php
$pdo = connect();
if ( $pdo) {
print "<h1>Successfully connected!</h1>\n";
} else {
print "<h1>Did not connect.</h1>\n";
}
?>
</body>
</html>
In this, I used connect () function so that at the time of interpretation, it can be easily
done by calling connect () function, so I used it as well. Also, this function is used for returning
the object, so at the time of returning of the object, we can call connect () function. After that I
added some functions in the file, dbutils.php. These functions are tableExists ($pdo, $table),
createDemoTable ($pdo) and dumpTable($pdo, $table). So, I added all these functions in the
dbutils.php and the code was as under :
function tableExists( $pdo, $table) {
$sql = "SHOW TABLES LIKE '$table'";
return ( $pdo->query( $sql)->rowCount() > 0);
}
function createDemoTable( $pdo) {
if ( !tableExists( $pdo, 'demotable')) {
$sql = "CREATE TABLE IF NOT EXISTS `demotable` (
`idnumber` int(11) NOT NULL auto_increment,
`firstname` varchar(255) NOT NULL,
`lastname` varchar(255) NOT NULL,
`age` int(11) NOT NULL,
PRIMARY KEY (`idnumber`)
)";
$pdo->exec( $sql);
$sql = "INSERT INTO `demotable`
(`firstname`, `lastname`, `age`)
VALUES
('John','Smith',23),
('Sue','Davis',13),
('Peter','Young',45),
('Alice','Brown',56),
('Frank','Gray',22),
('Betty','Redwood',27),
2
Paraphrase This Document
Need a fresh take? Get an instant paraphrase of this document with our AI Paraphraser
('Jane','Corner',29),
('Bob','Church',19),
('Mary','Collins',67),
('Herbert','River',42),
('Lucy','Hardy',13),
('Charles','Winter',81),
('Samantha','Weather',37),
('Karl','Saunders',34),
('Angela','Brown',35)";
$pdo->exec( $sql);
}
}
function dumpTable( $pdo, $table) {
$sql = "SELECT * FROM `".$table."`";
$stmt = $pdo->query( $sql);
// get all rows in an array
$results = $stmt->fetchAll(PDO::FETCH_ASSOC);
print_r( $results);
}
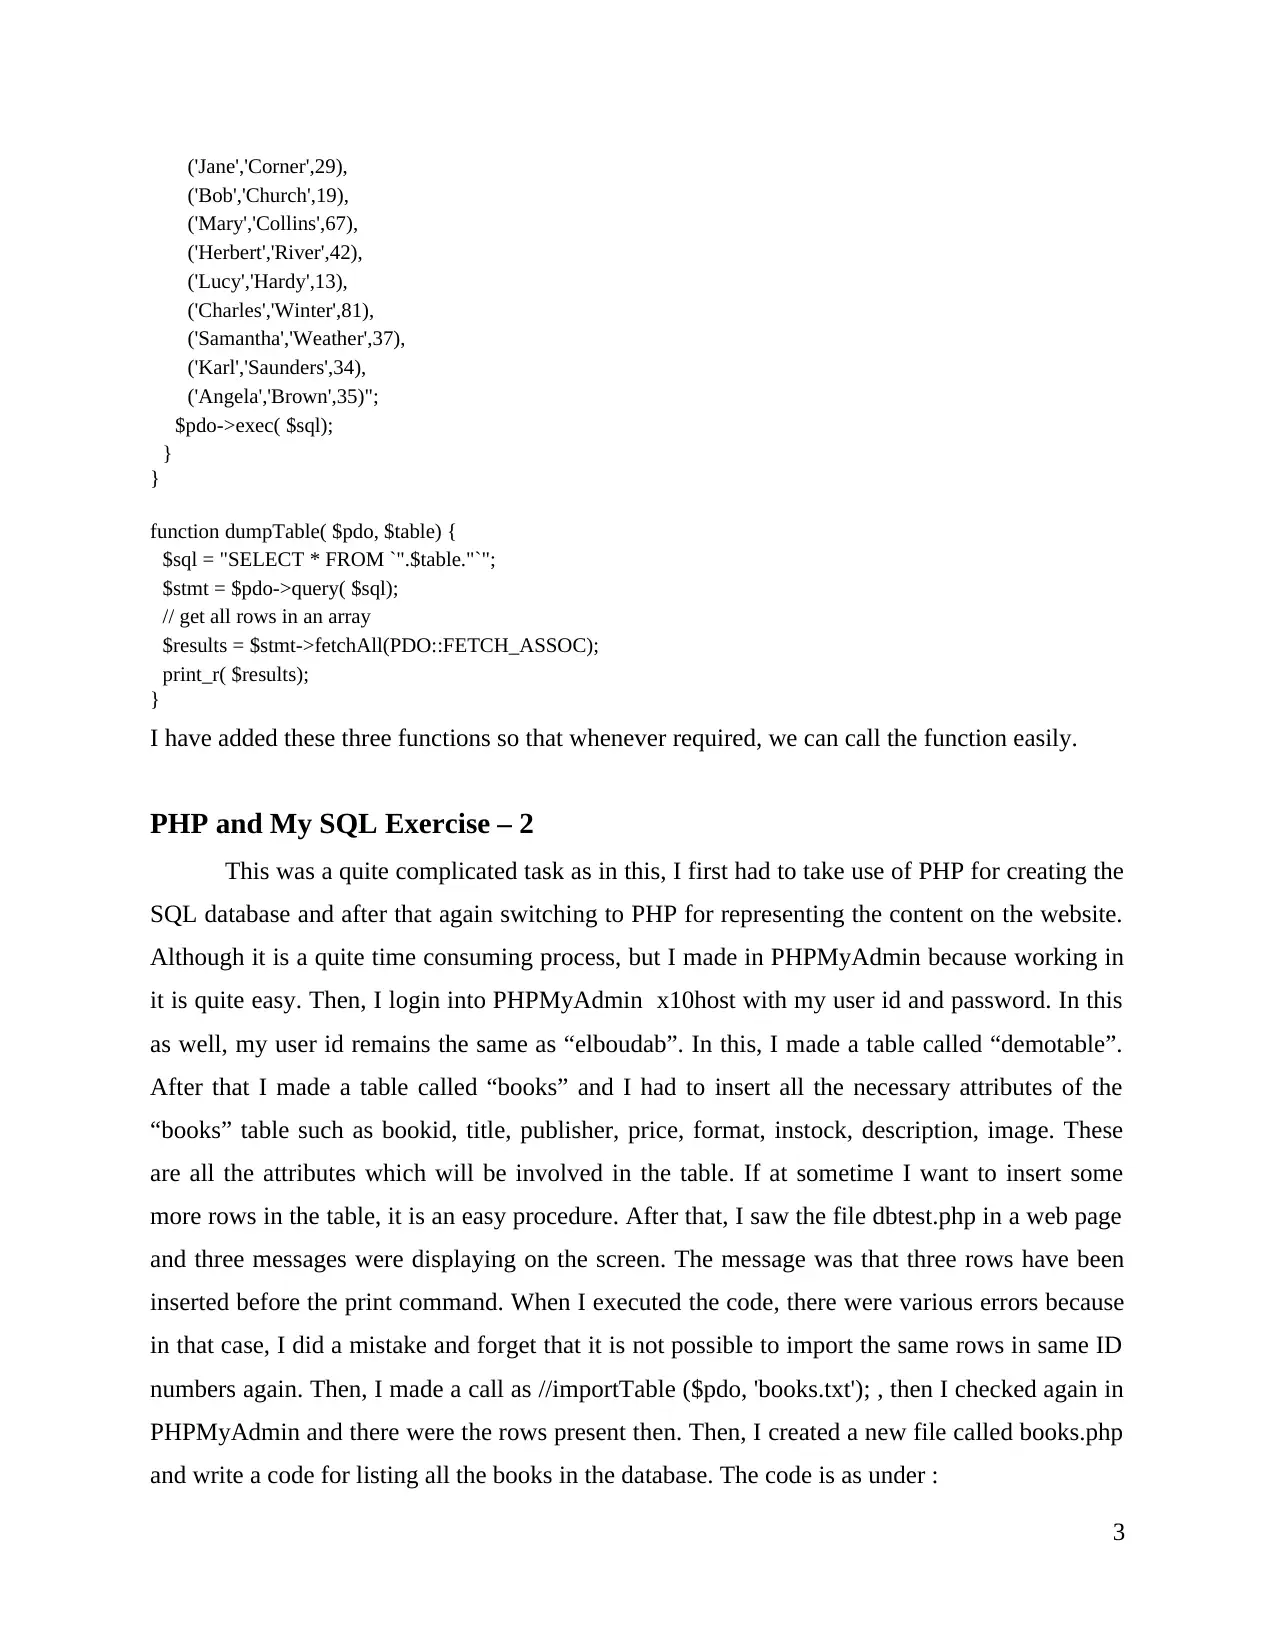
I have added these three functions so that whenever required, we can call the function easily.
PHP and My SQL Exercise – 2
This was a quite complicated task as in this, I first had to take use of PHP for creating the
SQL database and after that again switching to PHP for representing the content on the website.
Although it is a quite time consuming process, but I made in PHPMyAdmin because working in
it is quite easy. Then, I login into PHPMyAdmin x10host with my user id and password. In this
as well, my user id remains the same as “elboudab”. In this, I made a table called “demotable”.
After that I made a table called “books” and I had to insert all the necessary attributes of the
“books” table such as bookid, title, publisher, price, format, instock, description, image. These
are all the attributes which will be involved in the table. If at sometime I want to insert some
more rows in the table, it is an easy procedure. After that, I saw the file dbtest.php in a web page
and three messages were displaying on the screen. The message was that three rows have been
inserted before the print command. When I executed the code, there were various errors because
in that case, I did a mistake and forget that it is not possible to import the same rows in same ID
numbers again. Then, I made a call as //importTable ($pdo, 'books.txt'); , then I checked again in
PHPMyAdmin and there were the rows present then. Then, I created a new file called books.php
and write a code for listing all the books in the database. The code is as under :
3
('Bob','Church',19),
('Mary','Collins',67),
('Herbert','River',42),
('Lucy','Hardy',13),
('Charles','Winter',81),
('Samantha','Weather',37),
('Karl','Saunders',34),
('Angela','Brown',35)";
$pdo->exec( $sql);
}
}
function dumpTable( $pdo, $table) {
$sql = "SELECT * FROM `".$table."`";
$stmt = $pdo->query( $sql);
// get all rows in an array
$results = $stmt->fetchAll(PDO::FETCH_ASSOC);
print_r( $results);
}
I have added these three functions so that whenever required, we can call the function easily.
PHP and My SQL Exercise – 2
This was a quite complicated task as in this, I first had to take use of PHP for creating the
SQL database and after that again switching to PHP for representing the content on the website.
Although it is a quite time consuming process, but I made in PHPMyAdmin because working in
it is quite easy. Then, I login into PHPMyAdmin x10host with my user id and password. In this
as well, my user id remains the same as “elboudab”. In this, I made a table called “demotable”.
After that I made a table called “books” and I had to insert all the necessary attributes of the
“books” table such as bookid, title, publisher, price, format, instock, description, image. These
are all the attributes which will be involved in the table. If at sometime I want to insert some
more rows in the table, it is an easy procedure. After that, I saw the file dbtest.php in a web page
and three messages were displaying on the screen. The message was that three rows have been
inserted before the print command. When I executed the code, there were various errors because
in that case, I did a mistake and forget that it is not possible to import the same rows in same ID
numbers again. Then, I made a call as //importTable ($pdo, 'books.txt'); , then I checked again in
PHPMyAdmin and there were the rows present then. Then, I created a new file called books.php
and write a code for listing all the books in the database. The code is as under :
3
<?php
require_once "lib/dbutils.php";
?>
<html>
<body>
<h2 align="center">Books</h2>
<table border="1" width="100%">
<tr>
<td width="10%" align="center"><big><b>Book id </b></big></td>
<td width="30%" align="center"><big><b>Title</b></big></td>
<td width="20%" align="center"><big><b>Publisher</b></big></td>
<td width="20%" align="center"><big><b>Price</b></big></td>
<td width="20%" align="center"><big><b>In stock</b></big></td>
</tr>
<?php
$pdo = connect();
$results = $pdo->query("SELECT * FROM books", PDO::FETCH_ASSOC);
foreach( $results as $row) {
print("<tr>");
print("<td>".$row['bookid']."</td>");
print("<td>".$row['title']."</td>");
print("<td>".$row['publisher']."</td>");
print("<td>".$row['price']."</td>");
print("<td>".$row['instock']."</td>");
print("</tr>");
};
?>
</table>
</body>
</html>
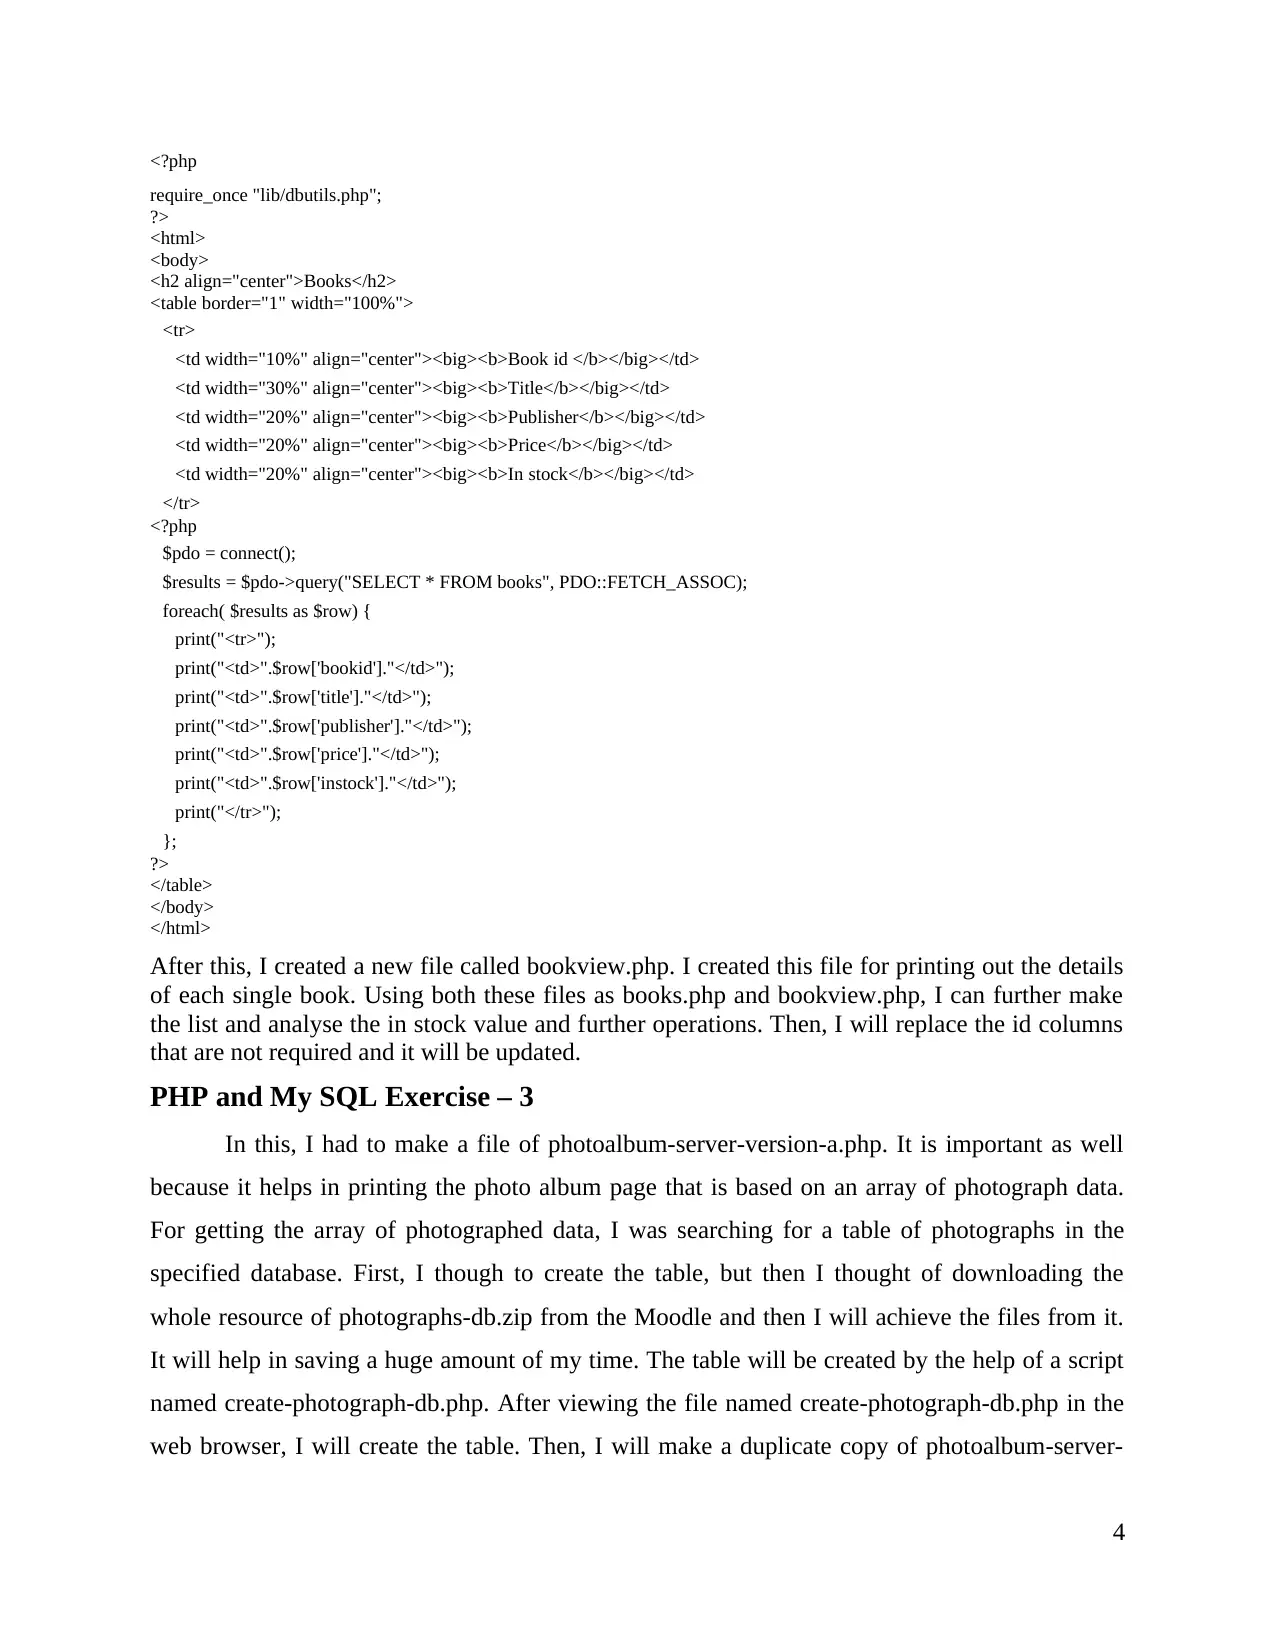
After this, I created a new file called bookview.php. I created this file for printing out the details
of each single book. Using both these files as books.php and bookview.php, I can further make
the list and analyse the in stock value and further operations. Then, I will replace the id columns
that are not required and it will be updated.
PHP and My SQL Exercise – 3
In this, I had to make a file of photoalbum-server-version-a.php. It is important as well
because it helps in printing the photo album page that is based on an array of photograph data.
For getting the array of photographed data, I was searching for a table of photographs in the
specified database. First, I though to create the table, but then I thought of downloading the
whole resource of photographs-db.zip from the Moodle and then I will achieve the files from it.
It will help in saving a huge amount of my time. The table will be created by the help of a script
named create-photograph-db.php. After viewing the file named create-photograph-db.php in the
web browser, I will create the table. Then, I will make a duplicate copy of photoalbum-server-
4
require_once "lib/dbutils.php";
?>
<html>
<body>
<h2 align="center">Books</h2>
<table border="1" width="100%">
<tr>
<td width="10%" align="center"><big><b>Book id </b></big></td>
<td width="30%" align="center"><big><b>Title</b></big></td>
<td width="20%" align="center"><big><b>Publisher</b></big></td>
<td width="20%" align="center"><big><b>Price</b></big></td>
<td width="20%" align="center"><big><b>In stock</b></big></td>
</tr>
<?php
$pdo = connect();
$results = $pdo->query("SELECT * FROM books", PDO::FETCH_ASSOC);
foreach( $results as $row) {
print("<tr>");
print("<td>".$row['bookid']."</td>");
print("<td>".$row['title']."</td>");
print("<td>".$row['publisher']."</td>");
print("<td>".$row['price']."</td>");
print("<td>".$row['instock']."</td>");
print("</tr>");
};
?>
</table>
</body>
</html>
After this, I created a new file called bookview.php. I created this file for printing out the details
of each single book. Using both these files as books.php and bookview.php, I can further make
the list and analyse the in stock value and further operations. Then, I will replace the id columns
that are not required and it will be updated.
PHP and My SQL Exercise – 3
In this, I had to make a file of photoalbum-server-version-a.php. It is important as well
because it helps in printing the photo album page that is based on an array of photograph data.
For getting the array of photographed data, I was searching for a table of photographs in the
specified database. First, I though to create the table, but then I thought of downloading the
whole resource of photographs-db.zip from the Moodle and then I will achieve the files from it.
It will help in saving a huge amount of my time. The table will be created by the help of a script
named create-photograph-db.php. After viewing the file named create-photograph-db.php in the
web browser, I will create the table. Then, I will make a duplicate copy of photoalbum-server-
4
⊘ This is a preview!⊘
Do you want full access?
Subscribe today to unlock all pages.
Trusted by 1+ million students worldwide
version-a.php as photoalbum-server-version-b.php. Then, I will view the photoalbum-server-
version-b.php in a web browser. On the screen, I was able to see four Beatles pictures.
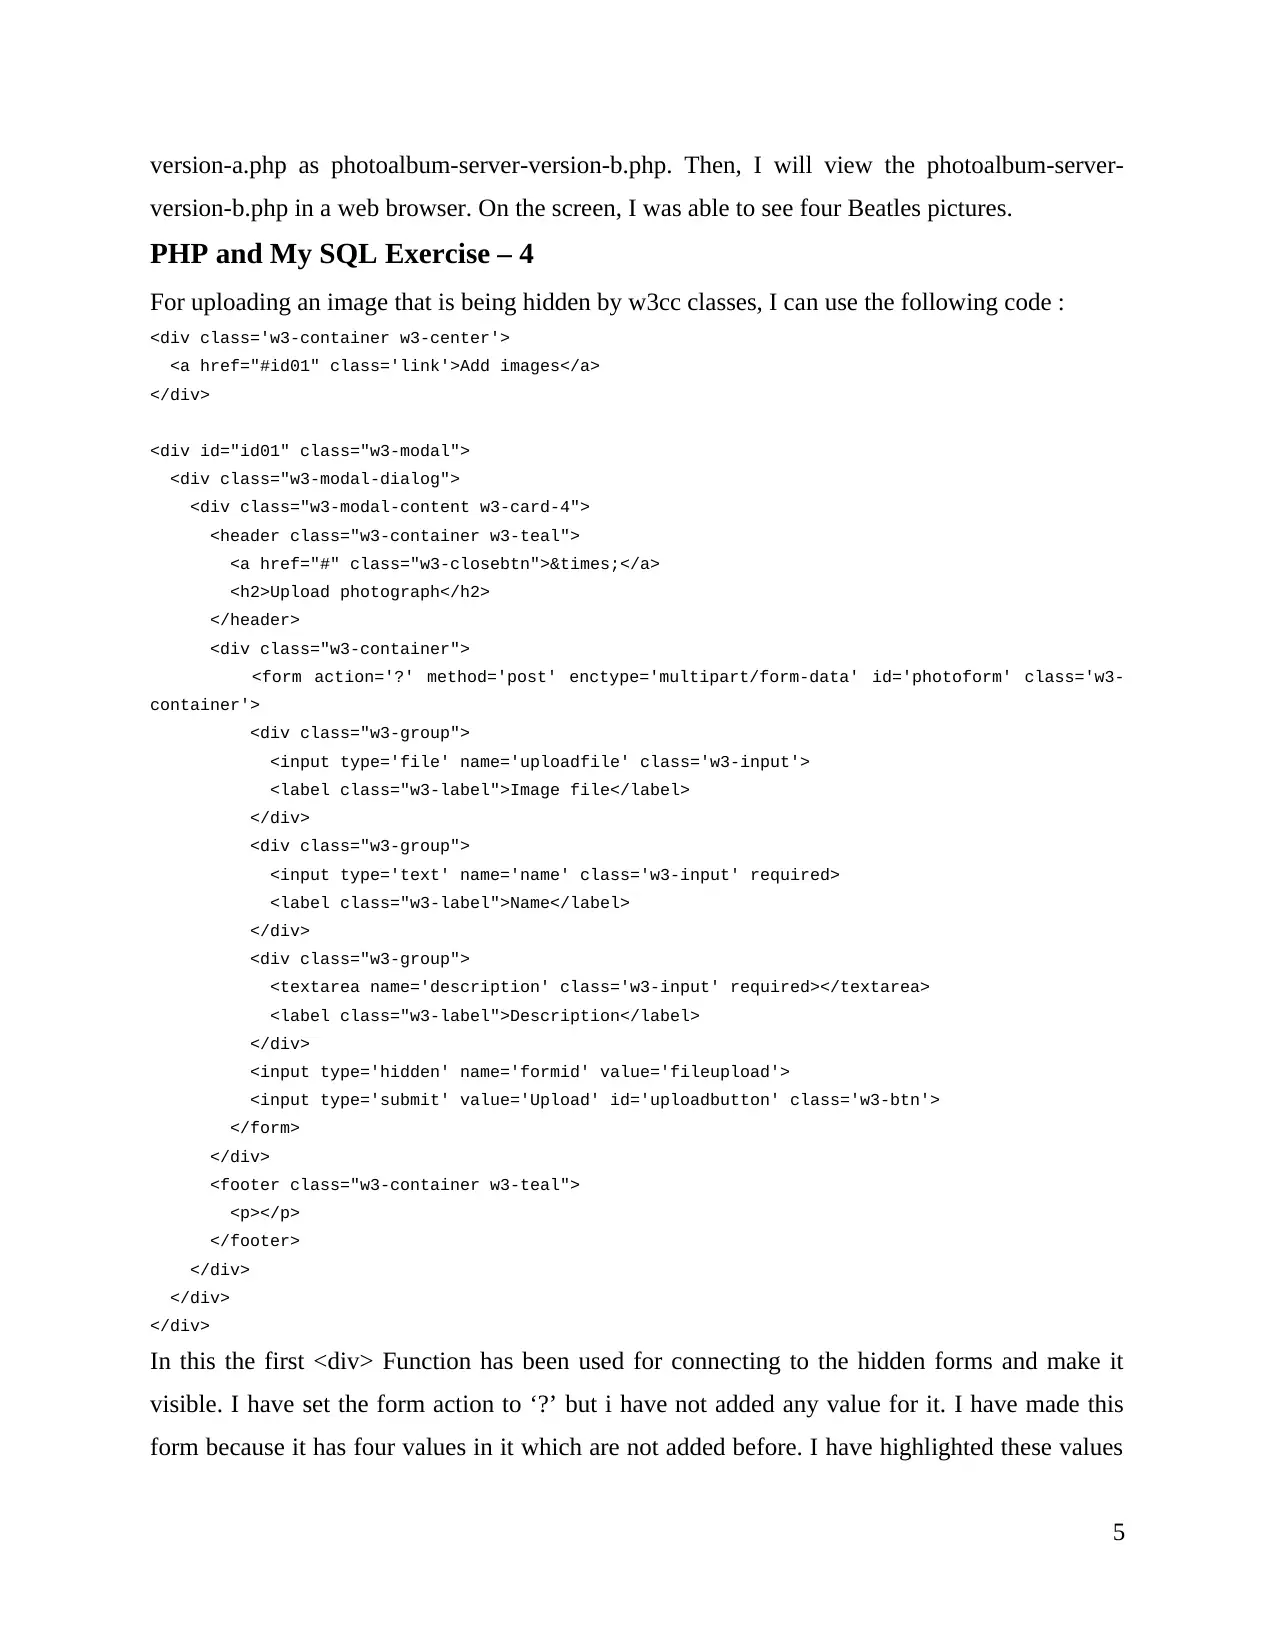
PHP and My SQL Exercise – 4
For uploading an image that is being hidden by w3cc classes, I can use the following code :
<div class='w3-container w3-center'>
<a href="#id01" class='link'>Add images</a>
</div>
<div id="id01" class="w3-modal">
<div class="w3-modal-dialog">
<div class="w3-modal-content w3-card-4">
<header class="w3-container w3-teal">
<a href="#" class="w3-closebtn">×</a>
<h2>Upload photograph</h2>
</header>
<div class="w3-container">
<form action='?' method='post' enctype='multipart/form-data' id='photoform' class='w3-
container'>
<div class="w3-group">
<input type='file' name='uploadfile' class='w3-input'>
<label class="w3-label">Image file</label>
</div>
<div class="w3-group">
<input type='text' name='name' class='w3-input' required>
<label class="w3-label">Name</label>
</div>
<div class="w3-group">
<textarea name='description' class='w3-input' required></textarea>
<label class="w3-label">Description</label>
</div>
<input type='hidden' name='formid' value='fileupload'>
<input type='submit' value='Upload' id='uploadbutton' class='w3-btn'>
</form>
</div>
<footer class="w3-container w3-teal">
<p></p>
</footer>
</div>
</div>
</div>
In this the first <div> Function has been used for connecting to the hidden forms and make it
visible. I have set the form action to ‘?’ but i have not added any value for it. I have made this
form because it has four values in it which are not added before. I have highlighted these values
5
version-b.php in a web browser. On the screen, I was able to see four Beatles pictures.
PHP and My SQL Exercise – 4
For uploading an image that is being hidden by w3cc classes, I can use the following code :
<div class='w3-container w3-center'>
<a href="#id01" class='link'>Add images</a>
</div>
<div id="id01" class="w3-modal">
<div class="w3-modal-dialog">
<div class="w3-modal-content w3-card-4">
<header class="w3-container w3-teal">
<a href="#" class="w3-closebtn">×</a>
<h2>Upload photograph</h2>
</header>
<div class="w3-container">
<form action='?' method='post' enctype='multipart/form-data' id='photoform' class='w3-
container'>
<div class="w3-group">
<input type='file' name='uploadfile' class='w3-input'>
<label class="w3-label">Image file</label>
</div>
<div class="w3-group">
<input type='text' name='name' class='w3-input' required>
<label class="w3-label">Name</label>
</div>
<div class="w3-group">
<textarea name='description' class='w3-input' required></textarea>
<label class="w3-label">Description</label>
</div>
<input type='hidden' name='formid' value='fileupload'>
<input type='submit' value='Upload' id='uploadbutton' class='w3-btn'>
</form>
</div>
<footer class="w3-container w3-teal">
<p></p>
</footer>
</div>
</div>
</div>
In this the first <div> Function has been used for connecting to the hidden forms and make it
visible. I have set the form action to ‘?’ but i have not added any value for it. I have made this
form because it has four values in it which are not added before. I have highlighted these values
5
Paraphrase This Document
Need a fresh take? Get an instant paraphrase of this document with our AI Paraphraser
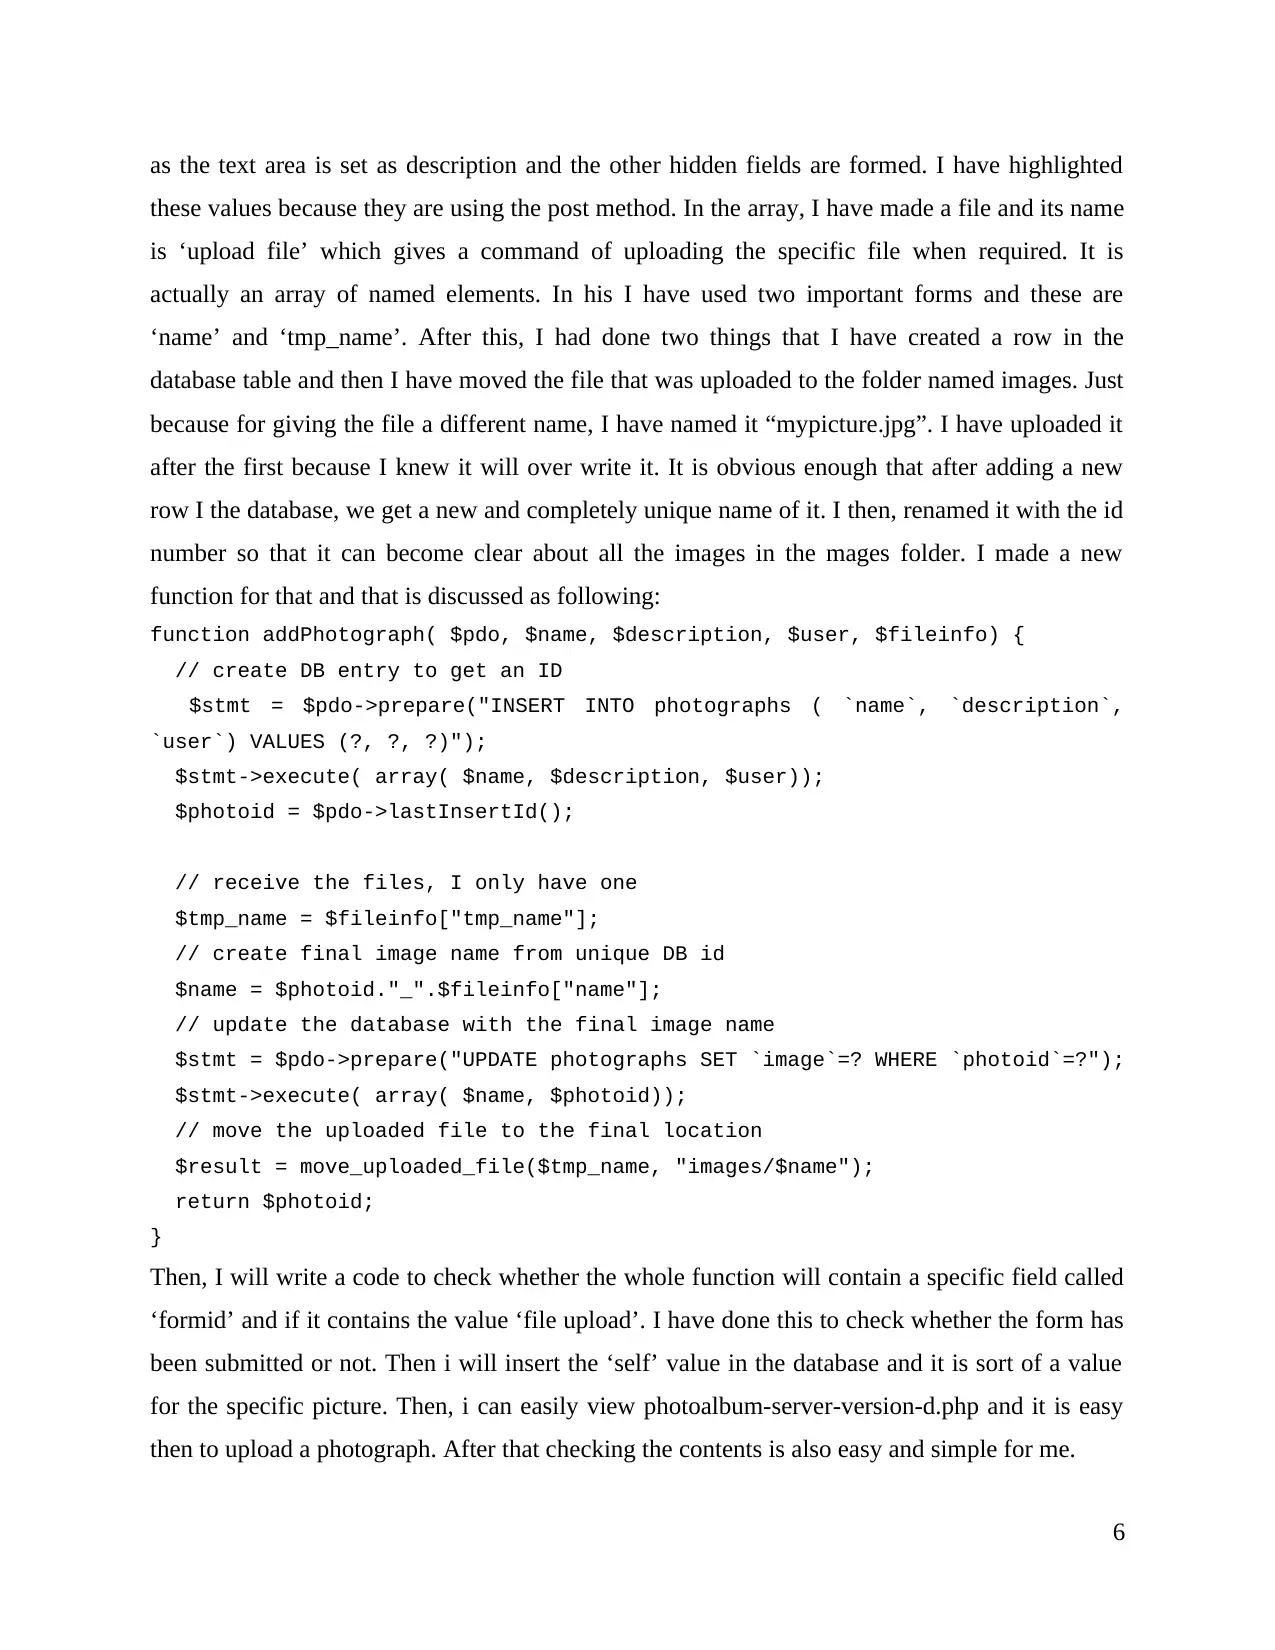
as the text area is set as description and the other hidden fields are formed. I have highlighted
these values because they are using the post method. In the array, I have made a file and its name
is ‘upload file’ which gives a command of uploading the specific file when required. It is
actually an array of named elements. In his I have used two important forms and these are
‘name’ and ‘tmp_name’. After this, I had done two things that I have created a row in the
database table and then I have moved the file that was uploaded to the folder named images. Just
because for giving the file a different name, I have named it “mypicture.jpg”. I have uploaded it
after the first because I knew it will over write it. It is obvious enough that after adding a new
row I the database, we get a new and completely unique name of it. I then, renamed it with the id
number so that it can become clear about all the images in the mages folder. I made a new
function for that and that is discussed as following:
function addPhotograph( $pdo, $name, $description, $user, $fileinfo) {
// create DB entry to get an ID
$stmt = $pdo->prepare("INSERT INTO photographs ( `name`, `description`,
`user`) VALUES (?, ?, ?)");
$stmt->execute( array( $name, $description, $user));
$photoid = $pdo->lastInsertId();
// receive the files, I only have one
$tmp_name = $fileinfo["tmp_name"];
// create final image name from unique DB id
$name = $photoid."_".$fileinfo["name"];
// update the database with the final image name
$stmt = $pdo->prepare("UPDATE photographs SET `image`=? WHERE `photoid`=?");
$stmt->execute( array( $name, $photoid));
// move the uploaded file to the final location
$result = move_uploaded_file($tmp_name, "images/$name");
return $photoid;
}
Then, I will write a code to check whether the whole function will contain a specific field called
‘formid’ and if it contains the value ‘file upload’. I have done this to check whether the form has
been submitted or not. Then i will insert the ‘self’ value in the database and it is sort of a value
for the specific picture. Then, i can easily view photoalbum-server-version-d.php and it is easy
then to upload a photograph. After that checking the contents is also easy and simple for me.
6
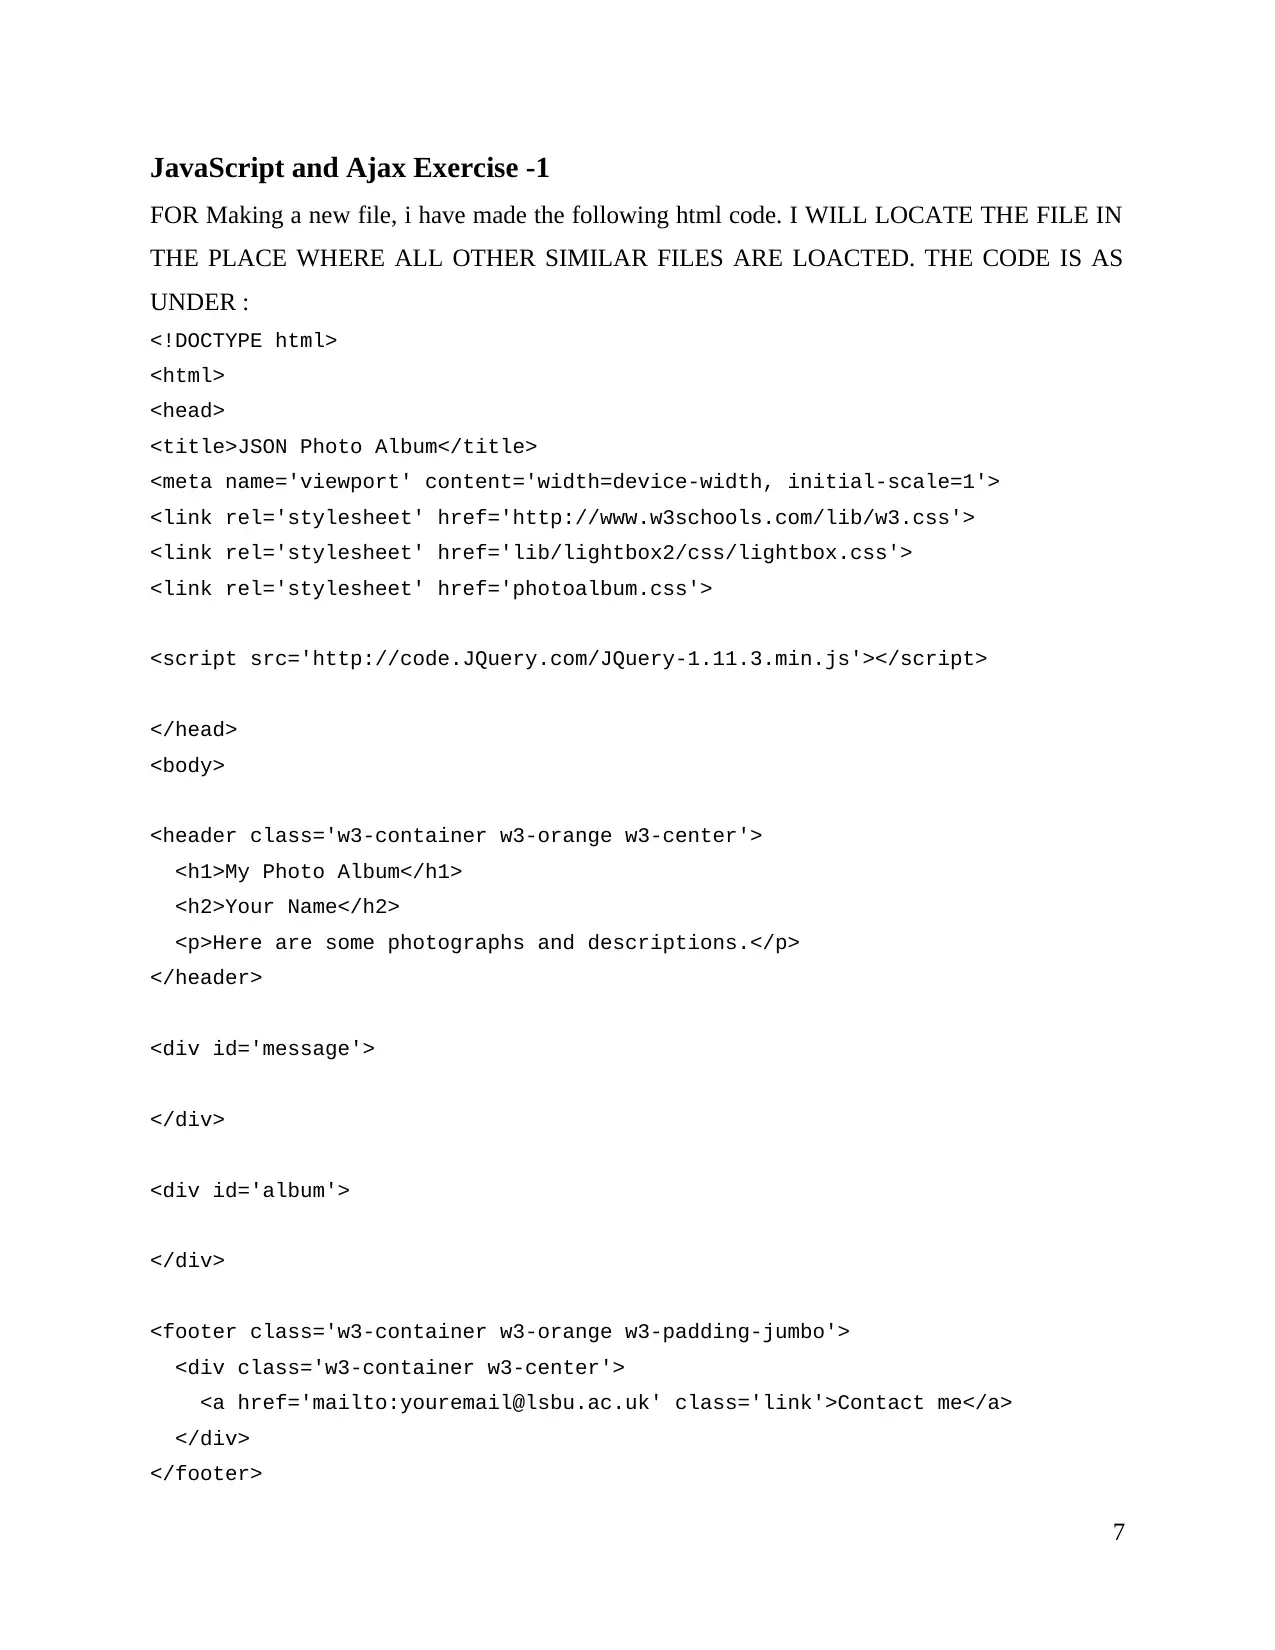
JavaScript and Ajax Exercise -1
FOR Making a new file, i have made the following html code. I WILL LOCATE THE FILE IN
THE PLACE WHERE ALL OTHER SIMILAR FILES ARE LOACTED. THE CODE IS AS
UNDER :
<!DOCTYPE html>
<html>
<head>
<title>JSON Photo Album</title>
<meta name='viewport' content='width=device-width, initial-scale=1'>
<link rel='stylesheet' href='http://www.w3schools.com/lib/w3.css'>
<link rel='stylesheet' href='lib/lightbox2/css/lightbox.css'>
<link rel='stylesheet' href='photoalbum.css'>
<script src='http://code.JQuery.com/JQuery-1.11.3.min.js'></script>
</head>
<body>
<header class='w3-container w3-orange w3-center'>
<h1>My Photo Album</h1>
<h2>Your Name</h2>
<p>Here are some photographs and descriptions.</p>
</header>
<div id='message'>
</div>
<div id='album'>
</div>
<footer class='w3-container w3-orange w3-padding-jumbo'>
<div class='w3-container w3-center'>
<a href='mailto:youremail@lsbu.ac.uk' class='link'>Contact me</a>
</div>
</footer>
7
⊘ This is a preview!⊘
Do you want full access?
Subscribe today to unlock all pages.
Trusted by 1+ million students worldwide
<script src='lib/lightbox2/js/lightbox.js'></script>
</body>
</html>
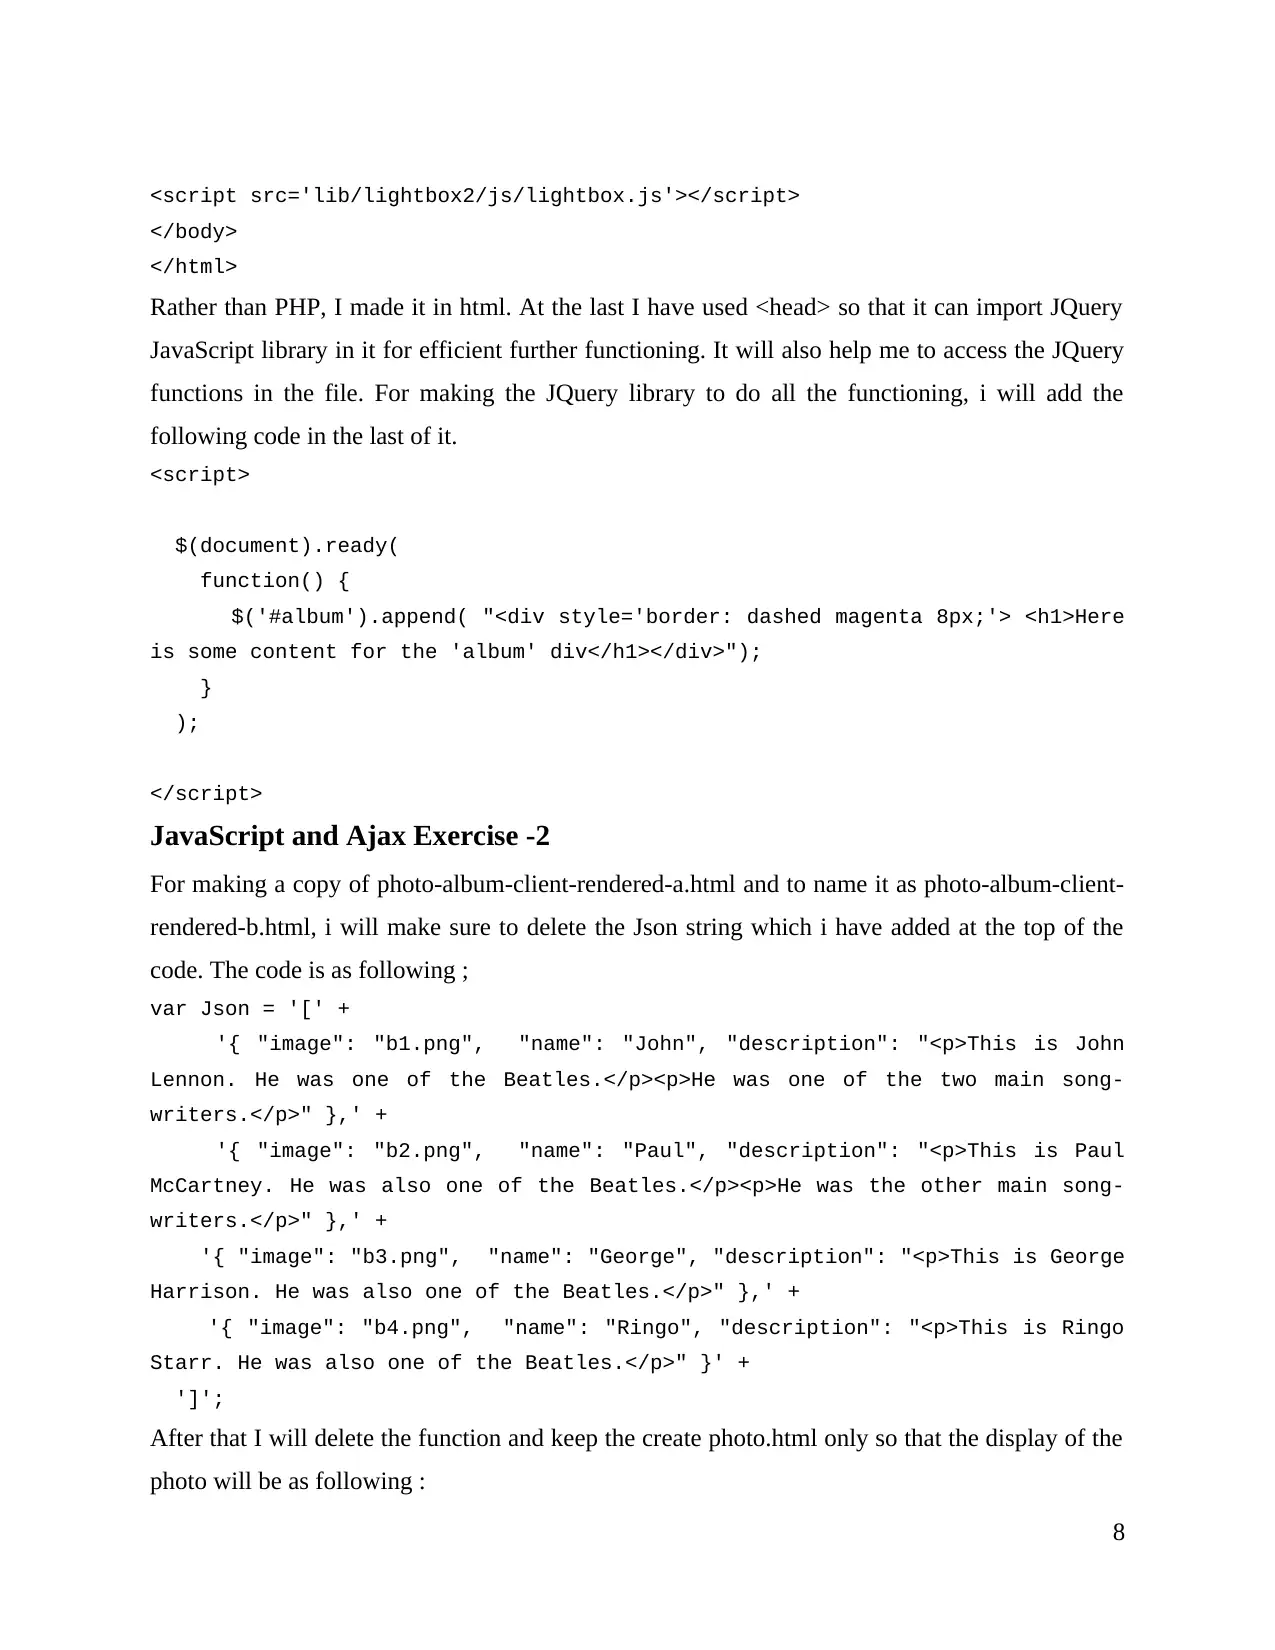
Rather than PHP, I made it in html. At the last I have used <head> so that it can import JQuery
JavaScript library in it for efficient further functioning. It will also help me to access the JQuery
functions in the file. For making the JQuery library to do all the functioning, i will add the
following code in the last of it.
<script>
$(document).ready(
function() {
$('#album').append( "<div style='border: dashed magenta 8px;'> <h1>Here
is some content for the 'album' div</h1></div>");
}
);
</script>
JavaScript and Ajax Exercise -2
For making a copy of photo-album-client-rendered-a.html and to name it as photo-album-client-
rendered-b.html, i will make sure to delete the Json string which i have added at the top of the
code. The code is as following ;
var Json = '[' +
'{ "image": "b1.png", "name": "John", "description": "<p>This is John
Lennon. He was one of the Beatles.</p><p>He was one of the two main song-
writers.</p>" },' +
'{ "image": "b2.png", "name": "Paul", "description": "<p>This is Paul
McCartney. He was also one of the Beatles.</p><p>He was the other main song-
writers.</p>" },' +
'{ "image": "b3.png", "name": "George", "description": "<p>This is George
Harrison. He was also one of the Beatles.</p>" },' +
'{ "image": "b4.png", "name": "Ringo", "description": "<p>This is Ringo
Starr. He was also one of the Beatles.</p>" }' +
']';
After that I will delete the function and keep the create photo.html only so that the display of the
photo will be as following :
8
</body>
</html>
Rather than PHP, I made it in html. At the last I have used <head> so that it can import JQuery
JavaScript library in it for efficient further functioning. It will also help me to access the JQuery
functions in the file. For making the JQuery library to do all the functioning, i will add the
following code in the last of it.
<script>
$(document).ready(
function() {
$('#album').append( "<div style='border: dashed magenta 8px;'> <h1>Here
is some content for the 'album' div</h1></div>");
}
);
</script>
JavaScript and Ajax Exercise -2
For making a copy of photo-album-client-rendered-a.html and to name it as photo-album-client-
rendered-b.html, i will make sure to delete the Json string which i have added at the top of the
code. The code is as following ;
var Json = '[' +
'{ "image": "b1.png", "name": "John", "description": "<p>This is John
Lennon. He was one of the Beatles.</p><p>He was one of the two main song-
writers.</p>" },' +
'{ "image": "b2.png", "name": "Paul", "description": "<p>This is Paul
McCartney. He was also one of the Beatles.</p><p>He was the other main song-
writers.</p>" },' +
'{ "image": "b3.png", "name": "George", "description": "<p>This is George
Harrison. He was also one of the Beatles.</p>" },' +
'{ "image": "b4.png", "name": "Ringo", "description": "<p>This is Ringo
Starr. He was also one of the Beatles.</p>" }' +
']';
After that I will delete the function and keep the create photo.html only so that the display of the
photo will be as following :
8
Paraphrase This Document
Need a fresh take? Get an instant paraphrase of this document with our AI Paraphraser
$( document).ready(
function() {
var photos = $.parseJSON( Json);
for (i = 0; i < photos.length; i += 3) {
var rowDiv = $( "<div class='w3-row'>");
$('#album').append( rowDiv);
for( j = i; j < i + 3; j++ ) {
if ( j < photos.length) {
rowDiv.append( createPhotoHTML( photos[j]));
}
}
}
}
);
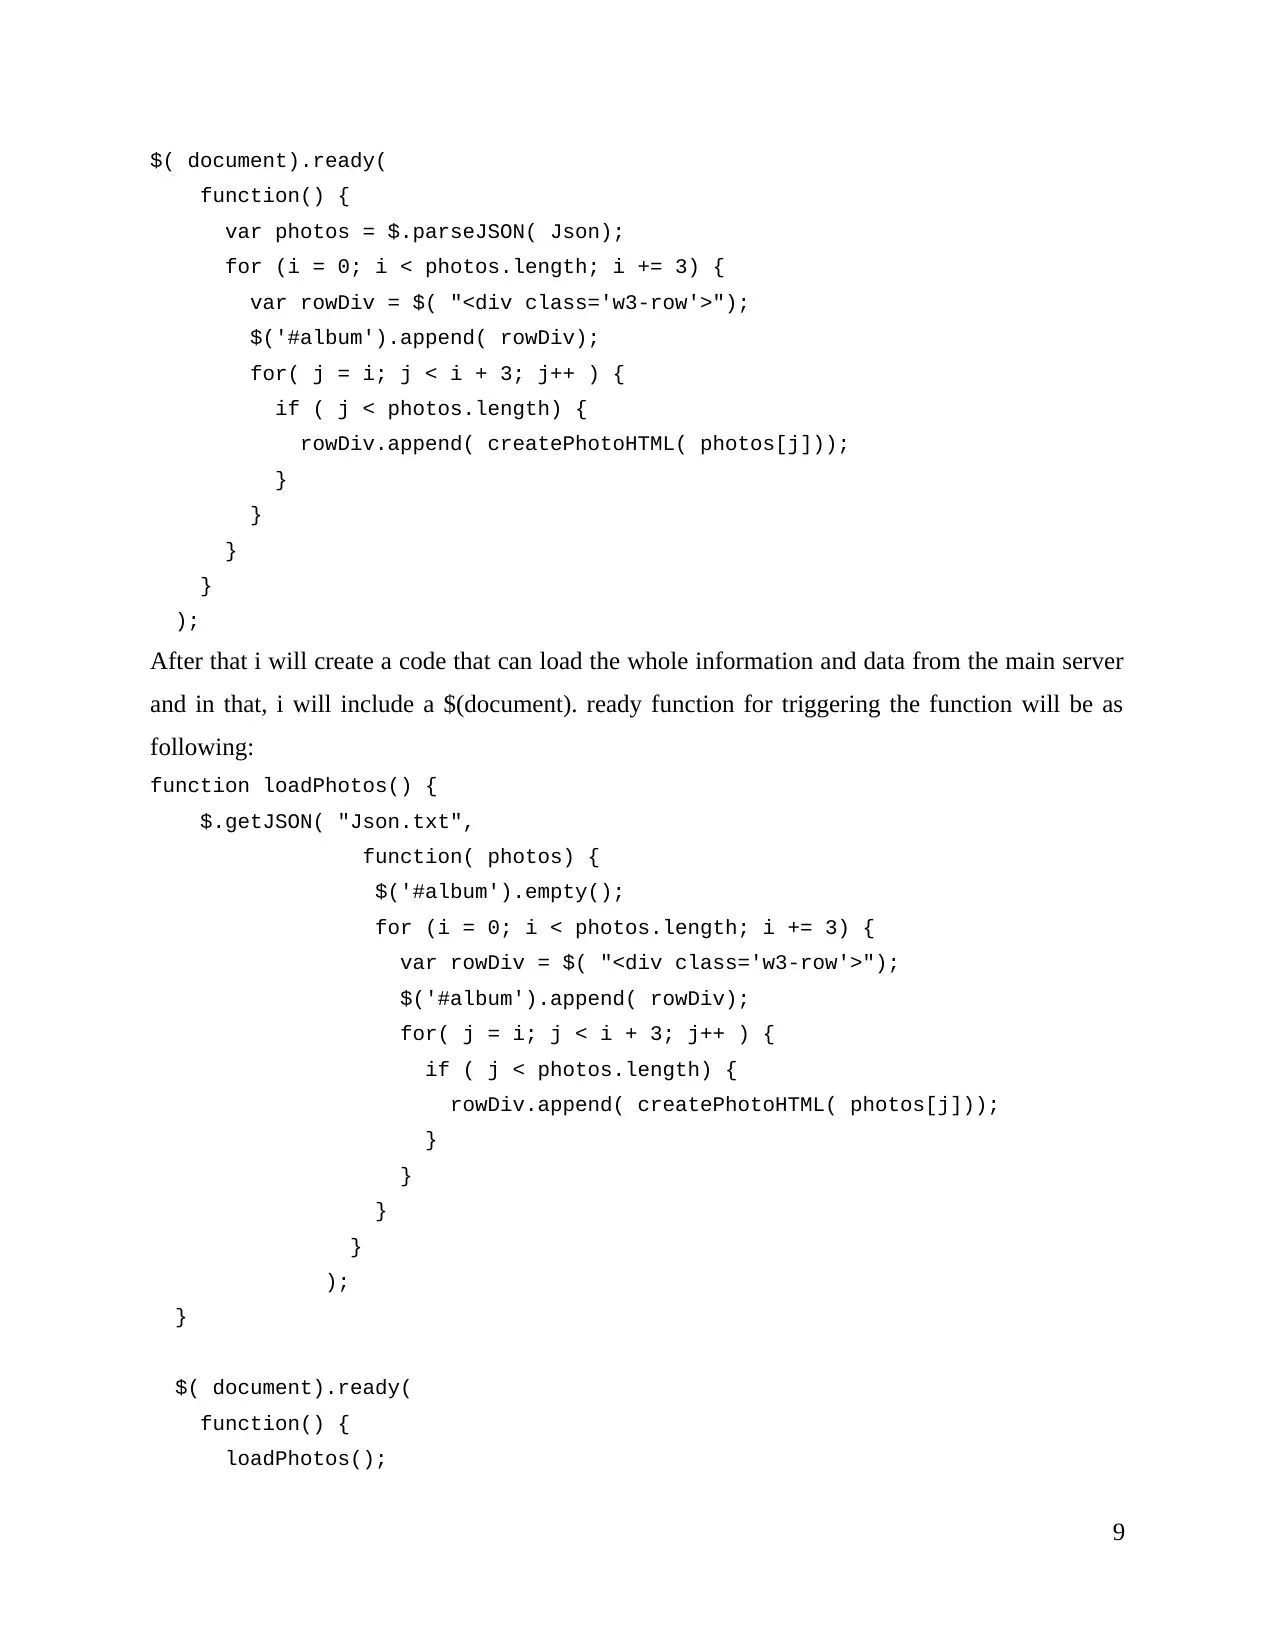
After that i will create a code that can load the whole information and data from the main server
and in that, i will include a $(document). ready function for triggering the function will be as
following:
function loadPhotos() {
$.getJSON( "Json.txt",
function( photos) {
$('#album').empty();
for (i = 0; i < photos.length; i += 3) {
var rowDiv = $( "<div class='w3-row'>");
$('#album').append( rowDiv);
for( j = i; j < i + 3; j++ ) {
if ( j < photos.length) {
rowDiv.append( createPhotoHTML( photos[j]));
}
}
}
}
);
}
$( document).ready(
function() {
loadPhotos();
9
function() {
var photos = $.parseJSON( Json);
for (i = 0; i < photos.length; i += 3) {
var rowDiv = $( "<div class='w3-row'>");
$('#album').append( rowDiv);
for( j = i; j < i + 3; j++ ) {
if ( j < photos.length) {
rowDiv.append( createPhotoHTML( photos[j]));
}
}
}
}
);
After that i will create a code that can load the whole information and data from the main server
and in that, i will include a $(document). ready function for triggering the function will be as
following:
function loadPhotos() {
$.getJSON( "Json.txt",
function( photos) {
$('#album').empty();
for (i = 0; i < photos.length; i += 3) {
var rowDiv = $( "<div class='w3-row'>");
$('#album').append( rowDiv);
for( j = i; j < i + 3; j++ ) {
if ( j < photos.length) {
rowDiv.append( createPhotoHTML( photos[j]));
}
}
}
}
);
}
$( document).ready(
function() {
loadPhotos();
9
}
);
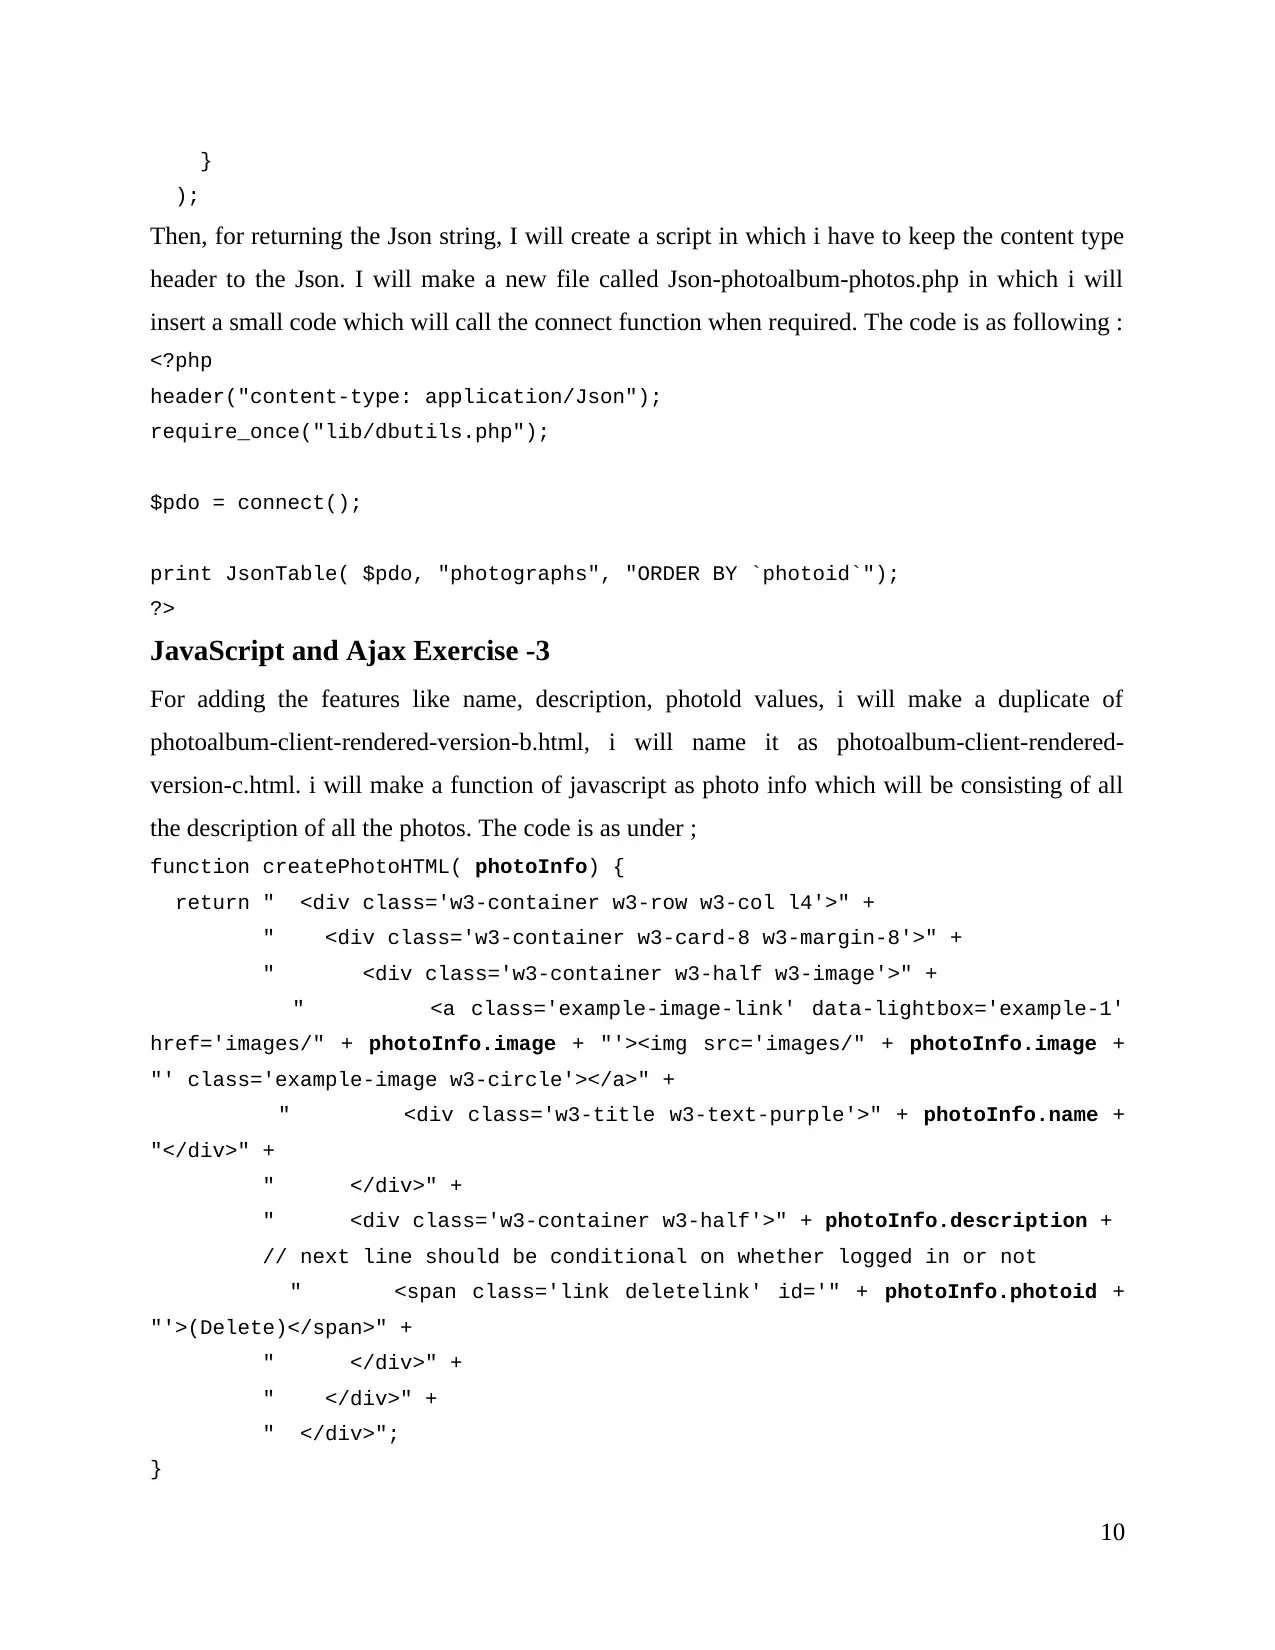
Then, for returning the Json string, I will create a script in which i have to keep the content type
header to the Json. I will make a new file called Json-photoalbum-photos.php in which i will
insert a small code which will call the connect function when required. The code is as following :
<?php
header("content-type: application/Json");
require_once("lib/dbutils.php");
$pdo = connect();
print JsonTable( $pdo, "photographs", "ORDER BY `photoid`");
?>
JavaScript and Ajax Exercise -3
For adding the features like name, description, photold values, i will make a duplicate of
photoalbum-client-rendered-version-b.html, i will name it as photoalbum-client-rendered-
version-c.html. i will make a function of javascript as photo info which will be consisting of all
the description of all the photos. The code is as under ;
function createPhotoHTML( photoInfo) {
return " <div class='w3-container w3-row w3-col l4'>" +
" <div class='w3-container w3-card-8 w3-margin-8'>" +
" <div class='w3-container w3-half w3-image'>" +
" <a class='example-image-link' data-lightbox='example-1'
href='images/" + photoInfo.image + "'><img src='images/" + photoInfo.image +
"' class='example-image w3-circle'></a>" +
" <div class='w3-title w3-text-purple'>" + photoInfo.name +
"</div>" +
" </div>" +
" <div class='w3-container w3-half'>" + photoInfo.description +
// next line should be conditional on whether logged in or not
" <span class='link deletelink' id='" + photoInfo.photoid +
"'>(Delete)</span>" +
" </div>" +
" </div>" +
" </div>";
}
10
);
Then, for returning the Json string, I will create a script in which i have to keep the content type
header to the Json. I will make a new file called Json-photoalbum-photos.php in which i will
insert a small code which will call the connect function when required. The code is as following :
<?php
header("content-type: application/Json");
require_once("lib/dbutils.php");
$pdo = connect();
print JsonTable( $pdo, "photographs", "ORDER BY `photoid`");
?>
JavaScript and Ajax Exercise -3
For adding the features like name, description, photold values, i will make a duplicate of
photoalbum-client-rendered-version-b.html, i will name it as photoalbum-client-rendered-
version-c.html. i will make a function of javascript as photo info which will be consisting of all
the description of all the photos. The code is as under ;
function createPhotoHTML( photoInfo) {
return " <div class='w3-container w3-row w3-col l4'>" +
" <div class='w3-container w3-card-8 w3-margin-8'>" +
" <div class='w3-container w3-half w3-image'>" +
" <a class='example-image-link' data-lightbox='example-1'
href='images/" + photoInfo.image + "'><img src='images/" + photoInfo.image +
"' class='example-image w3-circle'></a>" +
" <div class='w3-title w3-text-purple'>" + photoInfo.name +
"</div>" +
" </div>" +
" <div class='w3-container w3-half'>" + photoInfo.description +
// next line should be conditional on whether logged in or not
" <span class='link deletelink' id='" + photoInfo.photoid +
"'>(Delete)</span>" +
" </div>" +
" </div>" +
" </div>";
}
10
⊘ This is a preview!⊘
Do you want full access?
Subscribe today to unlock all pages.
Trusted by 1+ million students worldwide
1 out of 14
Related Documents


Your All-in-One AI-Powered Toolkit for Academic Success.
+13062052269
info@desklib.com
Available 24*7 on WhatsApp / Email
![[object Object]](/_next/static/media/star-bottom.7253800d.svg)
Unlock your academic potential
Copyright © 2020–2026 A2Z Services. All Rights Reserved. Developed and managed by ZUCOL.