UGB004 Assessment 001: Mail Merge Report - Word Processing Task
VerifiedAdded on 2023/03/29
|26
|686
|35
Report
AI Summary
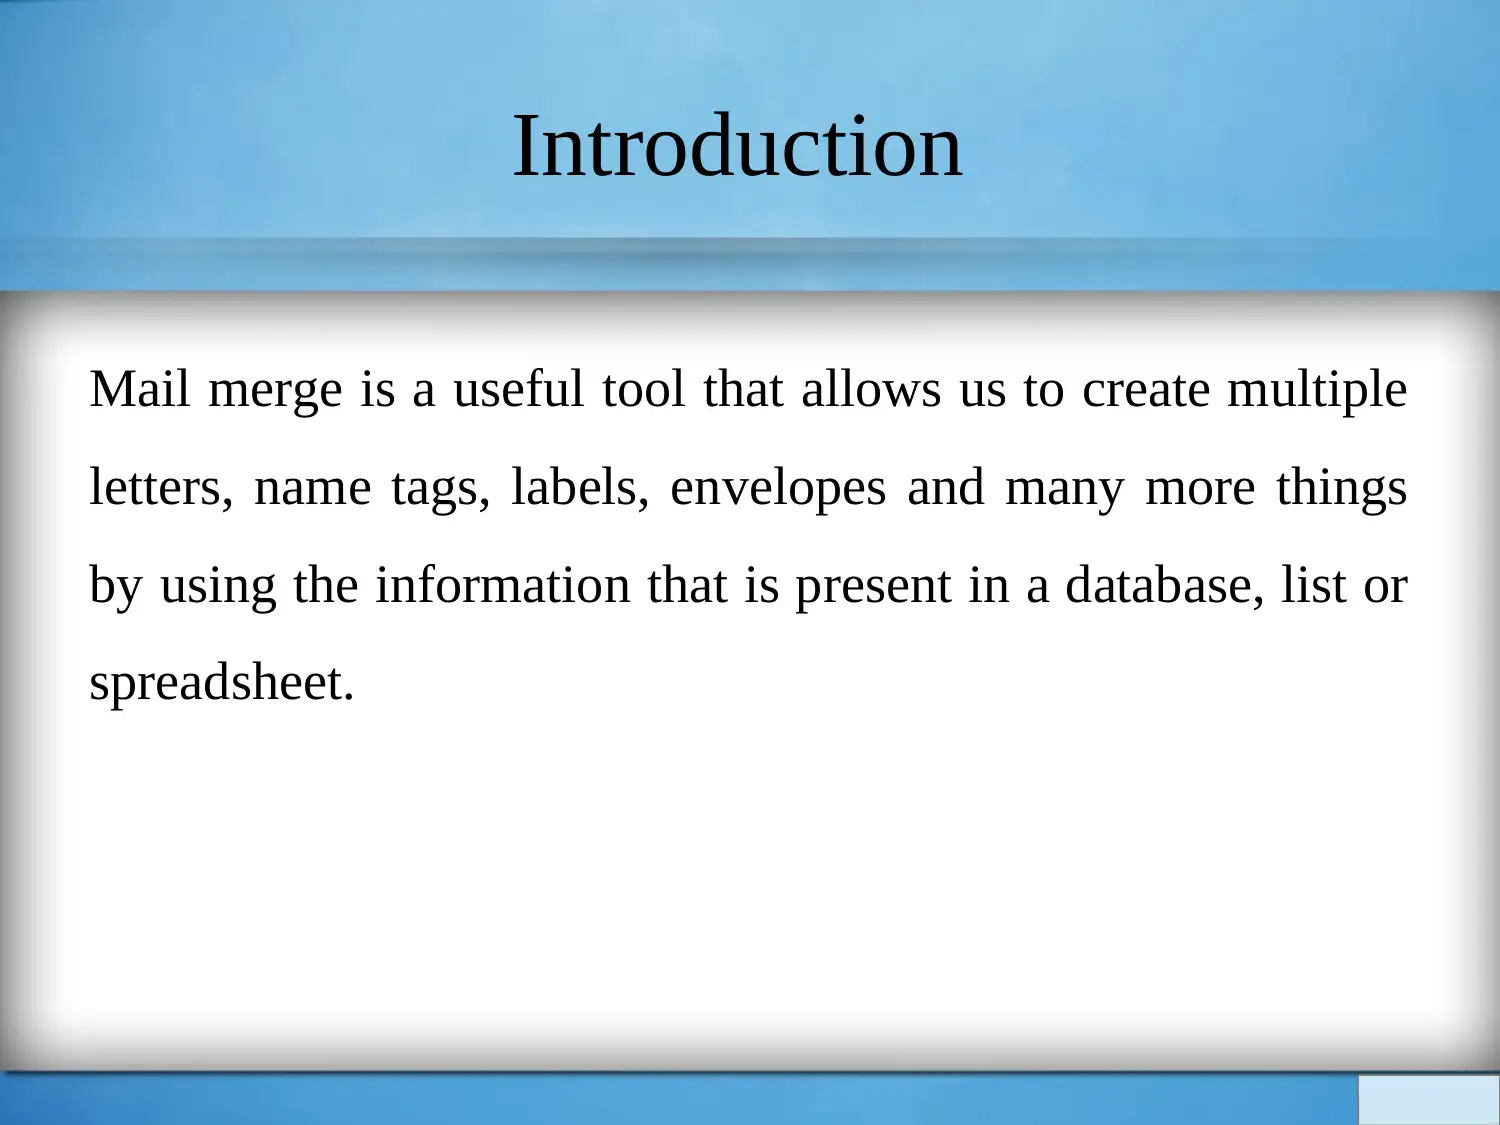
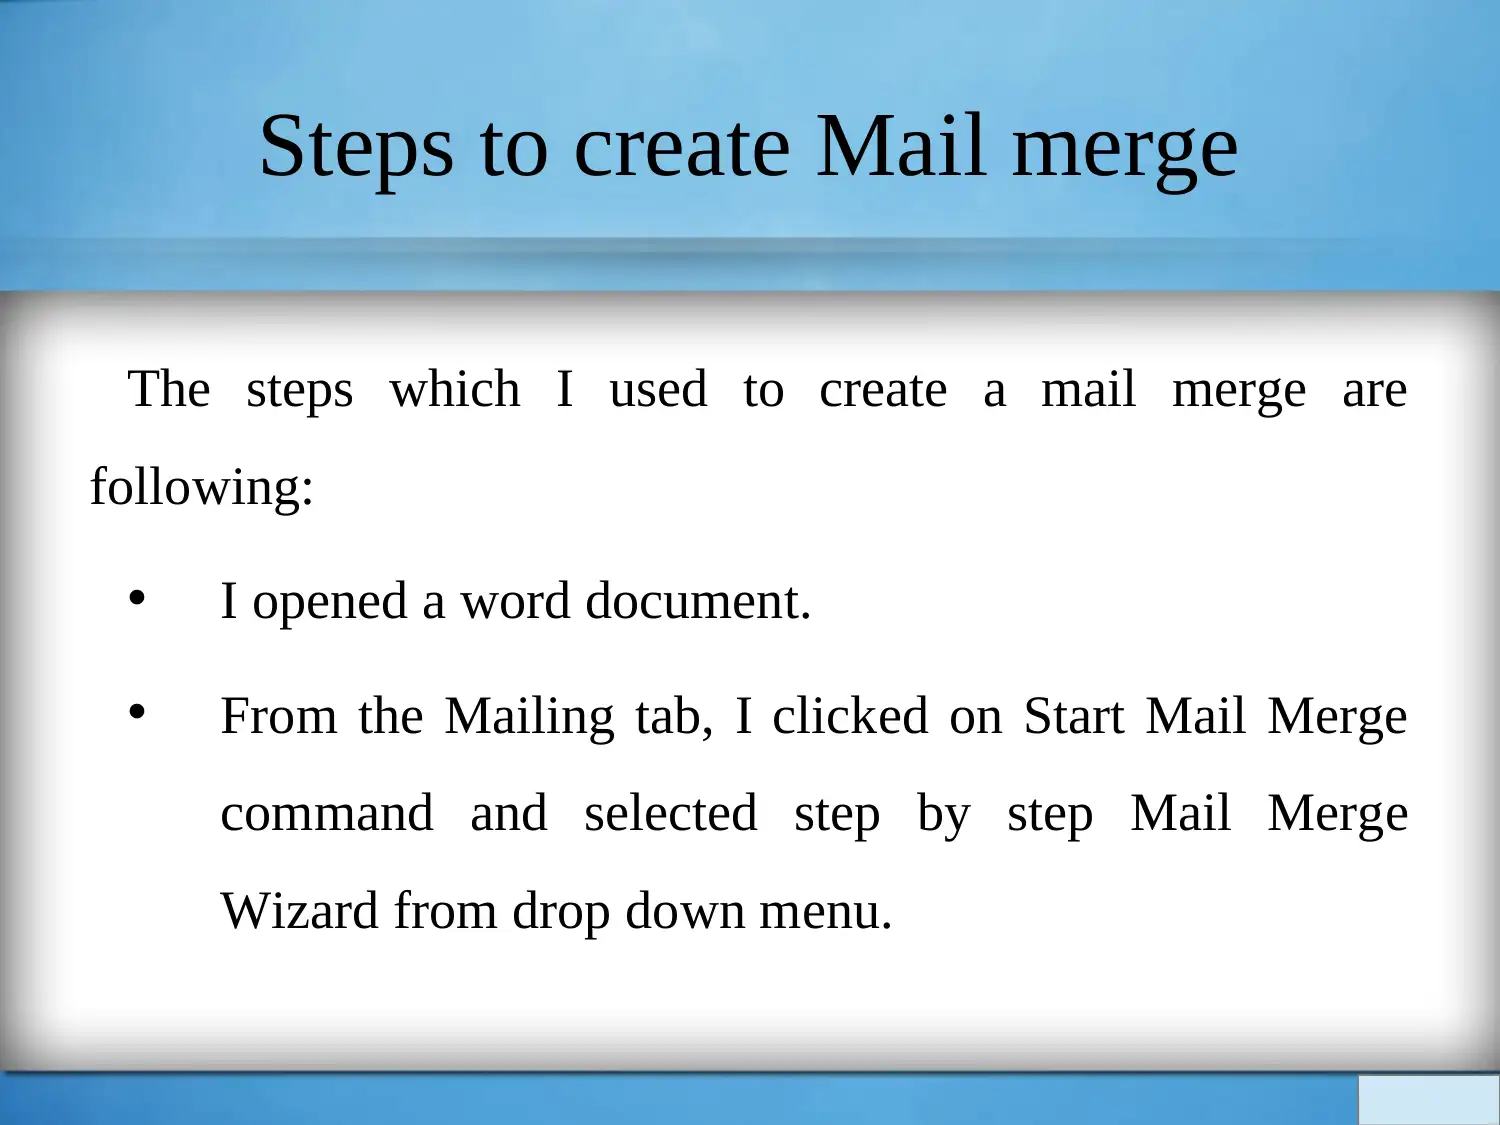
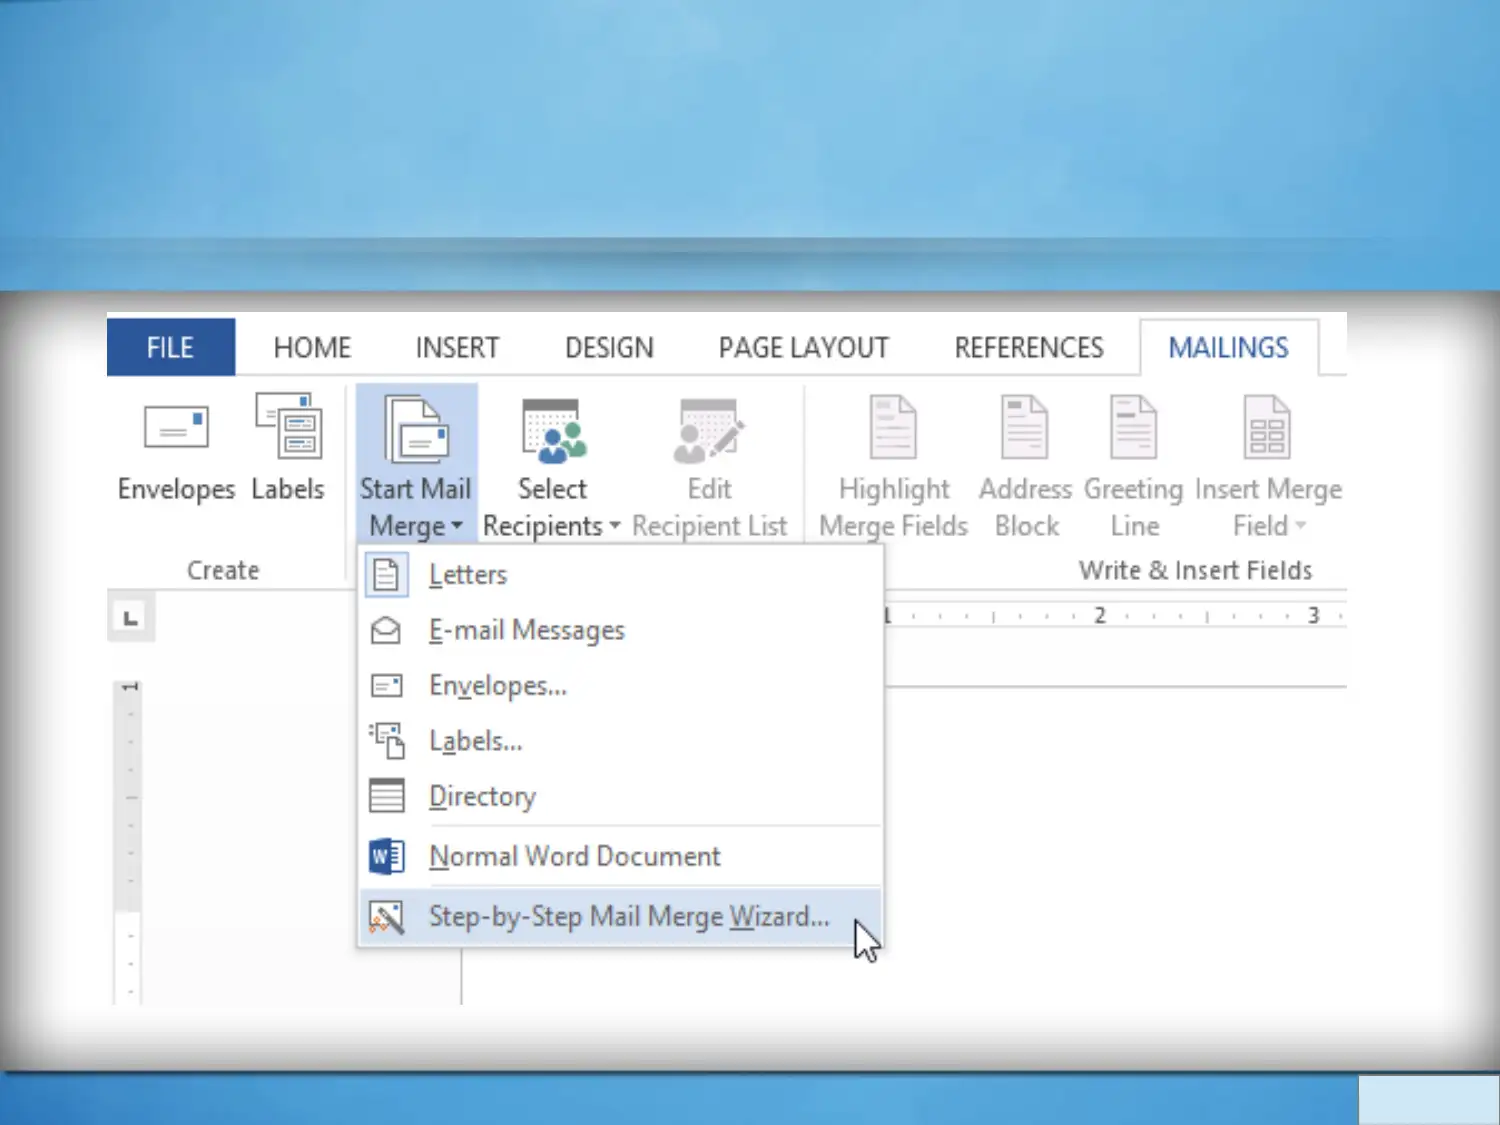
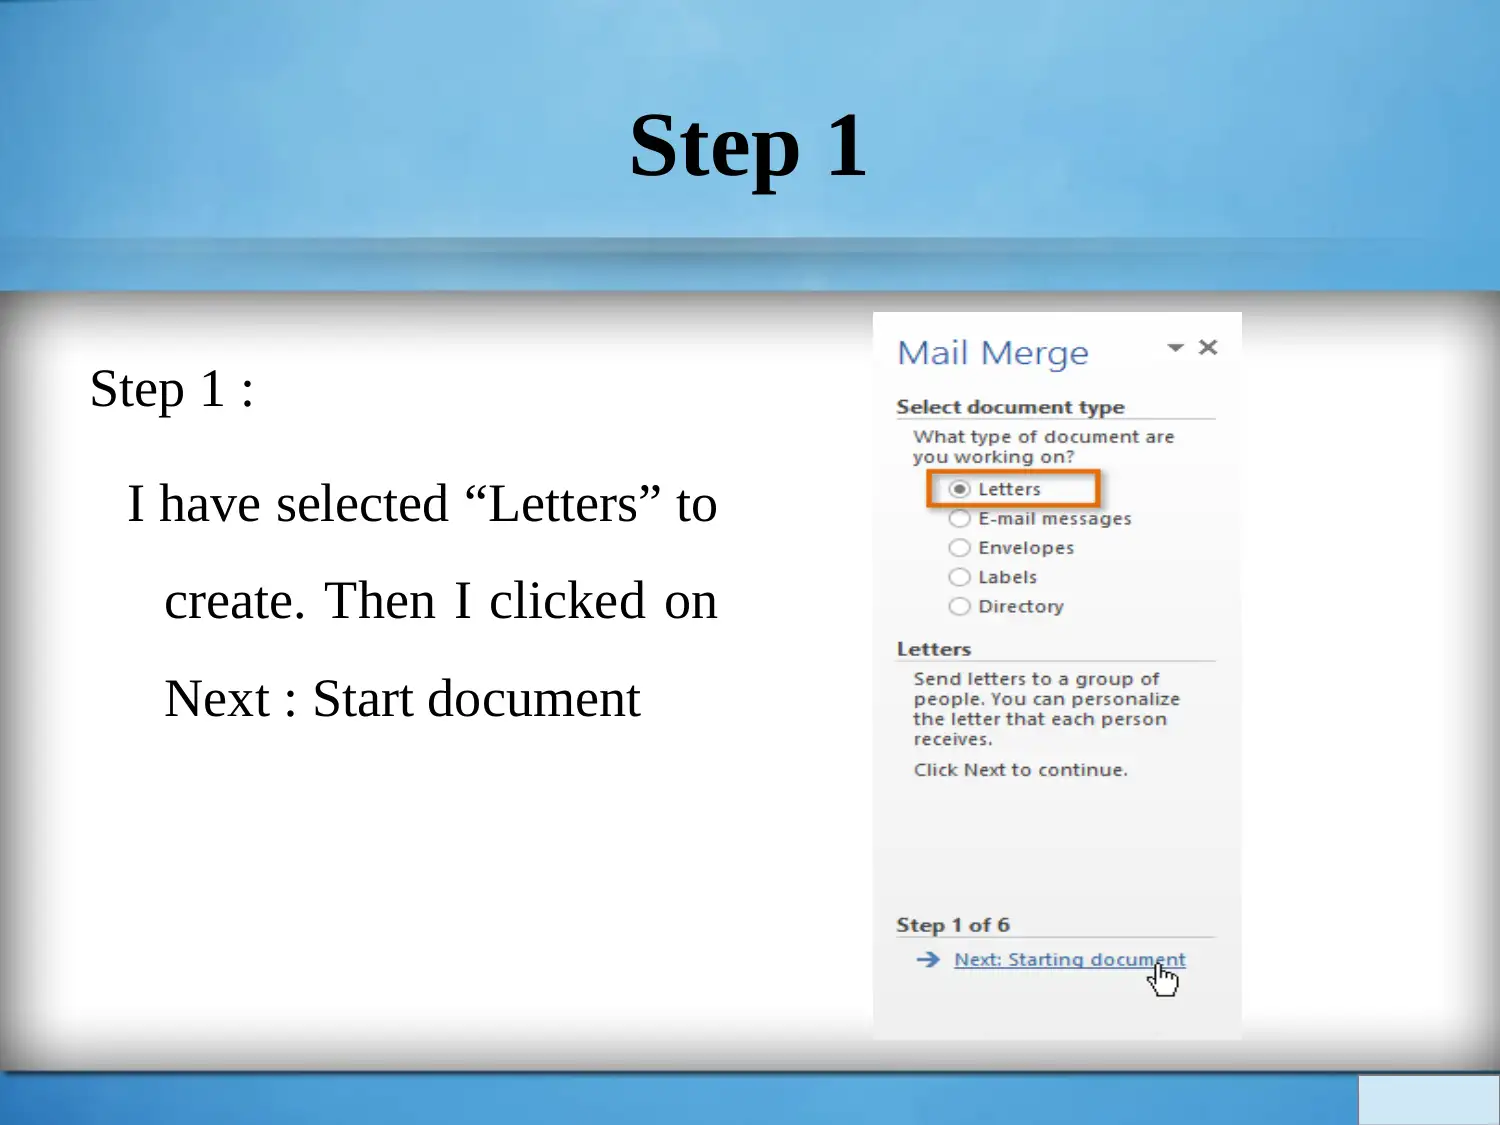
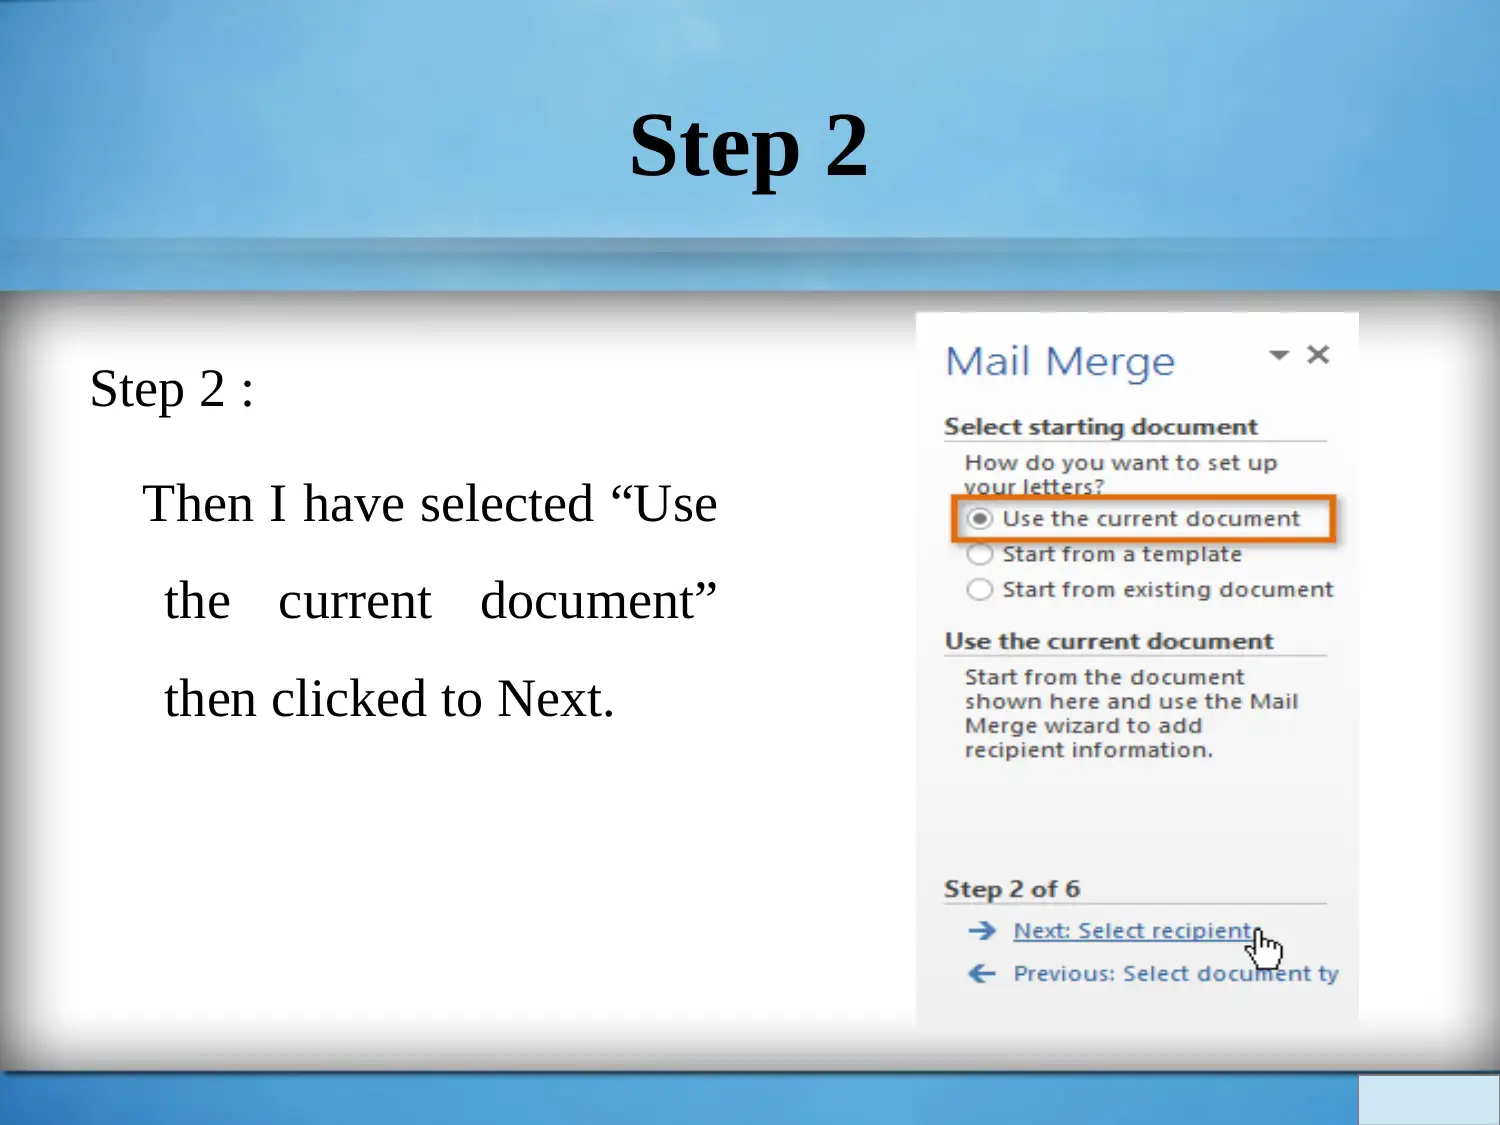
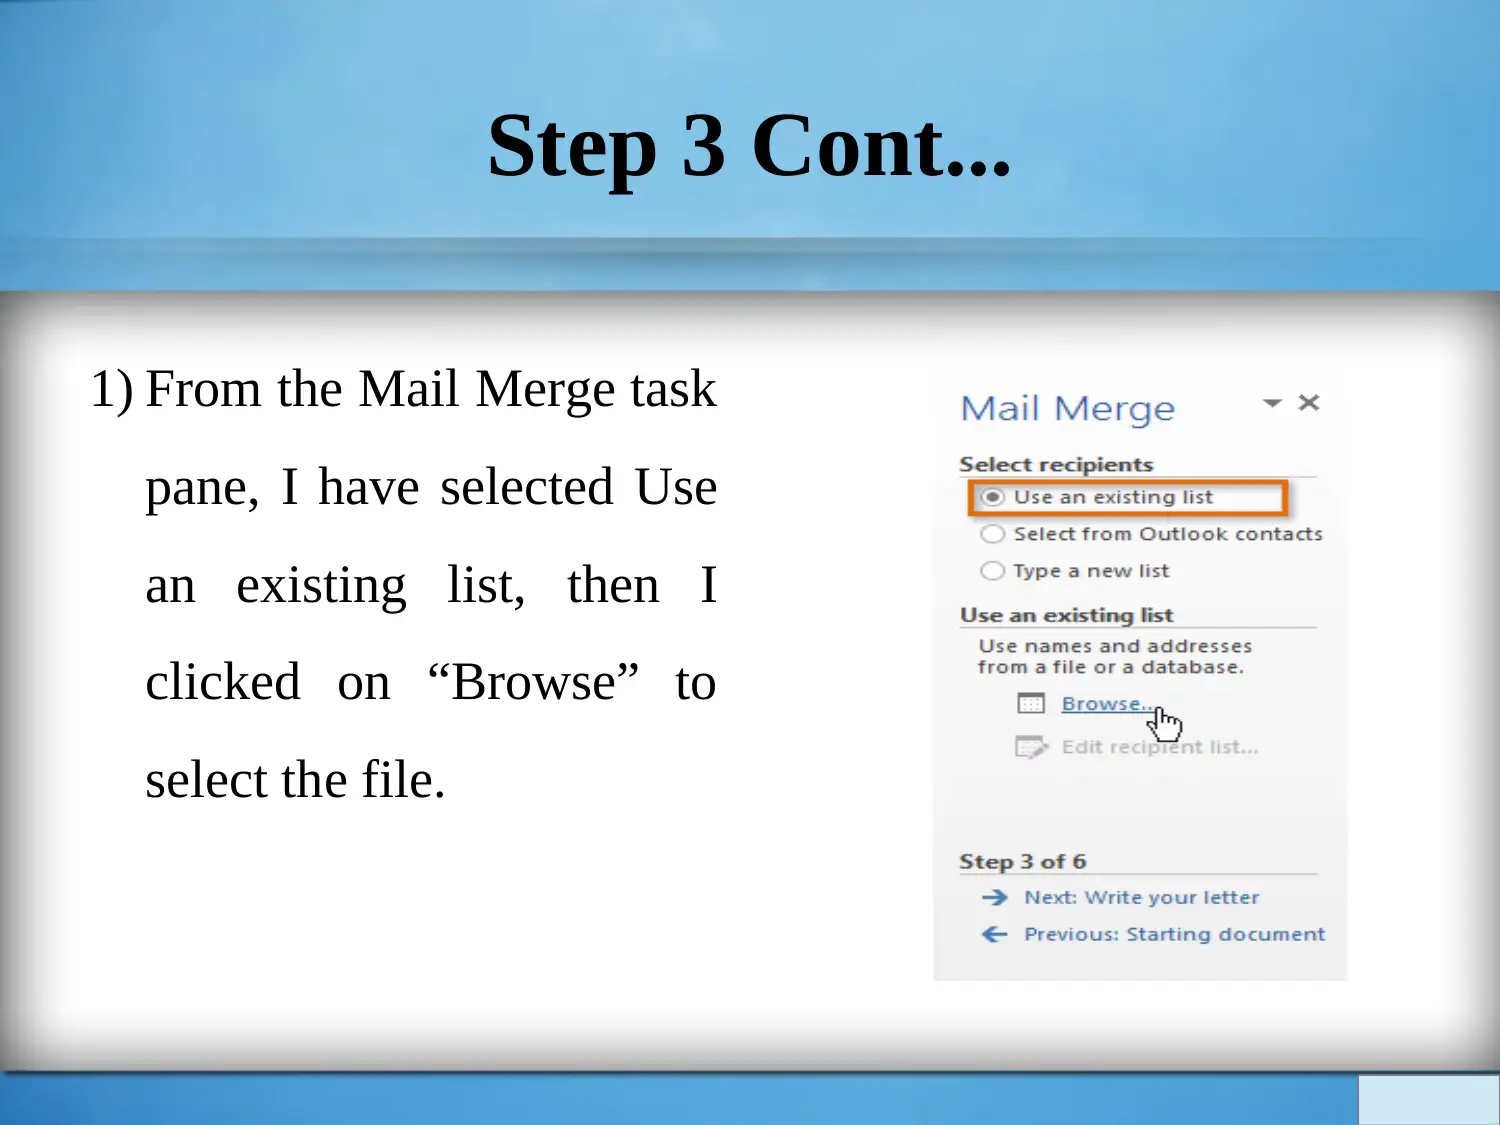
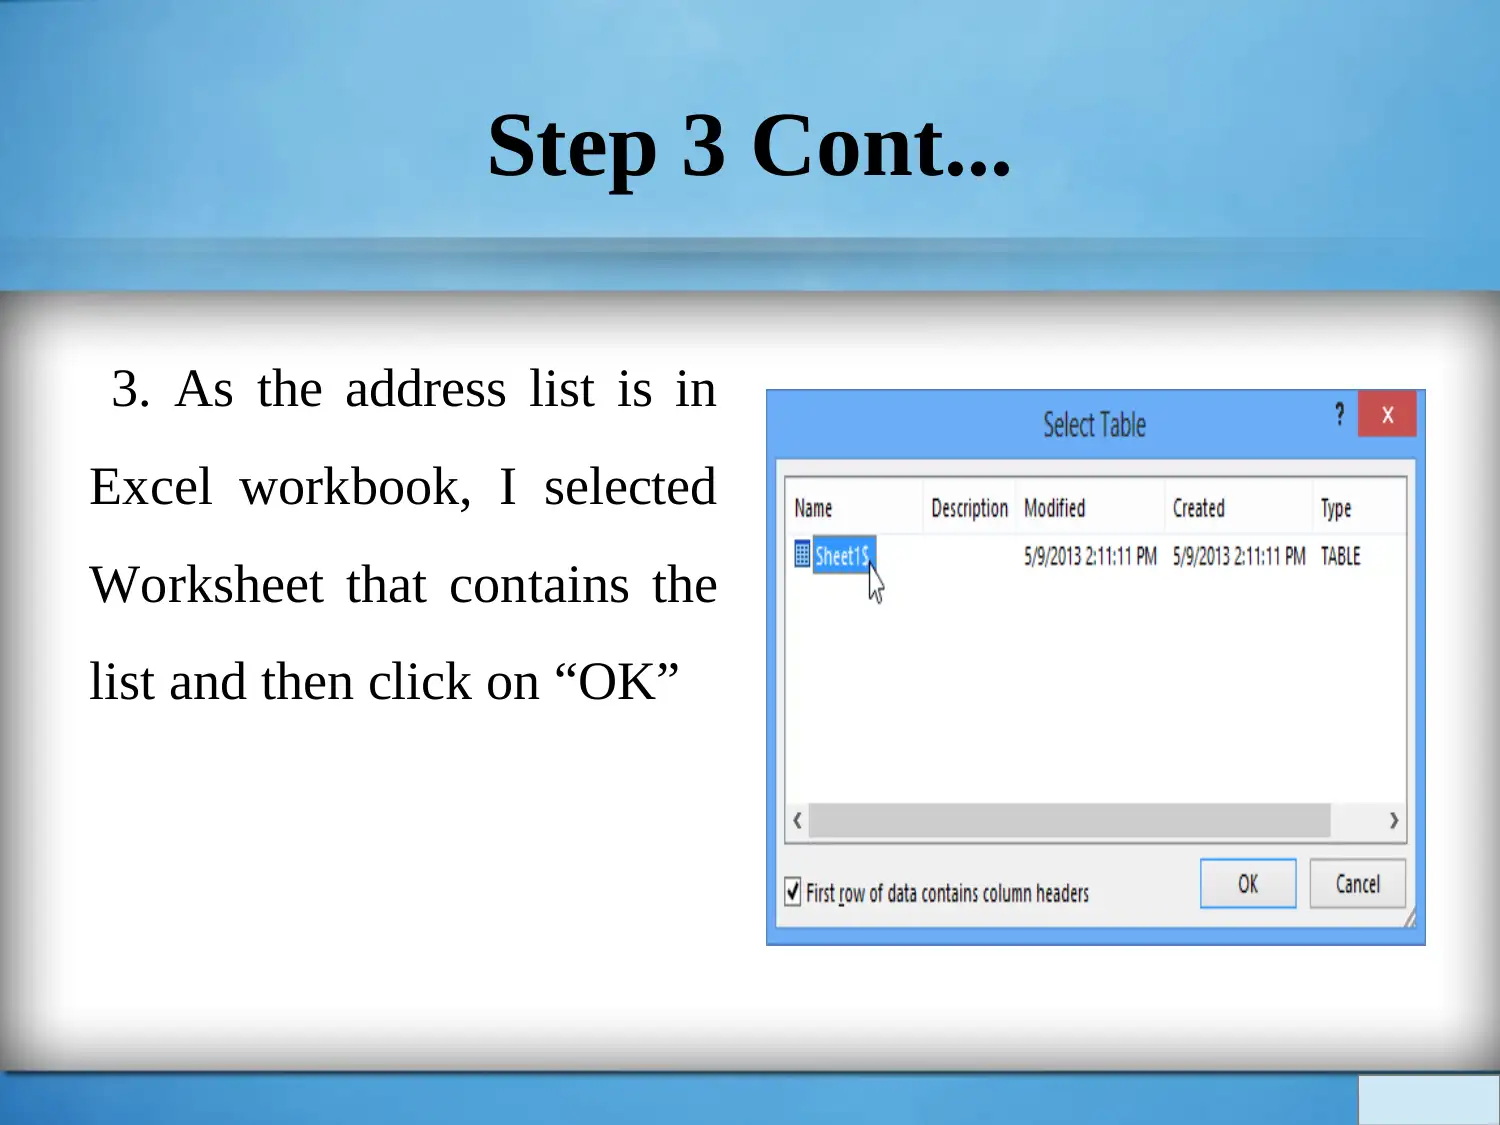
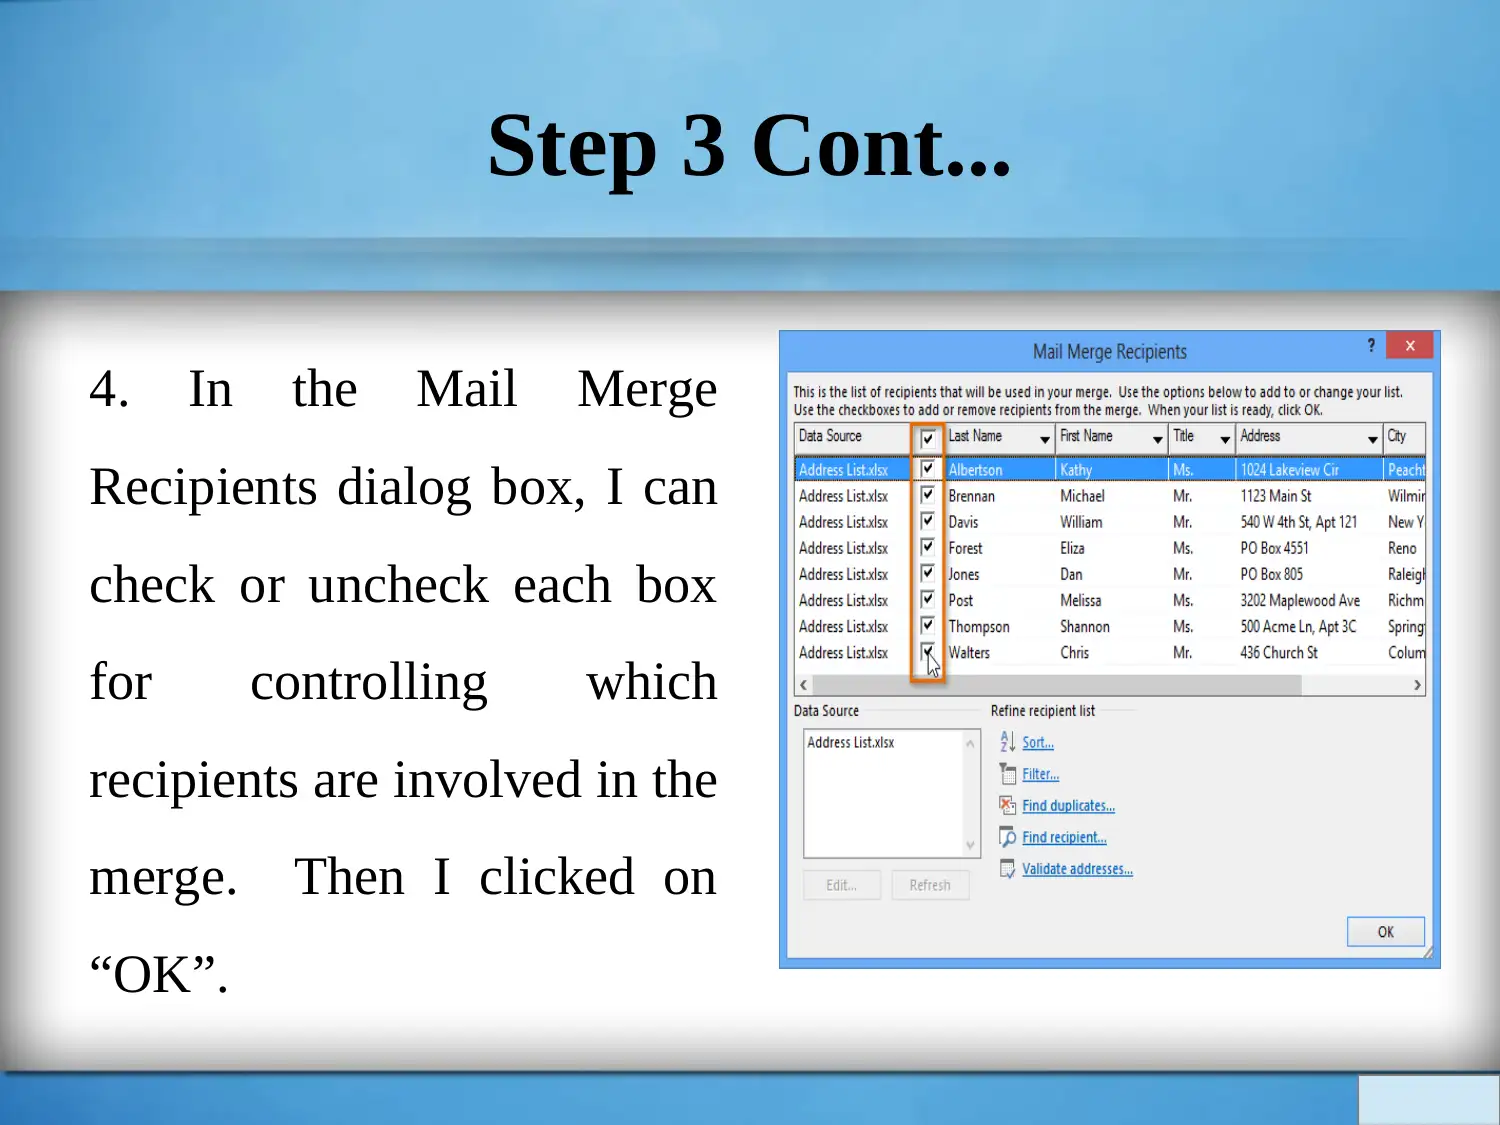
This document presents a student-created report detailing the process of creating a mail merge using Microsoft Word. The report outlines the step-by-step procedure, starting from opening a Word document and utilizing the Mail Merge Wizard to selecting the recipient list, writing the letter, inserting recipient data, previewing the letter, and completing the merge for printing. Each step is explained with screenshots, providing a visual guide to the process. References to external sources are also included. This report is useful for understanding the practical application of mail merge for creating multiple personalized documents efficiently.

1 out of 26
Related Documents


Your All-in-One AI-Powered Toolkit for Academic Success.
+13062052269
info@desklib.com
Available 24*7 on WhatsApp / Email
![[object Object]](/_next/static/media/star-bottom.7253800d.svg)
Copyright © 2020–2025 A2Z Services. All Rights Reserved. Developed and managed by ZUCOL.